Abbey Monster High Cake Tutorial

Abbey Monster High Cake

Below are the instructions on how to bake, decorate and hand paint this cute Abbey cake but first…

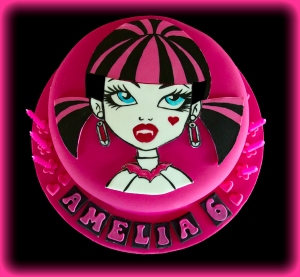
…welcome to Monster High, the place where children of famous monsters rule the school! Abbey Bominable is 16 years old and the daughter of Yeti! She’s the coolest ghoul in the school and I love her trendy wardrobe and white fur boots. Her BFF is Draculaura and I have a Draculaura cake tutorial that you might like here.

Draculaura Cake
Draculaura Cake

Although Abbey is very pretty she says ‘I am cold in the touching and being touched’

Her favourite sport is Snow Boarding and her pet “shiver’ s an adorable baby Wooly Mammoth.

Shiver
Shiver

Instructions

This 7″ Abbey birthday cake is made from dark chocolate mud-cake and filled with dark chocolate ganache.

Materials

10″ cake board

7″ set up board

1.2 kg Ice blue sugar-paste

For cake topper….

Tylose powder

Edible Americolor gel colour in blue, white, pink and lilac

White sugar-paste

Make the 7″ round Dark Chocolate Mud Cake

190g unsalted butter

155g dark chocolate

4g instant coffee

1 cup warm water

145g caster sugar

200g self raising flour

23g cocoa

1 large egg

1 teaspoon vanilla

1. Grease and line base and sides of cake pan with one thickness of baking paper, bringing paper 5cm above side of pan.

2. Combine chopped butter, chopped chocolate, coffee, and water in a saucepan. Stir over low heat until chocolate is melted. Cool 15 minutes. Transfer mixture to bowl of mixer.

3. Add caster sugar to mixture and beat well until dissolved. Add sifted flour and cocoa, lightly beaten egg and vanilla.

4. Pour mixture into prepared pan.

5. Bake at 150C for 1 – 1.5 hours . Test with skewer. Cool cake in pan.

Make the Dark Chocolate Ganache

600g dark chocolate, finely chopped

250ml pure cream

Method:

Heat the cream until it just starts to bubble, pour over chocolate (which you have blitzed in the food processor to coffee granules size) and let it sit for about a minute to melt. Use a hand whisk to blend it all together then set aside to cool. Your ganache at this point will be thin. You will have to let it set overnight until it thickens to a slightly thicker peanut butter consistency. Since I don’t have the patience to wait, I just let it cool to room temperature and then pop it in the fridge (don’t cover because you might get condensation). It would usually set in the fridge in about an hour or two. If it sets too hard, just microwave it in 10 second intervals (keep mixing it whenever you take it out).

For more information on how to make ganache and cover your cake with it, please click here.

Assembling the cake

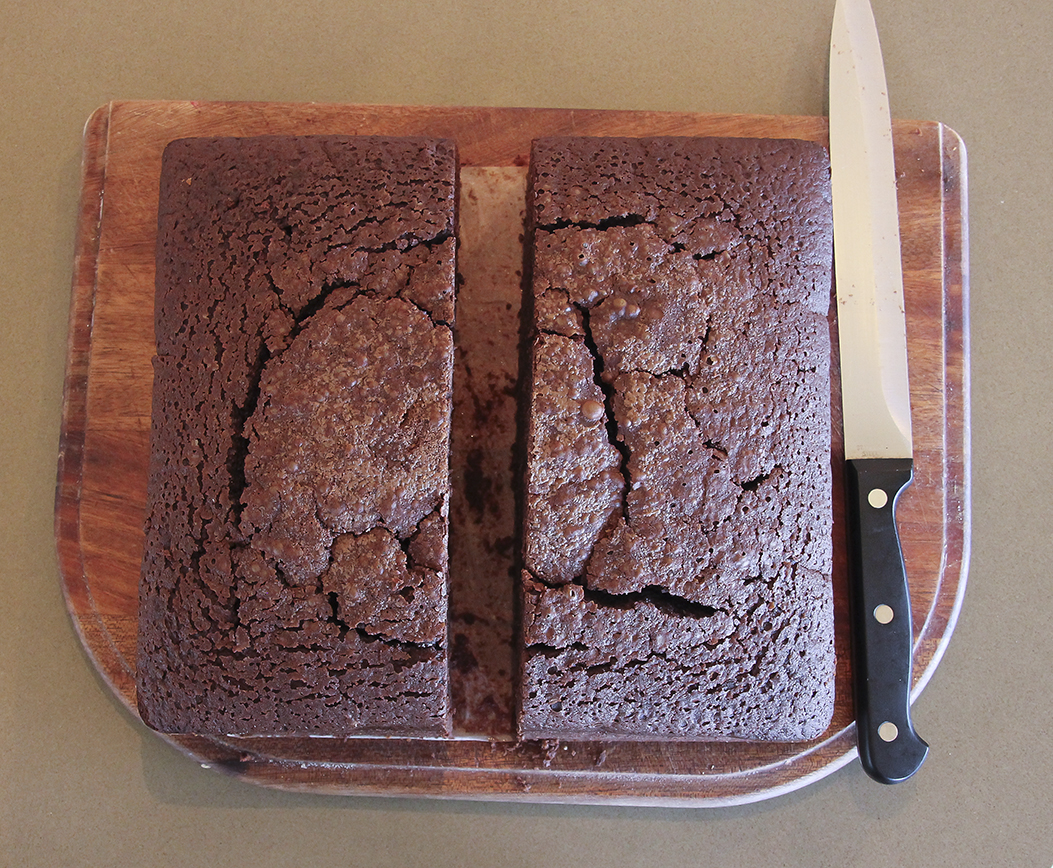
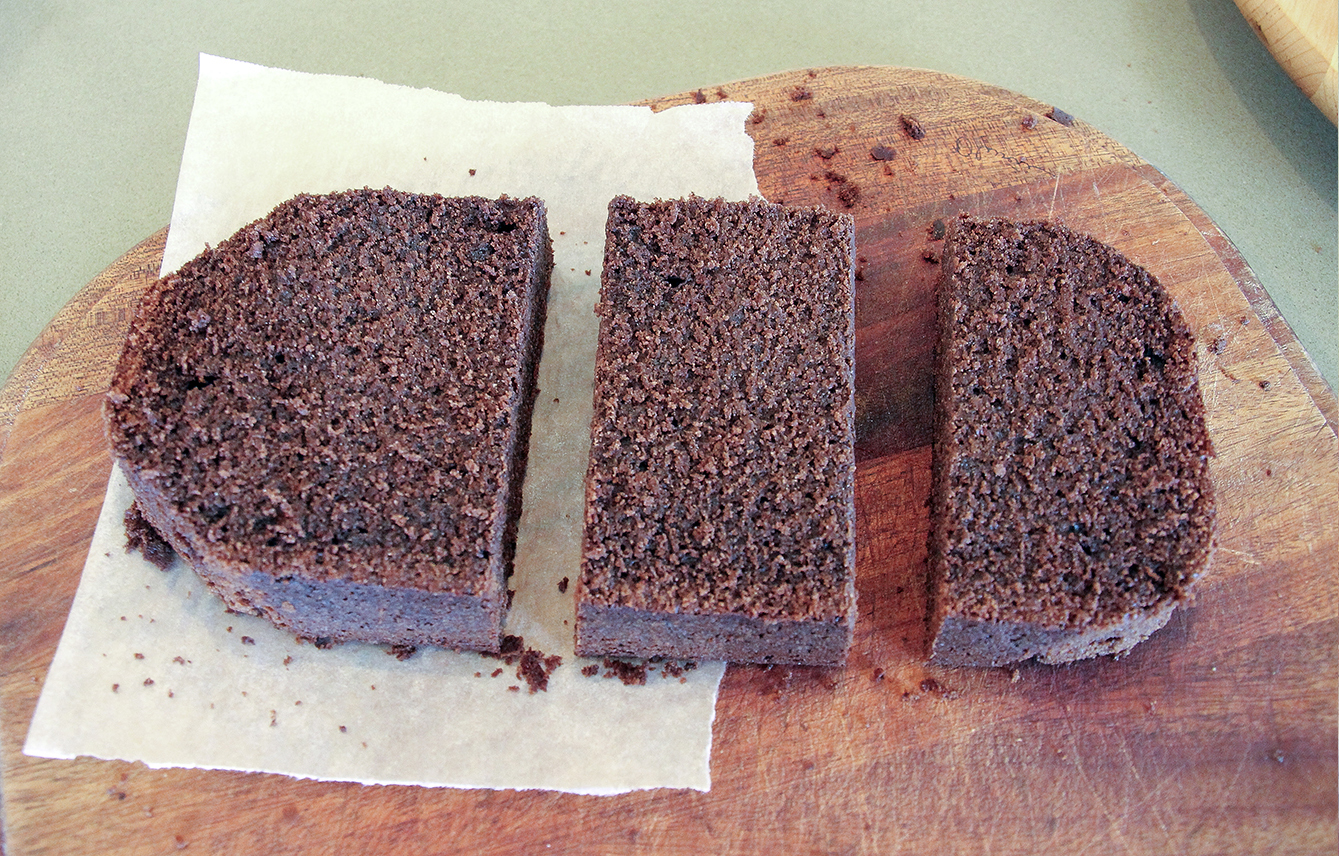
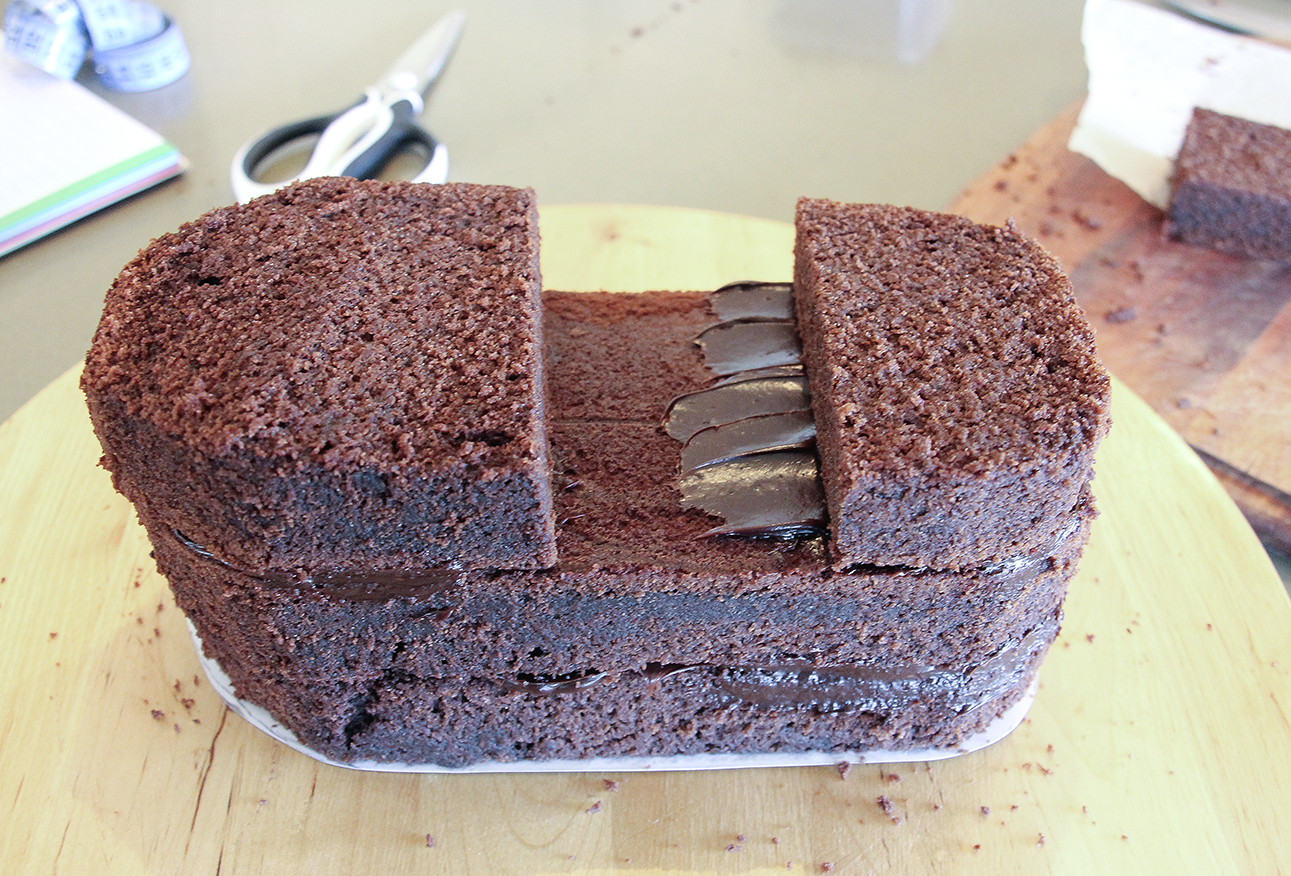
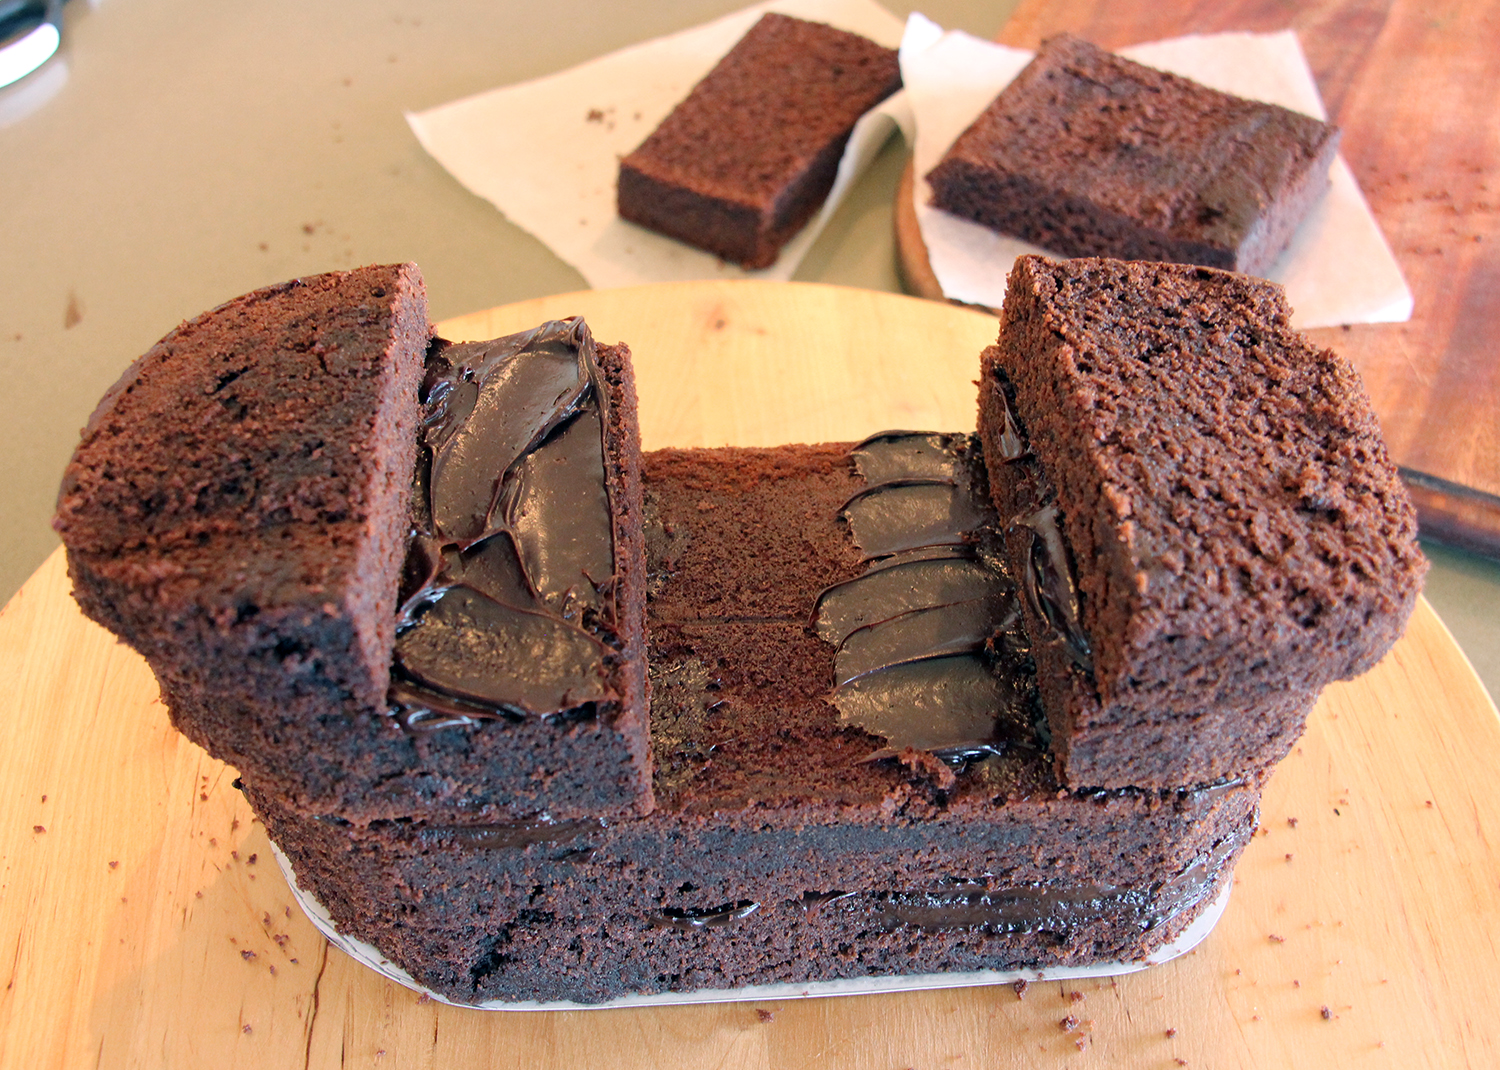
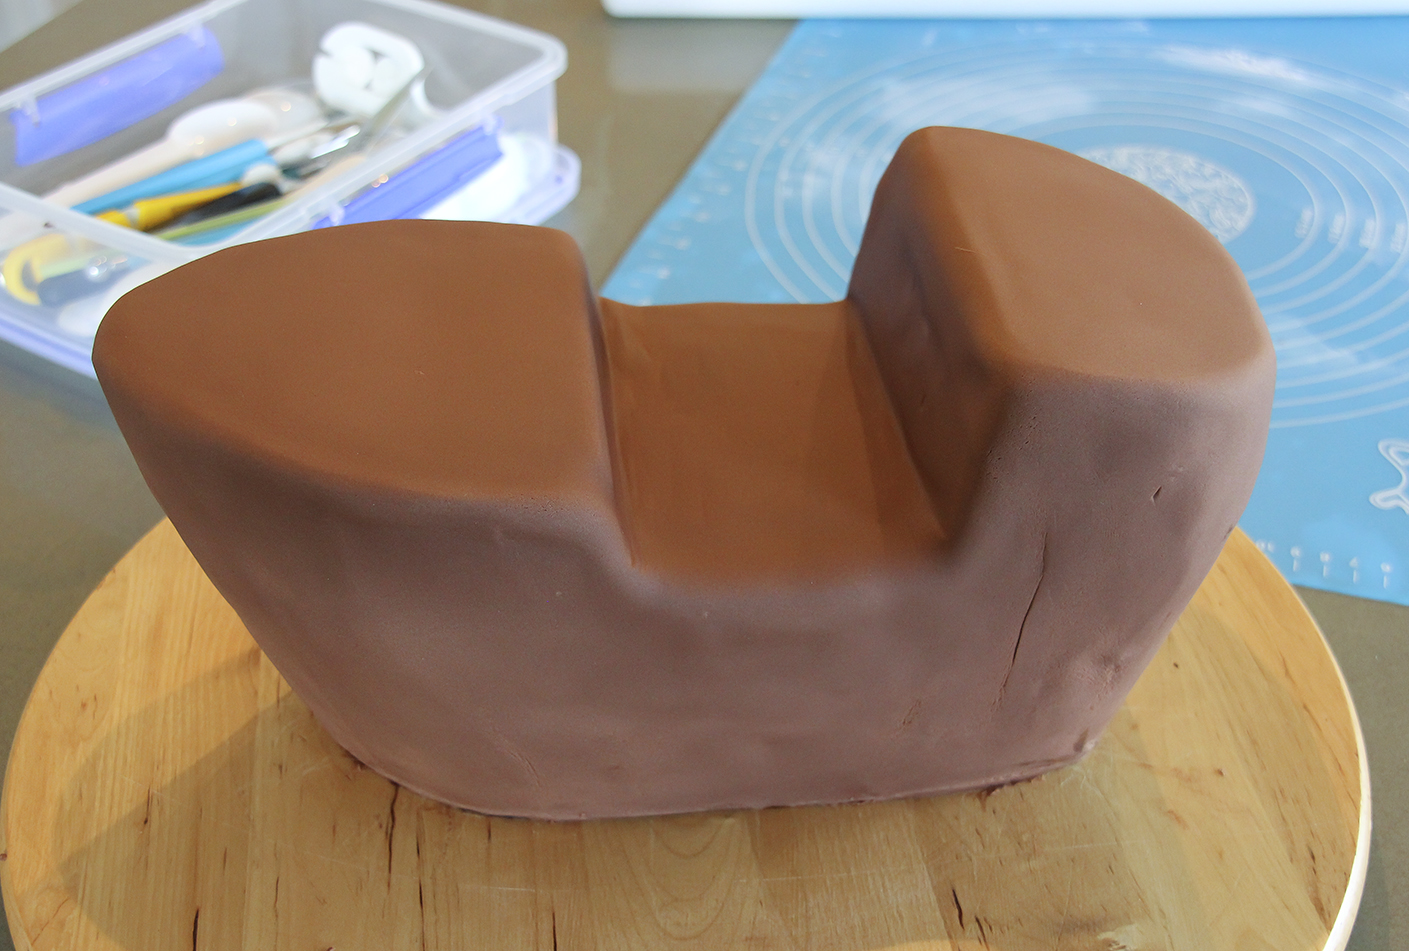
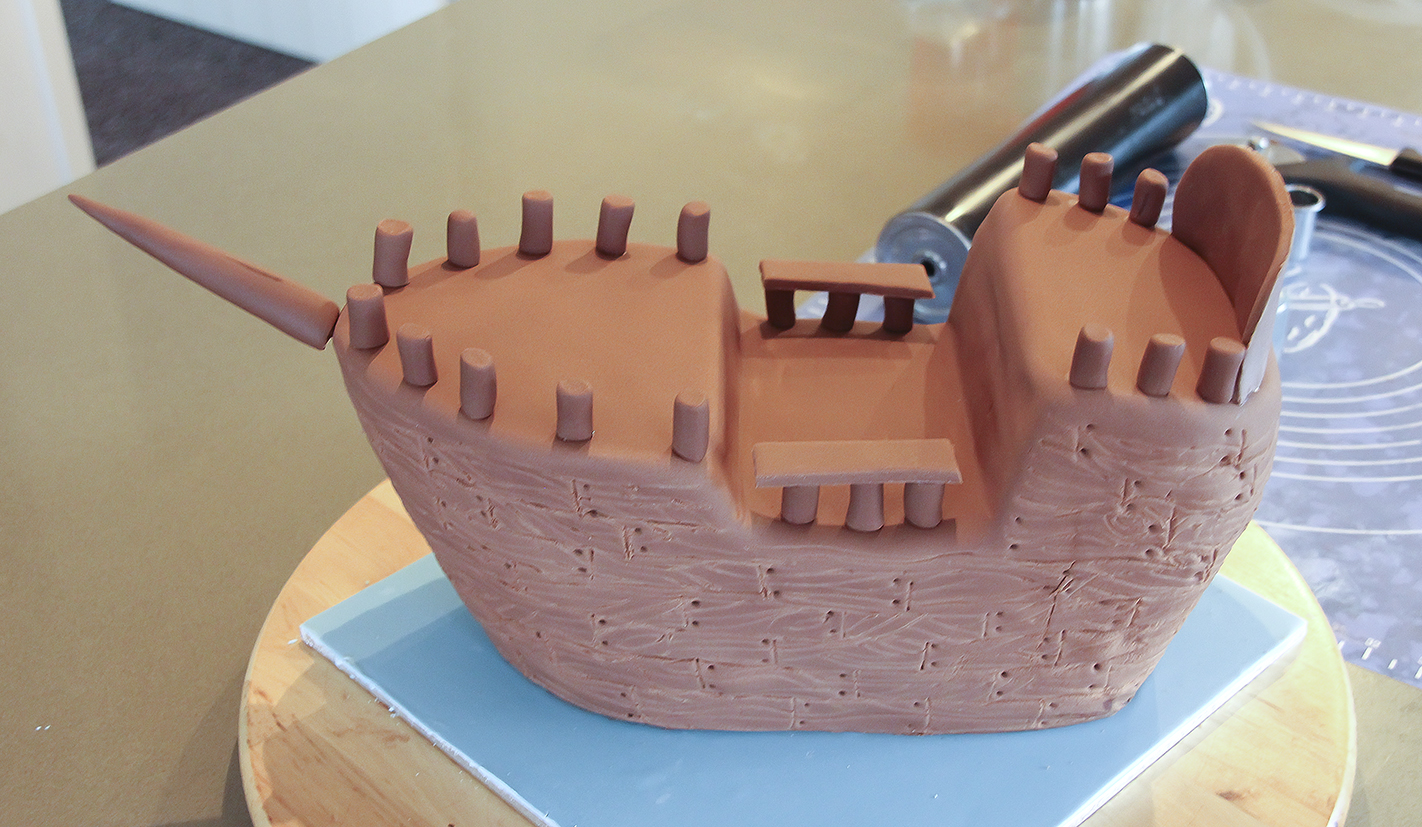
Cut the cake in half and fill with ganache. Attach cake to set up board with edible glue or some Royal Icing. Cover the top and the sides of the cake with ganache and smooth the surfaces. Cover cake and board in one application with Ice blue sugar-paste.

Cake covered with ganache
Cake covered in Ice blue sugarpaste
Printable image
Printable image

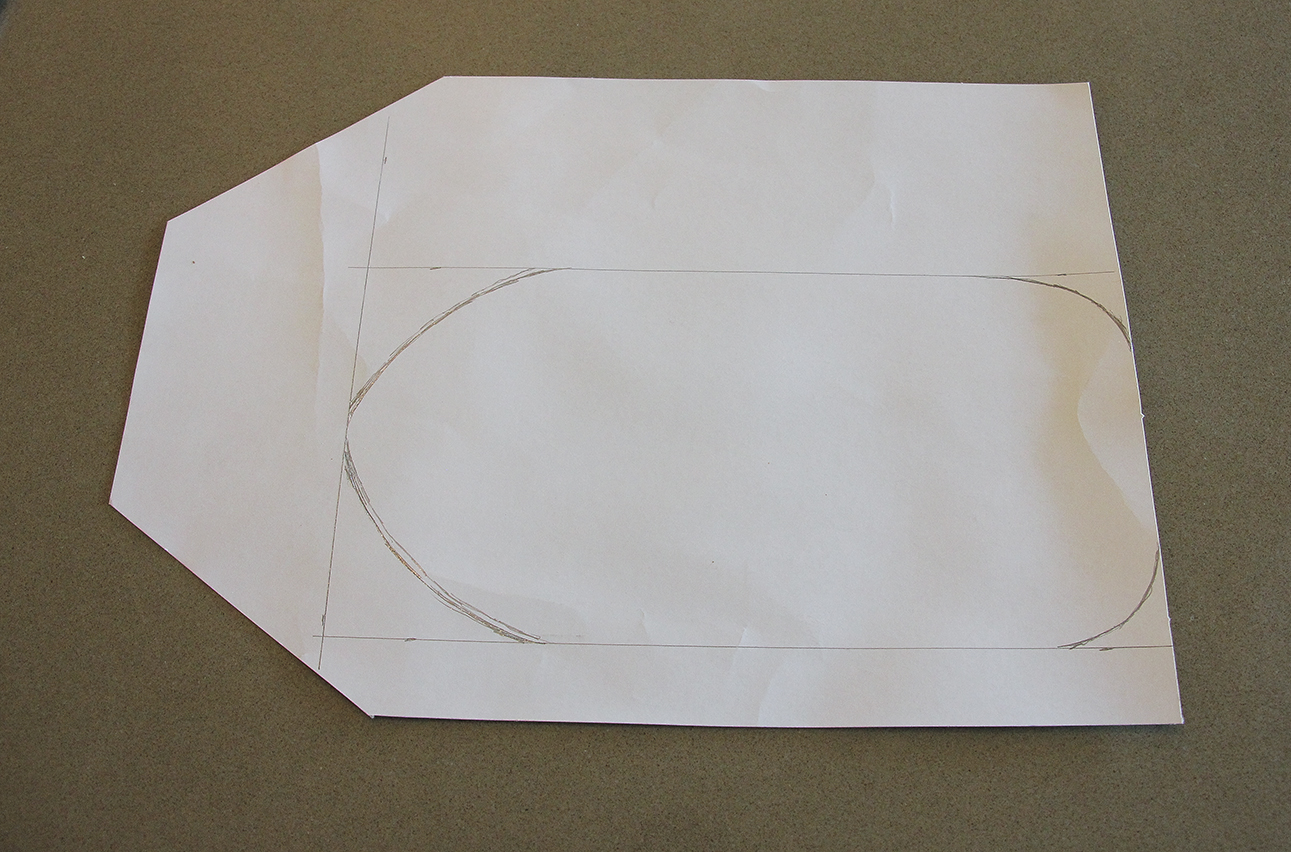
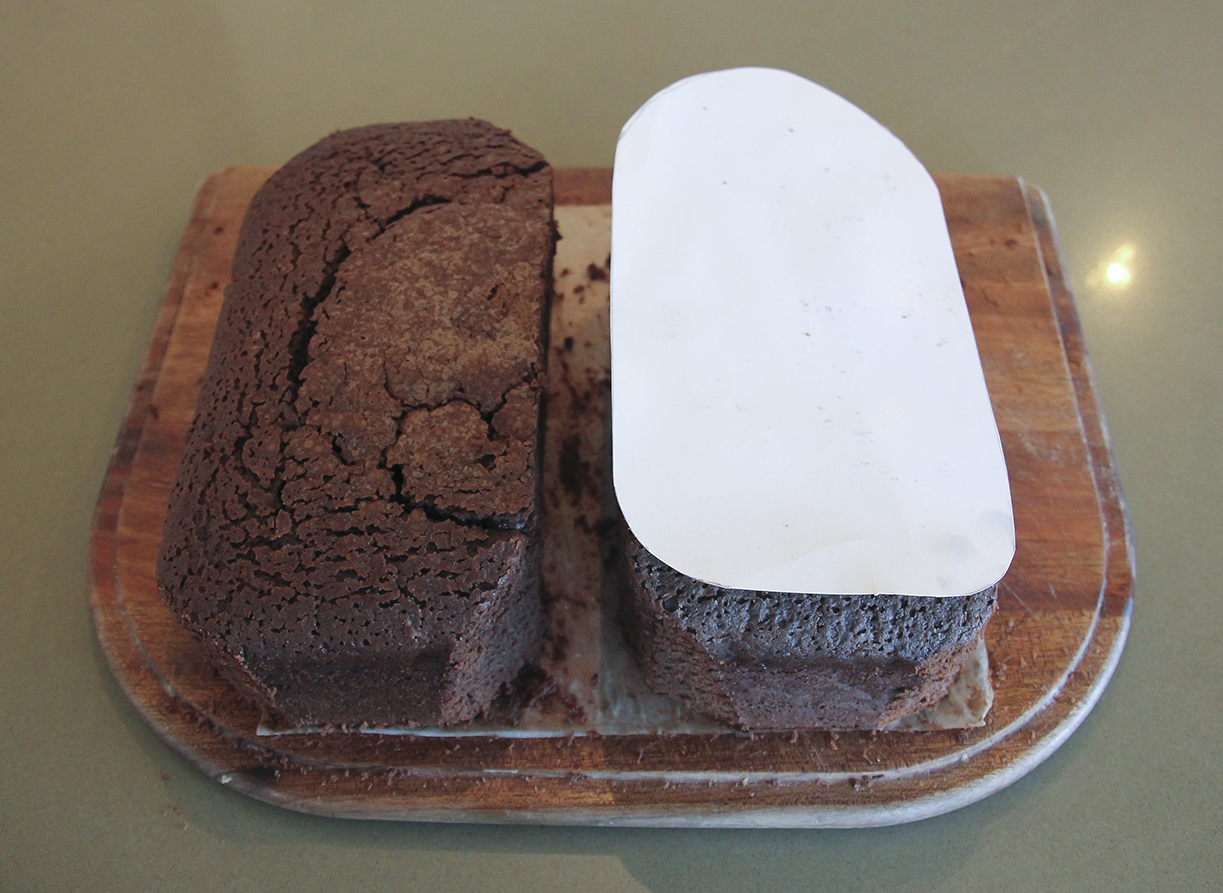
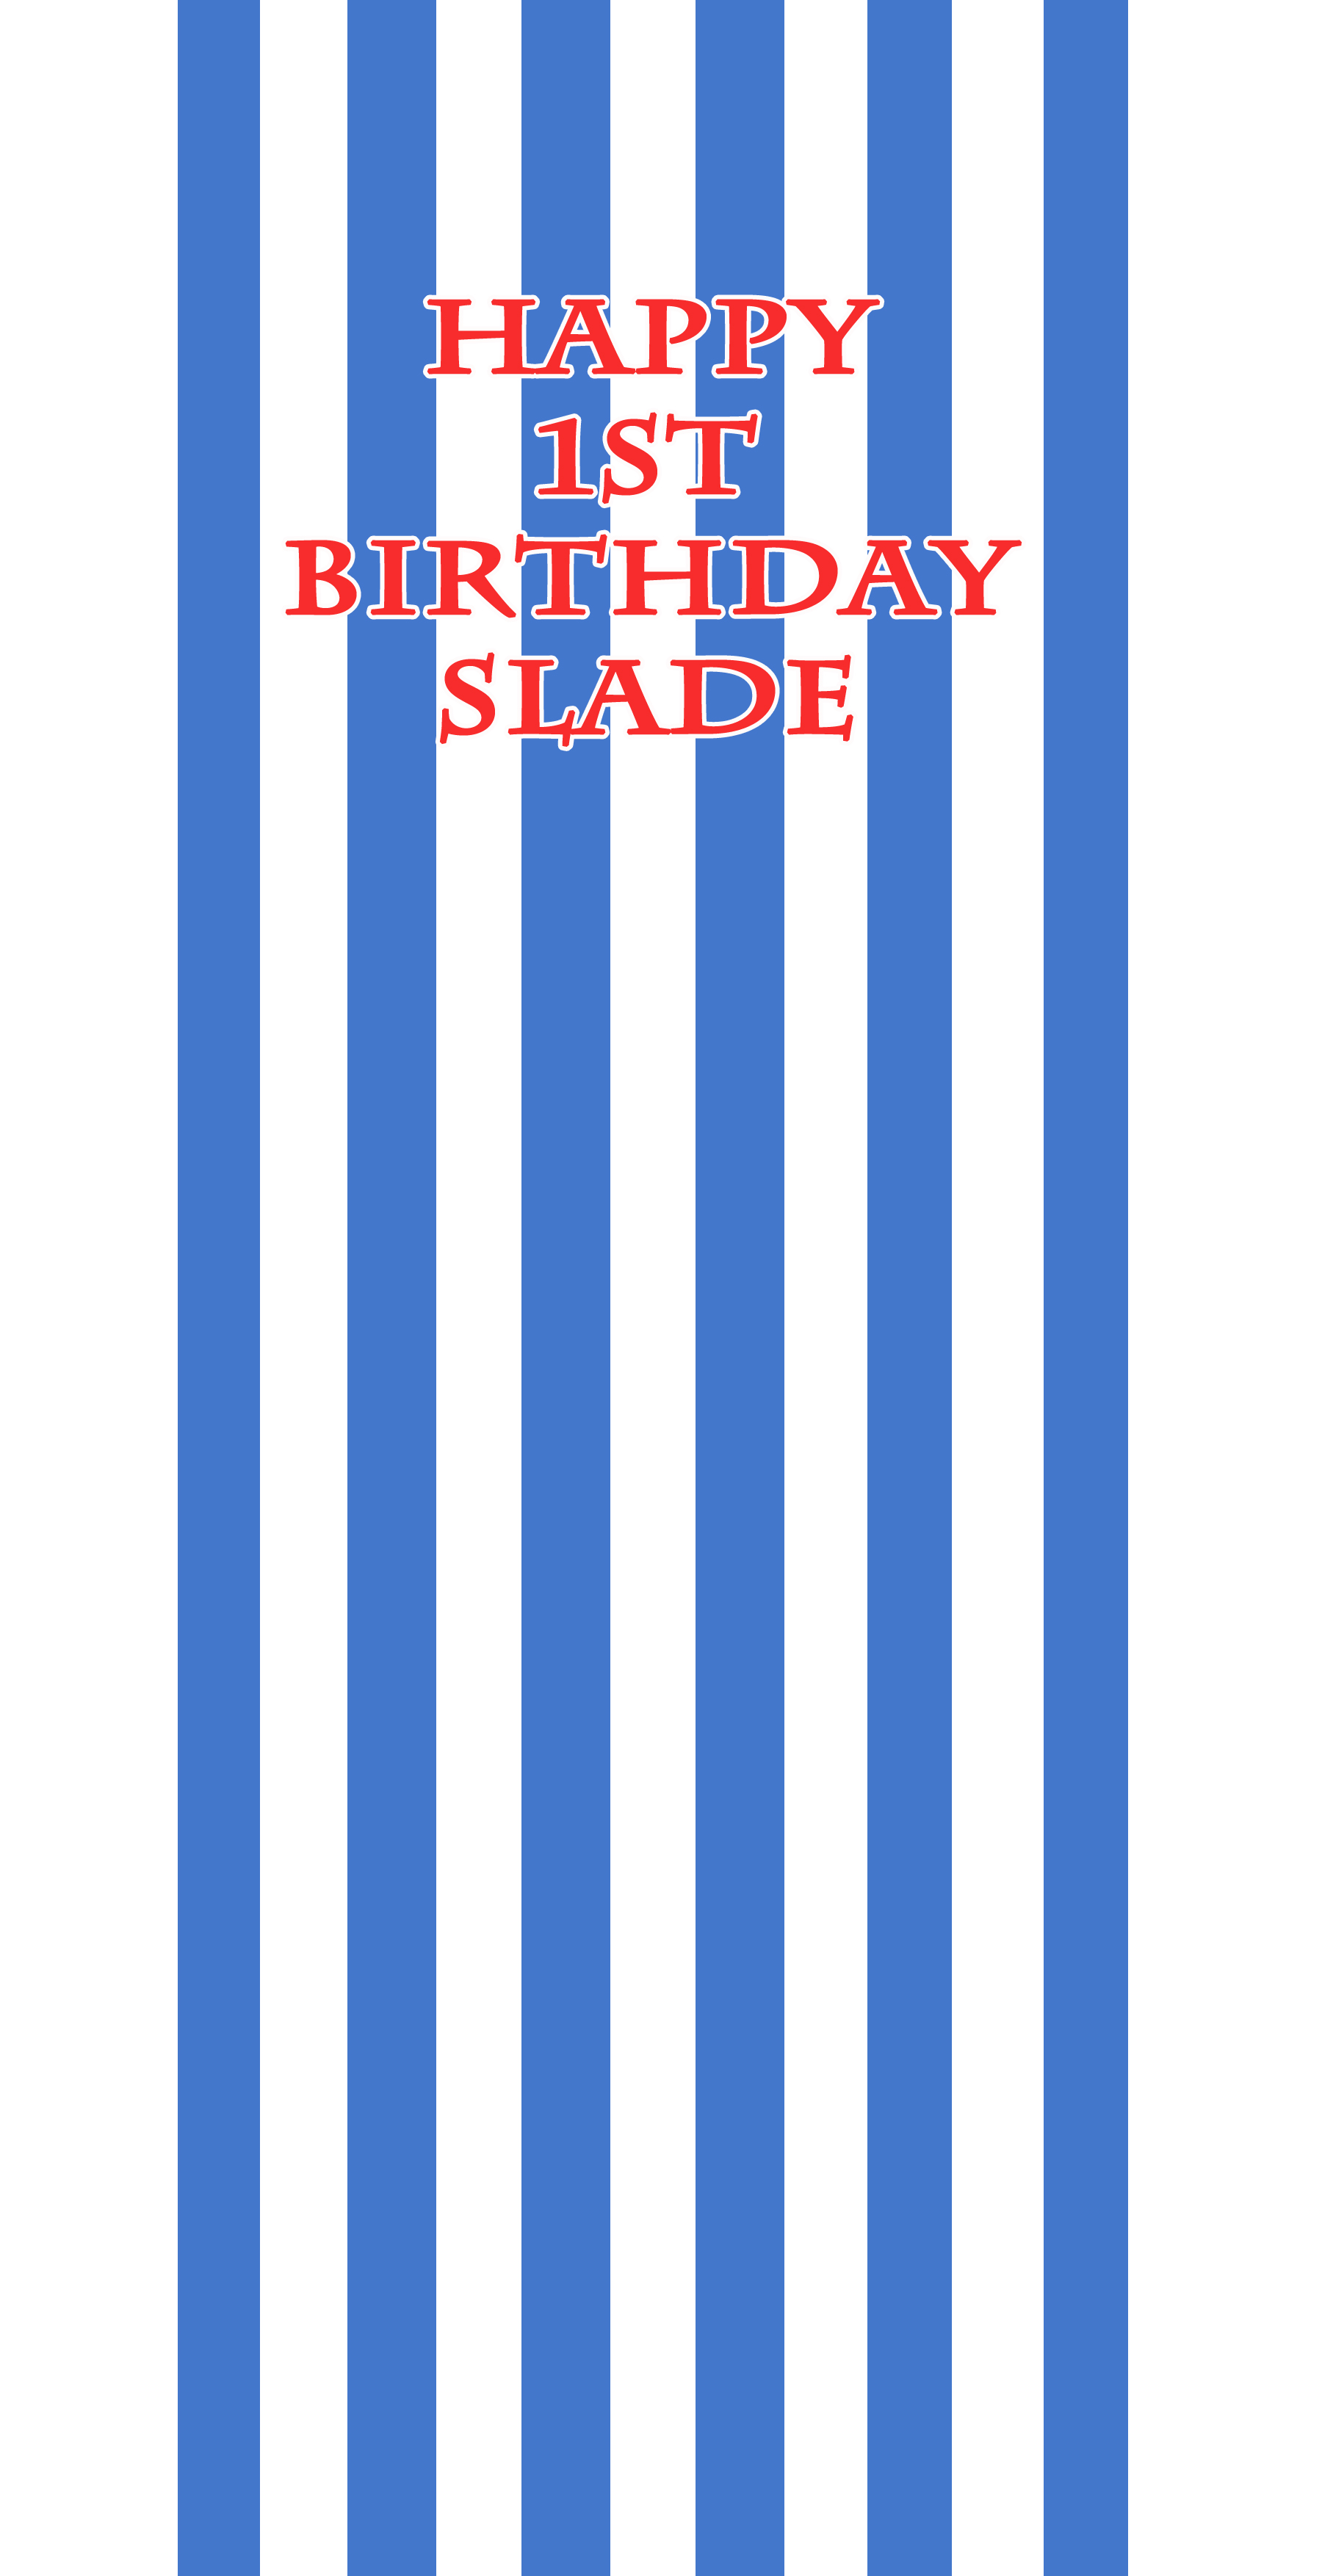
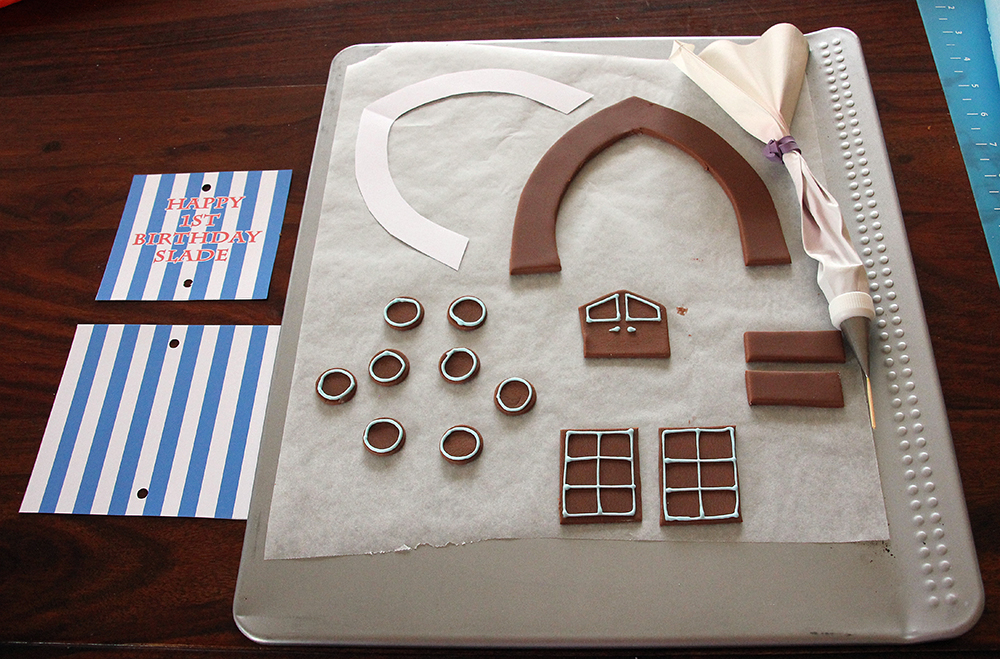
Using the Template Click on the image above and save image. Enlarge or reduce the image to fit your cake. I printed it out to fit a 6.5″ circle just a little smaller than the cake. Print 2 copies so that you can keep one copy intact and the other you can cut up to make smaller templates. 1. Face, ears and neck (cut out in Ice blue sugar-paste). 2. Hair and headband (cut out in white sugar-paste).   You may wish to make a little modelling paste in white and some in Ice blue for the Abbey cake topper. This will help the topper dry quichly and make it stronger. Modelling Paste 350g sugar-paste 1 teaspoon Cellogen (if using CMC, Tylose Powder or Gum Trag then use only 0.5 teaspoon) Sprinkle the powder over the sugar-paste and kneed carefully till smooth.

Cut out the face and neck in Ice blue sugarpaste
Cut off any rough edges
Cut the hair and headband section from white sugarpaste
Neaten up rough edges if necessary
The two sections should fit together well

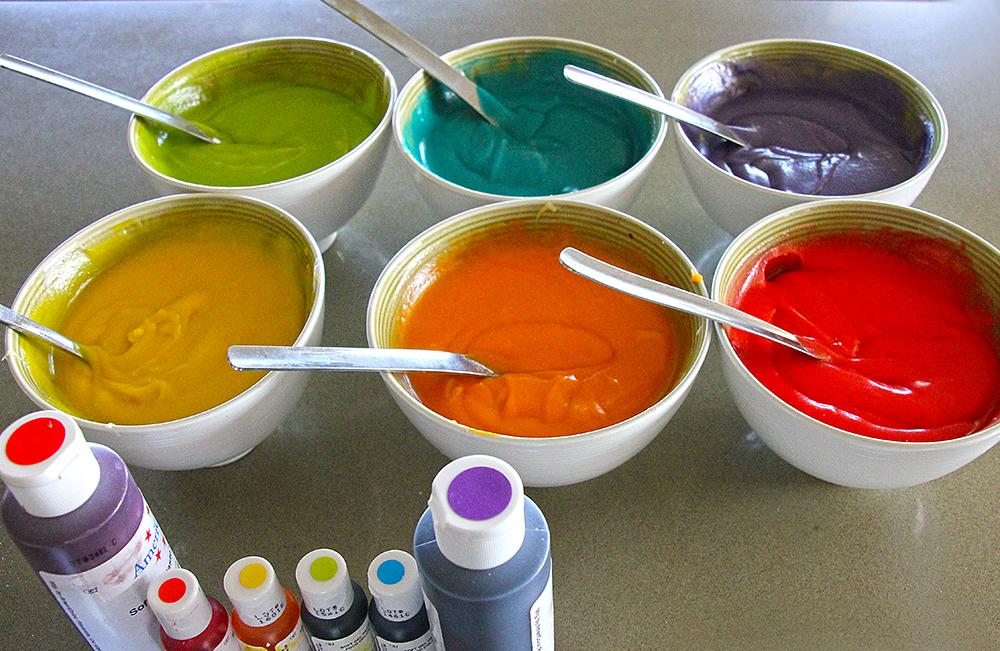
Using a few fine paintbrushes, edible gel colours and a little Vodka as a thinner start painting the hair / headband area as it is simpler and then paint in the facial features last. To help me place the eyes, nose and mouth in the right spots, I used the face template, tracing the outline of the features on the back of the template and then transferring the details onto the Ice blue sugarpaste by tracing over the outlines of the features with the template the right way up on top of the sugarpaste. You can see the fine graphite outline of the lips in the image below.

I have made a video of me painting Abbey’s face and will upload it here shortly.

Painting the face and hair with edible food colour
Abbey
Abbey
Add pink candles for a nice contrast
Add 'Chelsea' to the covered cake board
Add ‘Chelsea’ to the covered cake board

Abbey Monster High Cake

Pirate Ship Cake Tutorial

Pirate Ship Cake Tutorial I made this cake for Slade’s 1st birthday and his Mum didn’t want anything too scary so no skull and cross bones on this cake. It was fun to make the cake and like many of my cakes I didn’t have any idea how it would turn out and just made decisions as to style and colour as I went along.

Some materials you will need

12″ of 7mm diam wooden dowelling for the mast 12″ square cake board 375g pale blue sugar paste to cover cake board 900g brown sugar paste to cover ship

Dark Chocolate Mud Cake Recipe

I used my recipe for a 9″ square cake but I actually used a 8.5″ pan so that the cake was taller than usual. 400g butter 325g dark chocolate 1.5 tblsp coffee granules 2 cups warm water 2.5 cups of Self raising flour 1.5 cups caster sugar 0.5 cups cocoa powder 3 large eggs 1.5 tsp vanilla

Method

1. Grease and line base and sides of cake pan with one thickness of baking paper, bringing paper 5cm above side of pan.
2. Combine chopped butter, chopped chocolate, coffee, and water in a saucepan.
Stir over low heat until chocolate is melted. Cool 15 minutes. Transfer mixture to bowl of mixer.
3. Add caster sugar to mixture and beat well until dissolved. Add sifted flour and cocoa, lightly beaten eggs and vanilla.
4. Pour mixture into prepared pan.
5. Bake at 150C for 1.5-2 hours . Test with skewer. Cool cake in pan.
Make the Dark Chocolate Ganache
although I am asking you to make a lot of ganache, you will need a lot to give the ship its bulging shape and any extra can be frozen till your next cake project.

1.9 kg dark chocolate, finely chopped 600ml pure cream

Method: Heat the cream until it just starts to bubble, pour over chocolate (which you have blitzed in the food processor to coffee granules size) and let it sit for about a minute to melt. Use a hand whisk to blend it all together then set aside to cool.
Your ganache at this point will be thin. You will have to let it set overnight until it thickens to a slightly thicker peanut butter consistency. Since I don’t have the patience to wait, I just let it cool to room temperature and then pop it in the fridge (don’t cover because you might get condensation). It would  usually set in the fridge in about an hour or two. If it sets too hard, just microwave it in 10 second intervals (keep mixing it whenever you take it out) till it is easy to work with.
For more information on how to make ganache and cover your cake with it, please click here.

Set up Board

first of all measure out a rectangle 11 x 22 cm then round the corners off to make the ship template which will also be used as the set up board and the edge can be followed when ganaching..

Set up board
Set up board
Once you are happy with the shape cut it out.

Building the ship

Cut the cake in half.
Cut cake in half
Cut cake in half
Use the template / set up board to cut out the hull shape on both halves of the cake.
Use the template to cut out the hull
Cut dome off top and turn upside down and attach to set up board with some ganache
Now cut in half horizontally and fill with ganache.
Now take the other half of the cake it horizontally into 2 pieces
Take one piece and cut into 3 sections.
Cut into 3 pieces
Cut into 3 pieces
Use ganache to attach 2 of these pieces to your ship.
Building the ship
Now take the final piece and cut into 3 pieces.
Cut into 3 pieces
Use ganache to attach 2 of these pieces to your ship.
Constructing the ship
Use up all the leftover pieces of cake to create the Pirate Ship shape that pleases you the best.
Cover with a crumb coat of ganache (a thin layer of ganache to seal in all the crumbs).
Place in the fridge till it firms up.
Add ganache to create final shape, making a nice rounded shape.

Ganache crumb coat

Leave on bench to harden (overnight if possible)
Sugar paste
Paint a thin layer of water onto your cake board and cover with pale blue sugar paste.
Measure the length and sides of your ship so you know the size of the oval piece of brown sugar paste you will need to cover your ship.
Paint a thin layer of water over the entire ship and cover with the one large piece of sugar paste.
Use smoothers to smooth your sugar paste.
Cover with sugar paste
Decoration
Make marks on side of ship to resemble old wooden planks.
Create an old wooden plank effect

I created some stripes in Photoshop and a birthday message for Slade on lightweight card and cut out a small square with the birthday message as the top sail and a larger square as the bottom square. Use a ‘hole punch’ to make holes for the mast.

Create stripes and a birthday message in Photoshop

Roll out some of the left over brown sugar paste into a long thin sausage shape and cut 22 pillars of equal length. use fingers to make each one as cylindrical as possible and stick to ship with a little water, edible glue or egg white.

Add some tiny pillars around the decks

Cut out some port holes, windows, doors and handrails. Use a piping bag to pipe some pale blue Royal Icing around the windows etc. to add interest. Leave overnight to firm up.

Windows, port holes and handrails.

Stick all the remaining bits and bobs to the ship and set sail for the open seas.

The Pirate Ship completed.
Pirate Ship Cake

How to make a Rainbow Layer Cake using white chocolate mud recipe

Rainbow Cake
Rainbow Layer Cake

This cake is similar to my Rainbow Cake below and you can find full instructions for it here.

Rainbow Cake
Rainbow Cake

Three things make this cake special

1. The Rainbow Layers. They can be a big surprise if the recipient and/or guests have no idea what is inside.

2. The cake is based on a White Chocolate Mud Cake. Lots of people are scarred to use colours with Chocolate mud cakes if they do not have the special chocolate colours. I did a lot of research before I used my ordinary food colours and the reason they work is because we are not colouring 100% pure chocolate. The other ingredients magically make it alright to use Wilton or AmeriColor (these are the only two makes that I have tried so far).

3. You can make this cake even if you do not have 6 x 10″ round cake pans. I have 2 x 10 inch pans and I bake the layers in 3 batches. You could make do with just one pan, it will just take a little longer.

Colours of the rainbow
Colours of the rainbow Red, Orange, yellow, green, blue and purple.
Coloured cake batter
Use 2 x 10 inch pans

White Chocolate Mud Cake 

(Planet Cake recipe)

Need a minimum of one 10″ pan ( 6 x 10″ pans would make the job really easy though!)

I used 2 x 10″ pans as that is all I have.

390g butter
390g white chocolate
350ml water
195g SR flour
390g plain flour
520g caster sugar
4 eggs, lightly beaten
2 tsp vanilla essence

White Chocolate Mud Cake Method

  1. Preheat the oven to 150C.
  2. Grease and line bases of both cake pans with one thickness of baking paper.
  3. Combine chopped butter and water in a saucepan.
  4. Stir over low heat until butter is melted. Turn off heat, then add the chocolate and stir until it has melted and is well combined.
  5. Sift flours into a bowl. Add sugar, a pinch of salt and make a well in the centre.
  6. Pour chocolate mixture, egg and vanilla into the well then stir with a wooden spoon until well combined.
  7. Divide the batter equally amongst the 6 bowls.  Weigh your mixing bowl before you begin adding ingredients and then subtract the weight of the bowl from the final measurement after the batter is completed. Divide that number by six and add that weight of batter to each bowl, and then whisk a fair amount of the appropriate food color into each bowl. Keep in mind that the color of the unbaked batter will be the color of the baked batter. Pour into the pans and bake for 15 minutes each or until a skewer comes out clean when poked into the middle of the cake.
  8. Once cake pans have been washed, repeat the process twice more till all 6 layers have been baked.


Rainbow layers ready for buttercream

Lemony Swiss Meringue Buttercream

As you can see from the recipe, this cake requires a huge amount of buttercream to fill the layers and cover the outside. I would recommend that you make the buttercream in two separate batches ( 1. To fill and crumb coat. 2. To frost) because you would need a HUGE bowl to make this much buttercream at one time!

Please click here for a step-by-step guide to making Swiss Meringue Buttercream and troubleshooting tips!

To fill and crumb coat:

9 egg whites
1 ¾ cup (350 g) sugar
4 sticks (452 g) butter, room temp
2 tsp lemon extract

To frost:

5 egg whites
1 cup (200 g) sugar
2 sticks (226 g) butter, room temp
1 tsp lemon extract

Cook the egg whites and sugar in a small saucepan over medium heat, whisking constantly, until the sugar is completely dissolved (test by rubbing some between your fingers. If it’s completely smooth, it’s done). Pour into another bowl (a stand mixer is preferable) and whip on high speed until room temp. Then, on a medium-slow speed, add the butter, waiting until each piece is completely incorporated before adding the next. After all the butter has been added, turn the mixer back to high speed and whip until it has come together, about five minutes. Add the extract, beat briefly and then use.

If the buttercream seems soupy after all of the butter is added and does not come together after whipping, refrigerate for 5 to 7 minutes and continue whipping until it becomes fluffy and workable.

Filled with buttercrem

Assembly

Stack the layers in your preferred order and fill and frost as you would any other cake.

Once frosted, the cake can be left on the counter without any problems, but feel free to refrigerate it. Just be sure that the cake is at room temperature when serving or the frosting will be hard.

A slice of Rainbow Cake