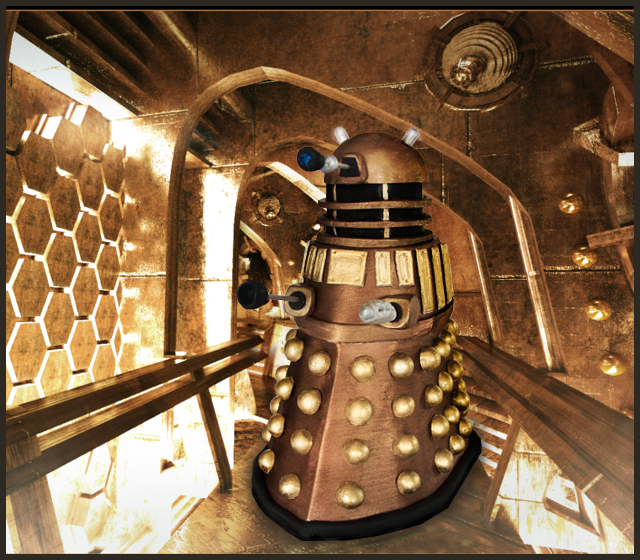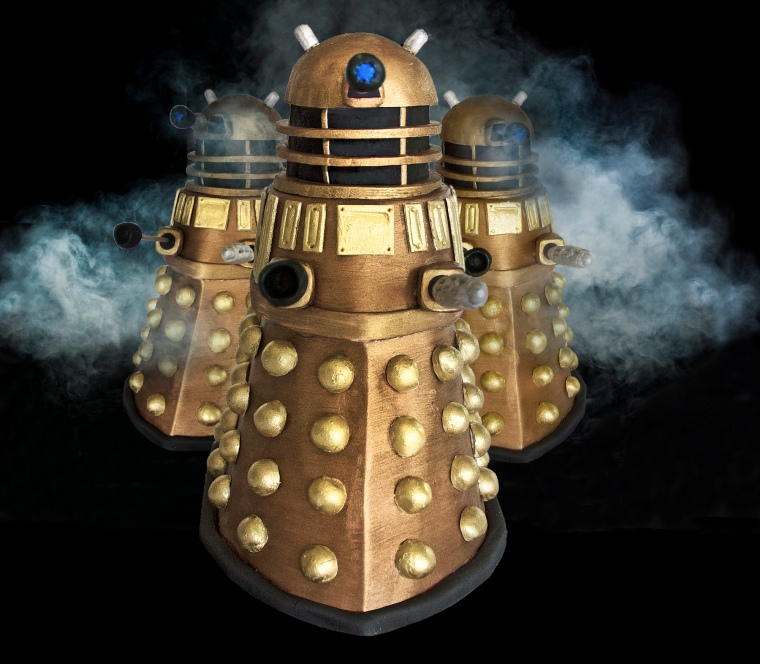
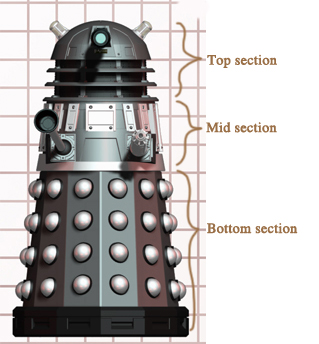
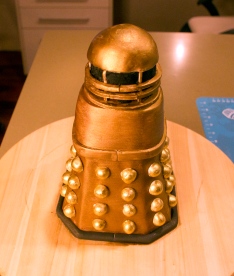
Dalek 9” tall to serve 30 portions
Materials
Thin waxed card
9″ or 10″ diameter black cake board (or cover a silver board with black fondant)
1 x 3″ cake tin
1 x 4″ cake tin
2 x 6″ cake tin
1.5 kg white fondant
Black fondant
Ganache
Shortening
Rolkem gold dust
Edible silver paint or silver dust mixed with vodka
Global Sugar Art Sterling Pearl Bronze
Vodka or alcohol based lemon essence
Scalpel
Cocktail sticks
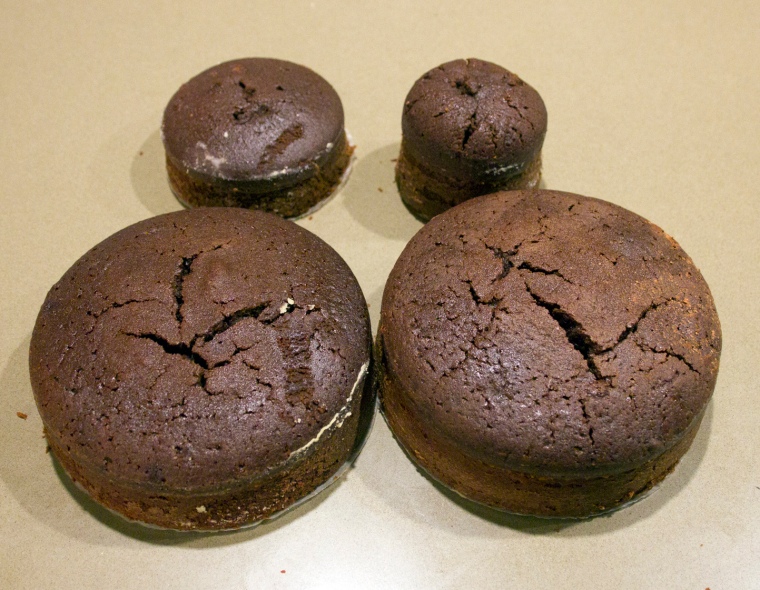
Dark Chocolate Mud Cake
1 x 3” tin, 1 x 4” tin and 2 x 6” tins
375g butter
300g dark chocolate
7g instant coffee powder
2 cups warm water
285g caster sugar
390g Self Raising flour
45g cocoa powder
3 eggs
1.5 tsp vanilla
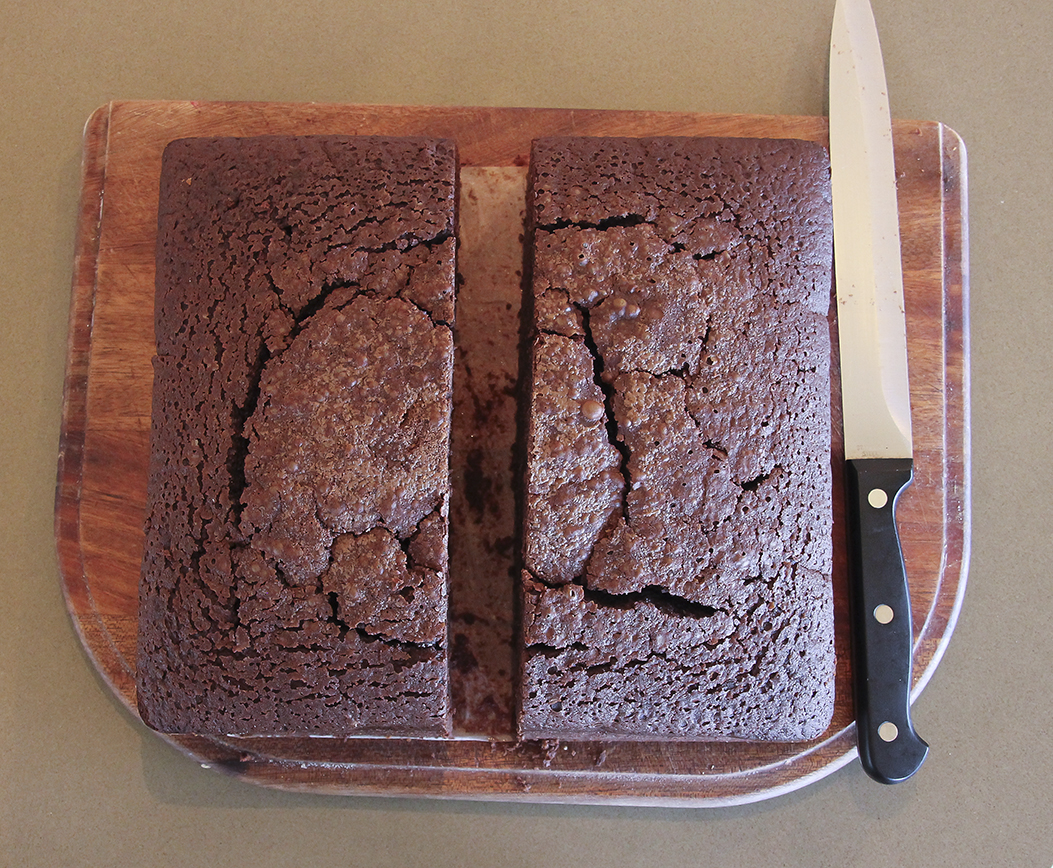
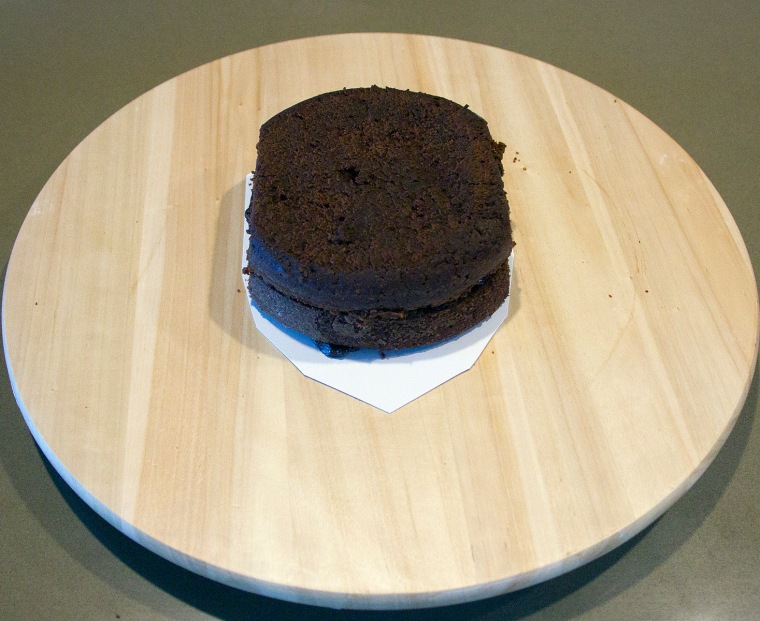
Make the cakes: 1. Grease and line base and sides of cake tins with one thickness of baking paper..
2. Combine chopped butter, chopped chocolate, coffee, and water in a saucepan.
Stir over low heat until chocolate is melted. Cool 15 minutes. Transfer mixture to bowl of mixer.
3. Add caster sugar to mixture and beat well until dissolved. Add sifted flour and cocoa, lightly beaten eggs and vanilla.
4. Pour mixture into prepared tins.
5. Bake at 150C for 30 mins. Test with skewer. Cakes may take various times as they are different sizes. Cool cakes in tins.
Dark Chocolate Ganache
Make 28 round balls. Once hard, cut in half and paint gold
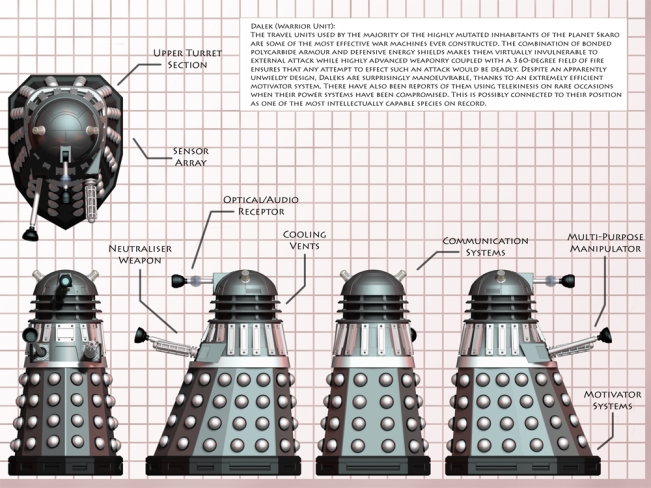

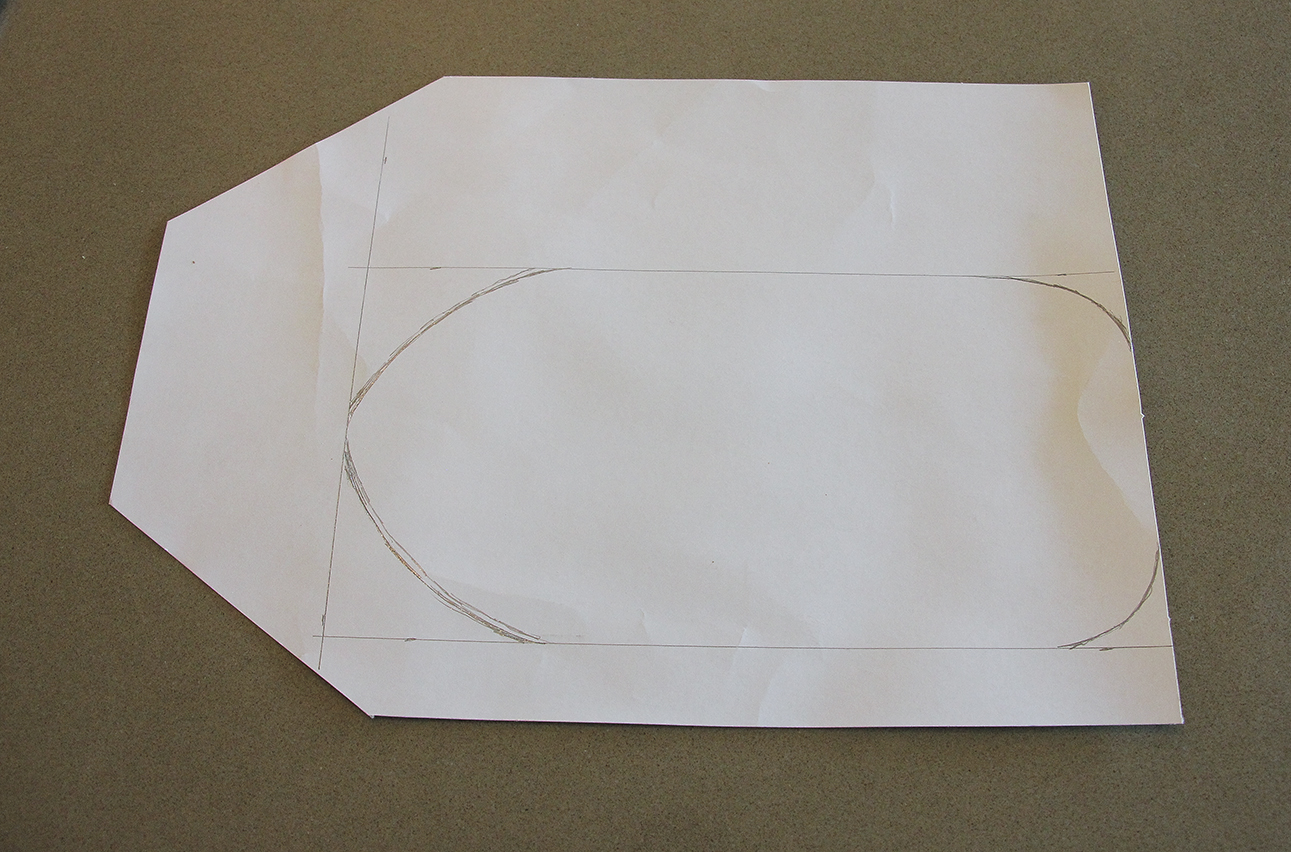
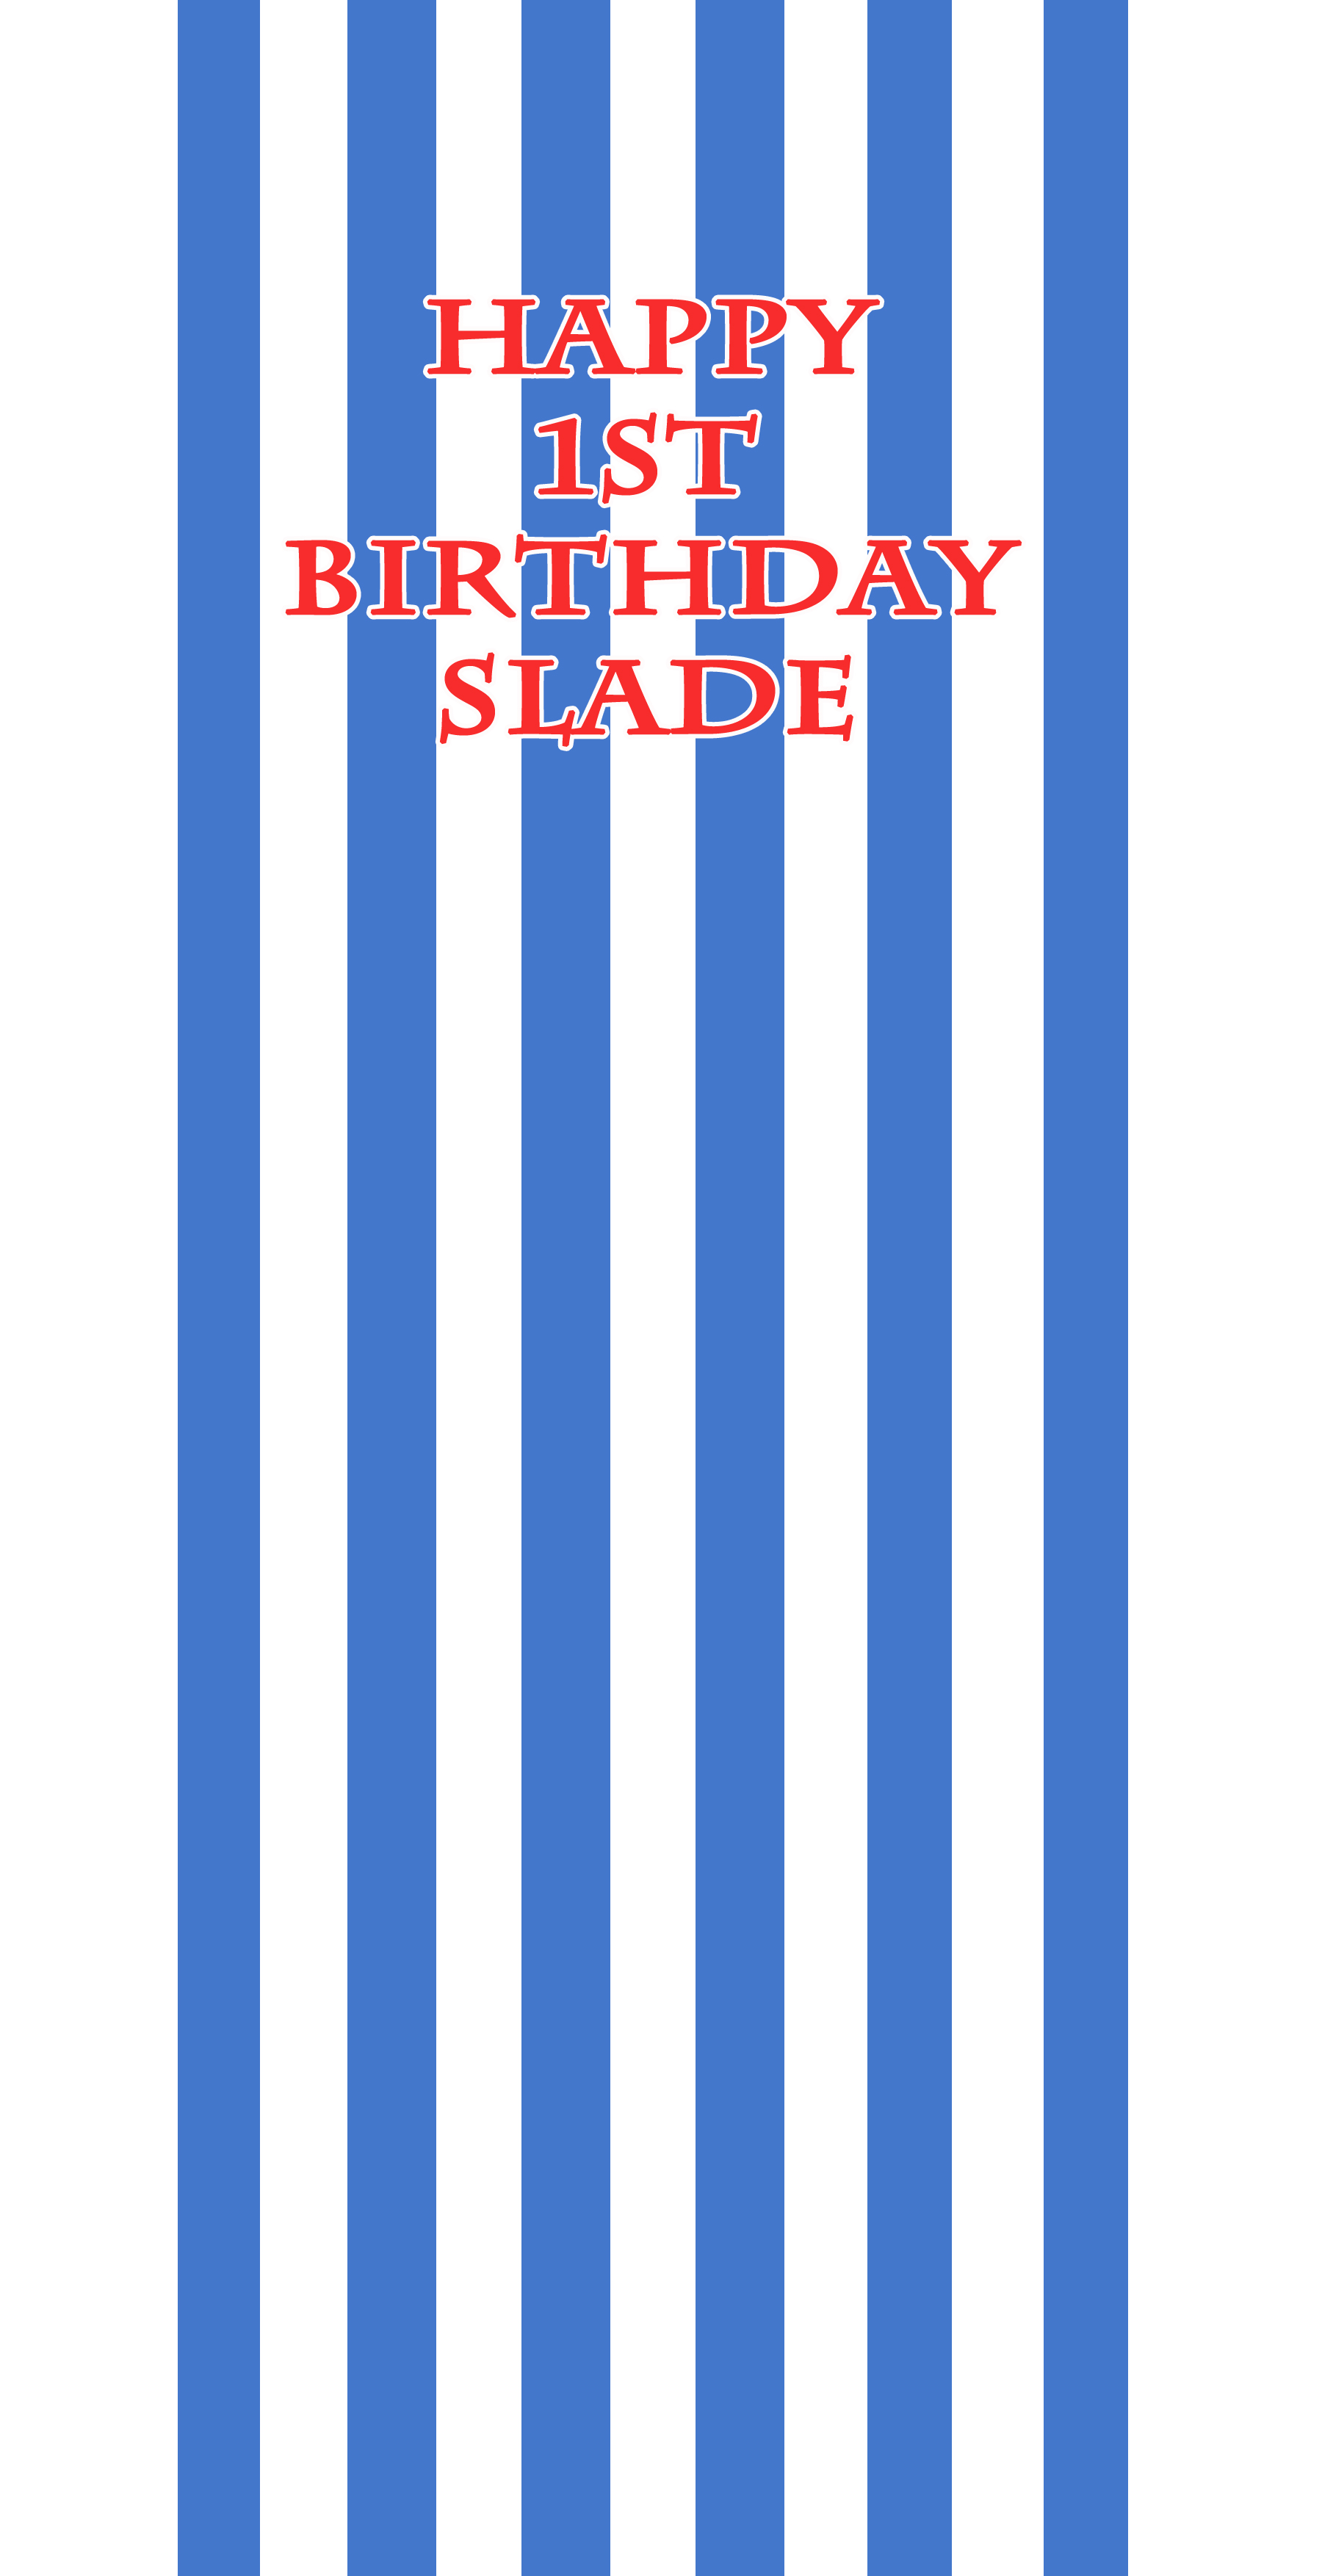
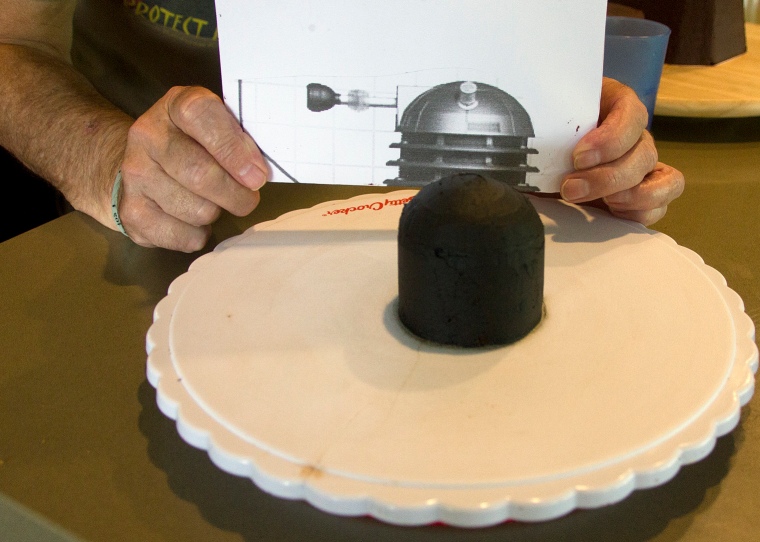
Use a copier to increase the size of the printed Dalek to a height of 9”, the finished height of the Dalek cake.
Increase the size of the overhead view to 7”. This will be the finished length of the Dalek. I enlarged all views by 254% and that worked a treat.
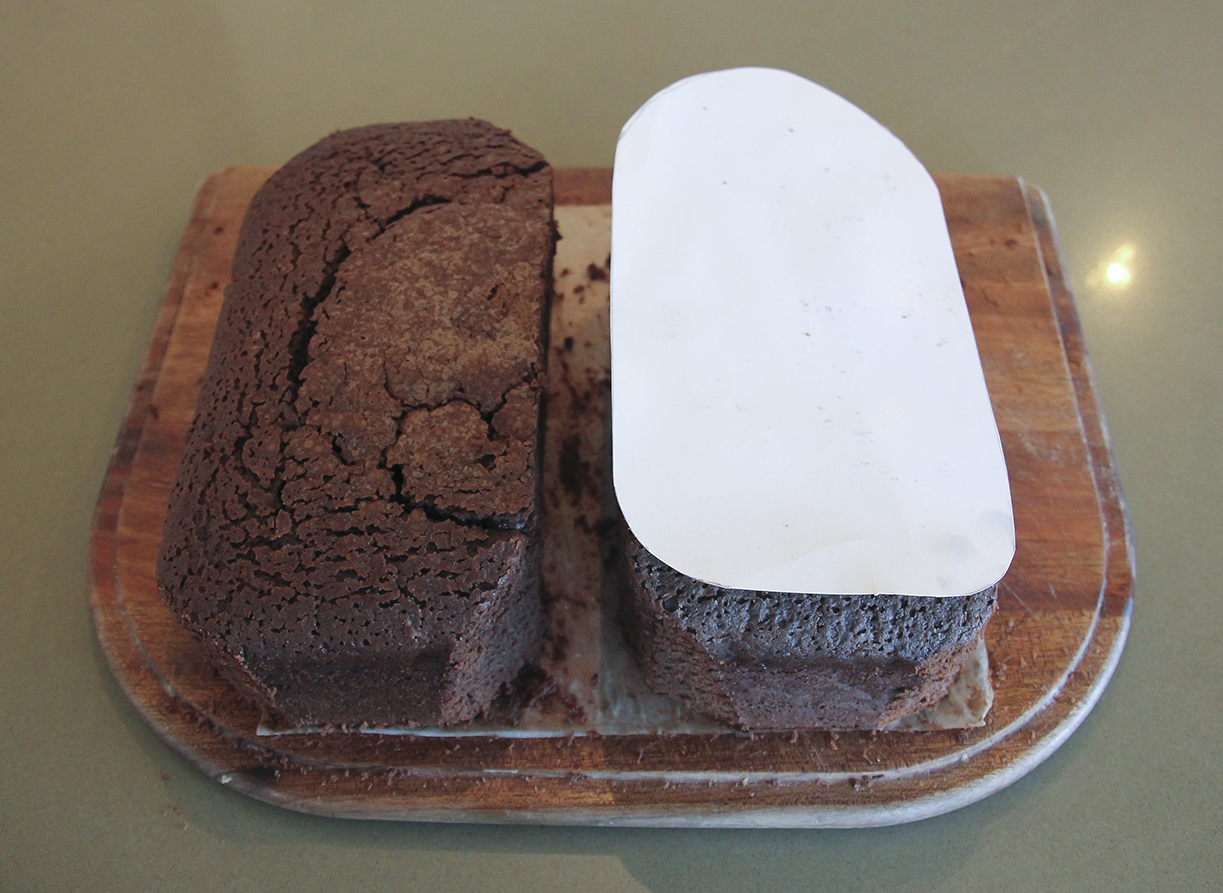
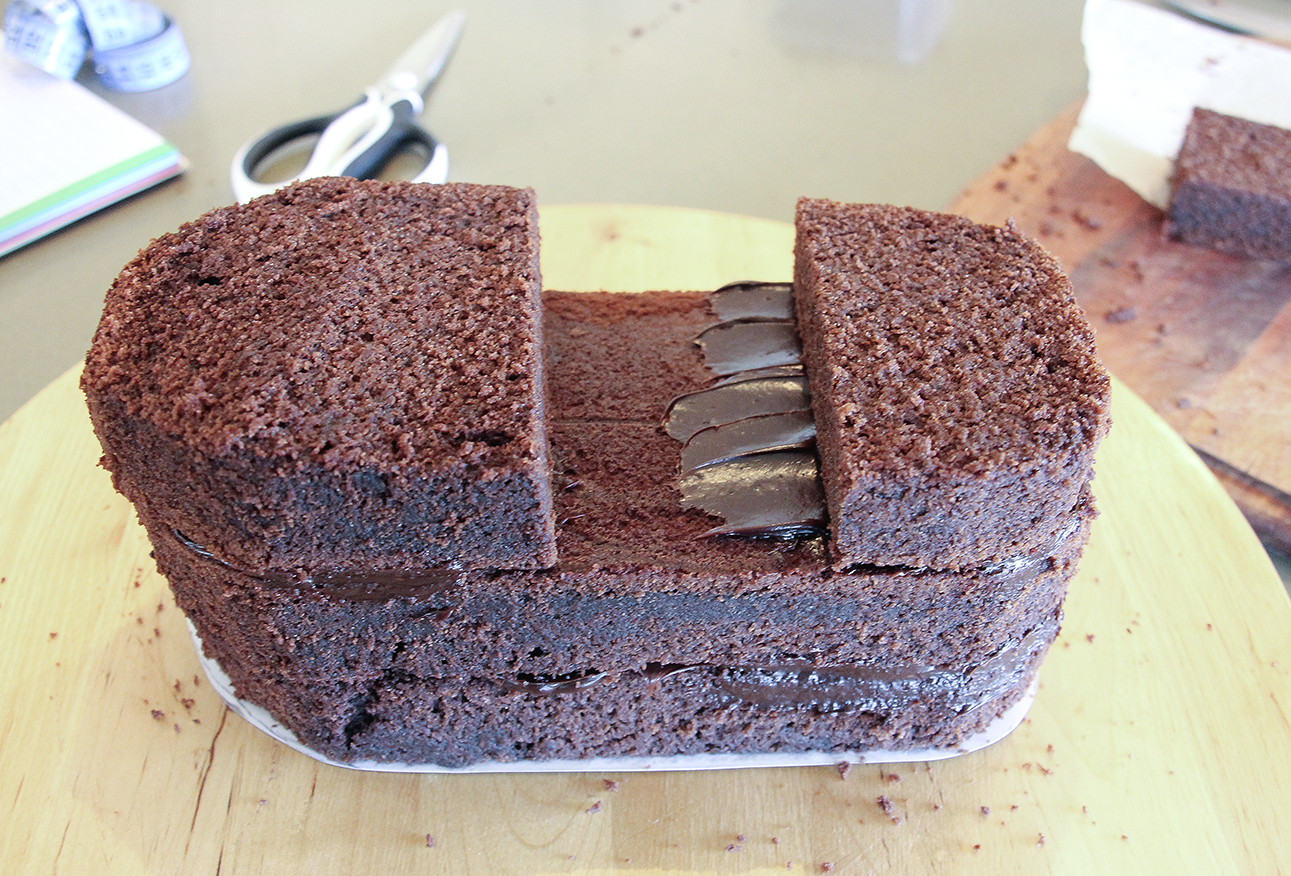
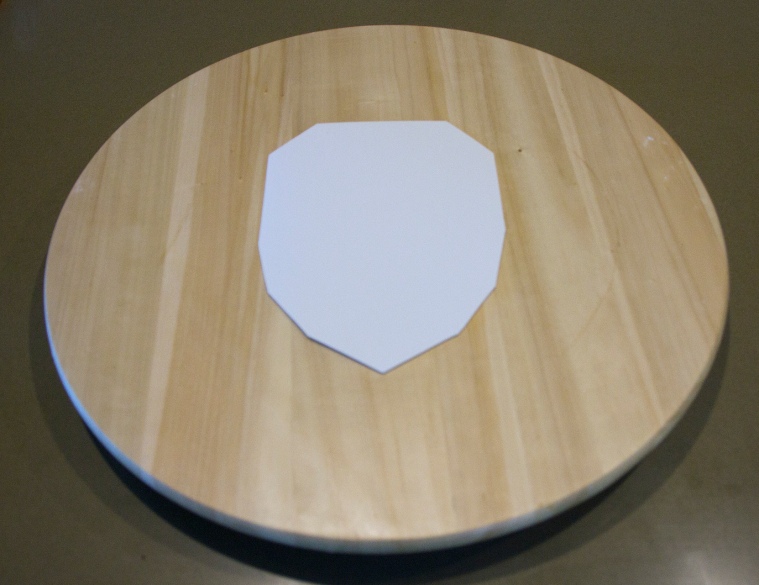
Trace round the outside of the overhead image and cut out.
Use this template to cut out the cake board from waxed thin card. Similarly cut out a second waxed card to place between the middle and bottom sections.


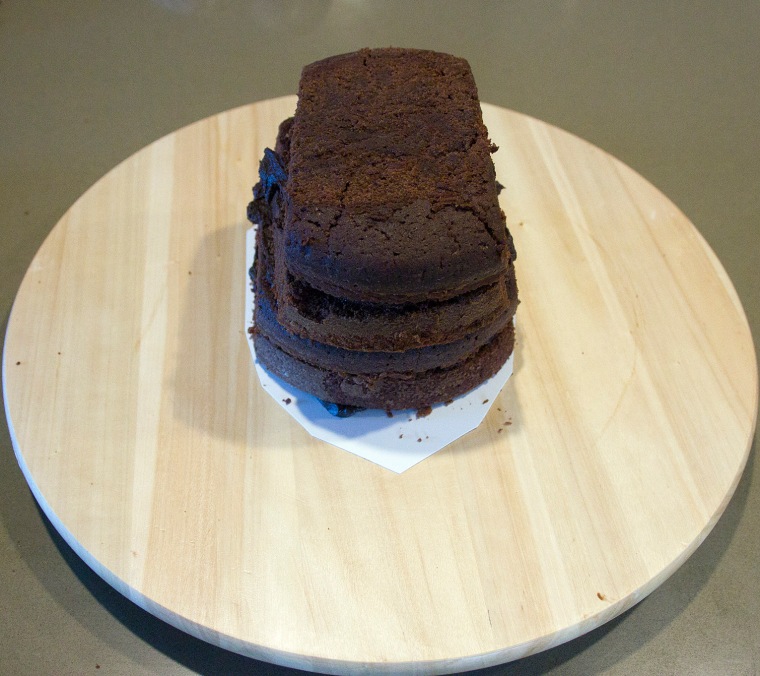

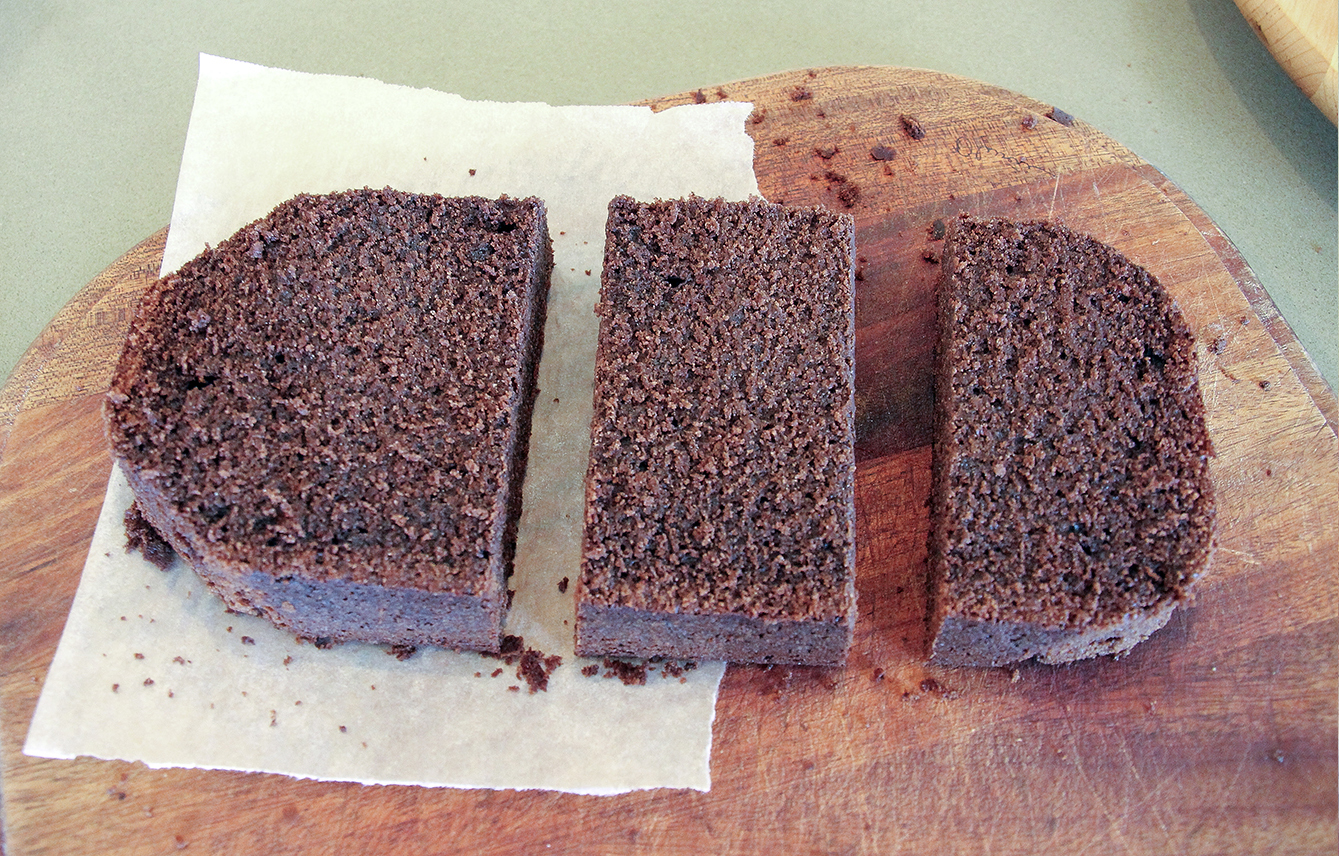
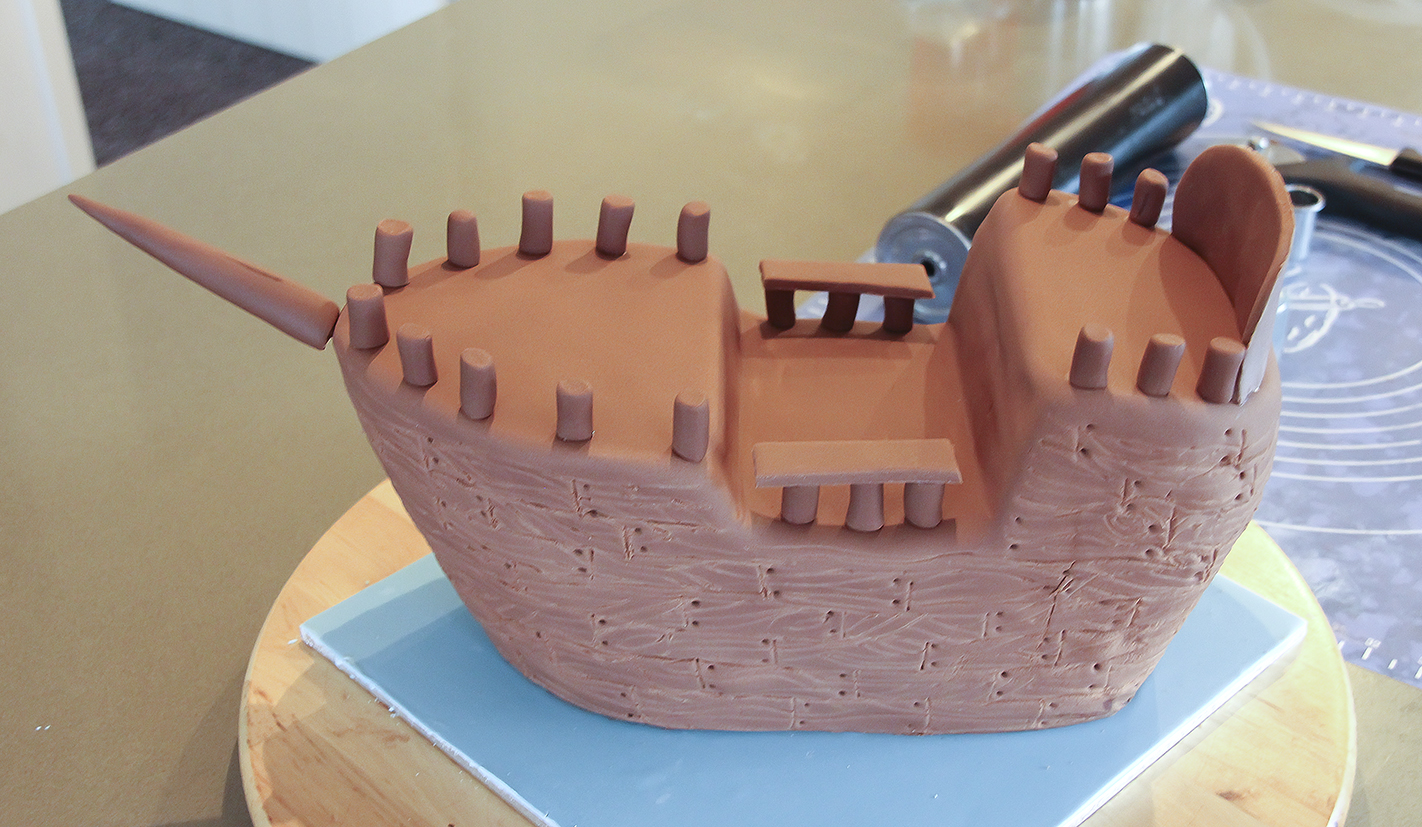
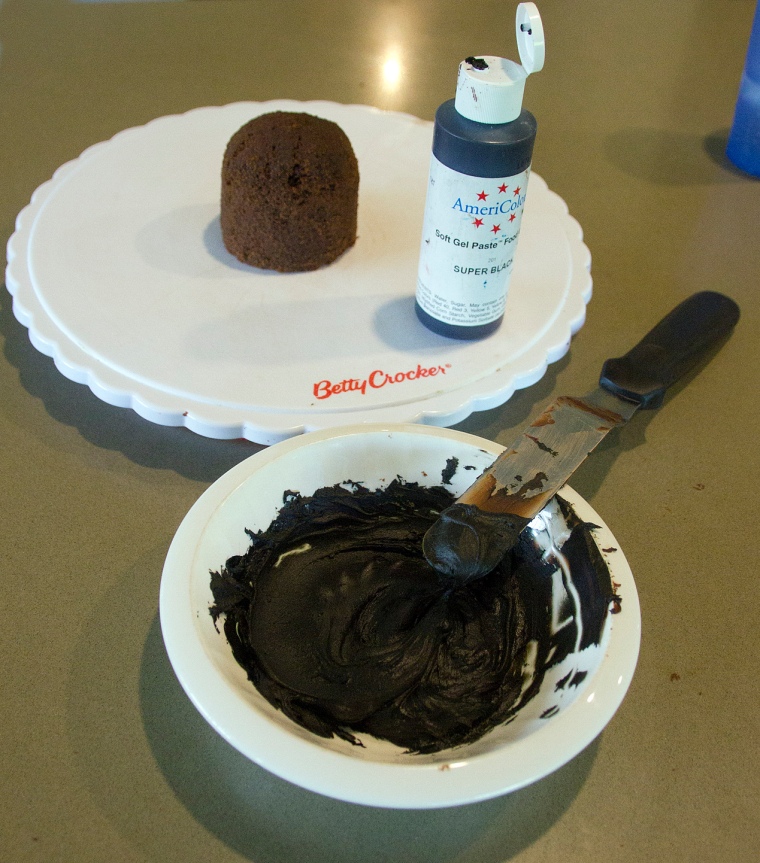
Cover all 3 sections in ganache but colour the ganache black for the top section.

Once covered in ganache you can continue to work on the overall shape.
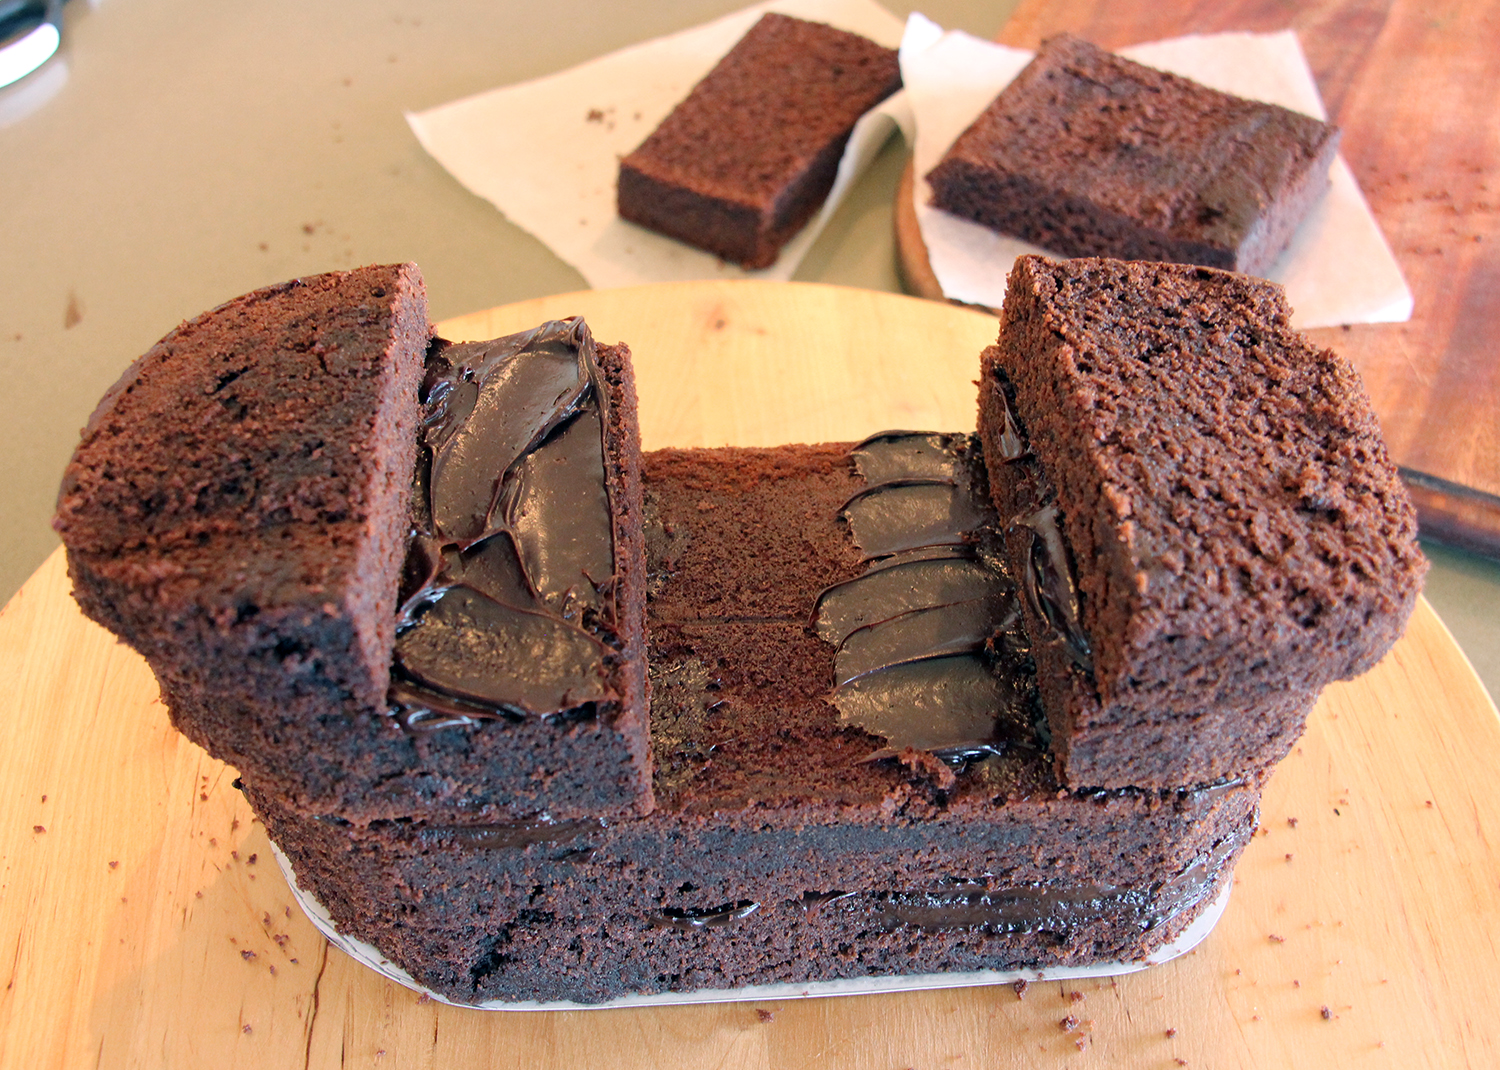
Once the 3 sections are covered in ganache and dried hard it is time to attach the middle section to the bottom section. Remove the thin piece of card from the middle section before joining with a little soft ganache or soft Royal Icing.
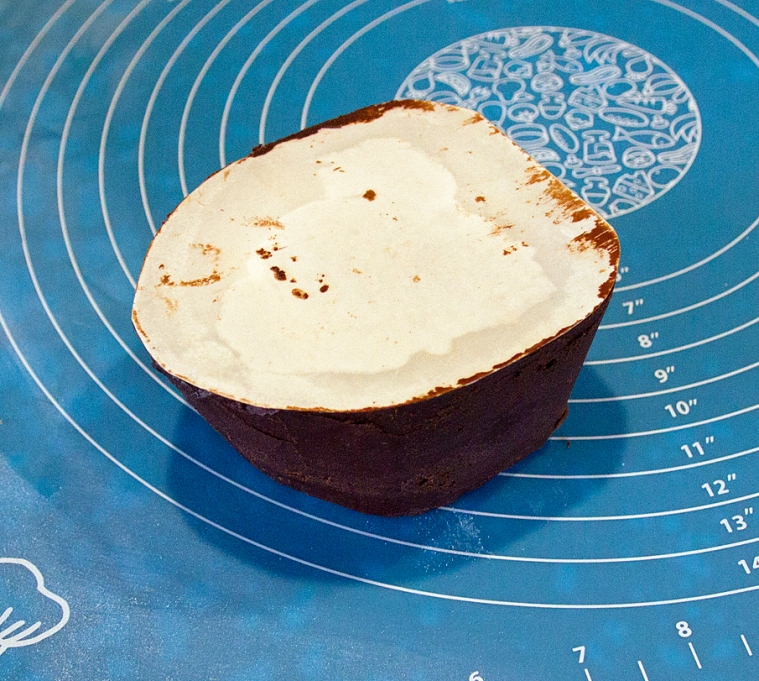
Remove the thin card from the mid section before attaching to the bottom section.

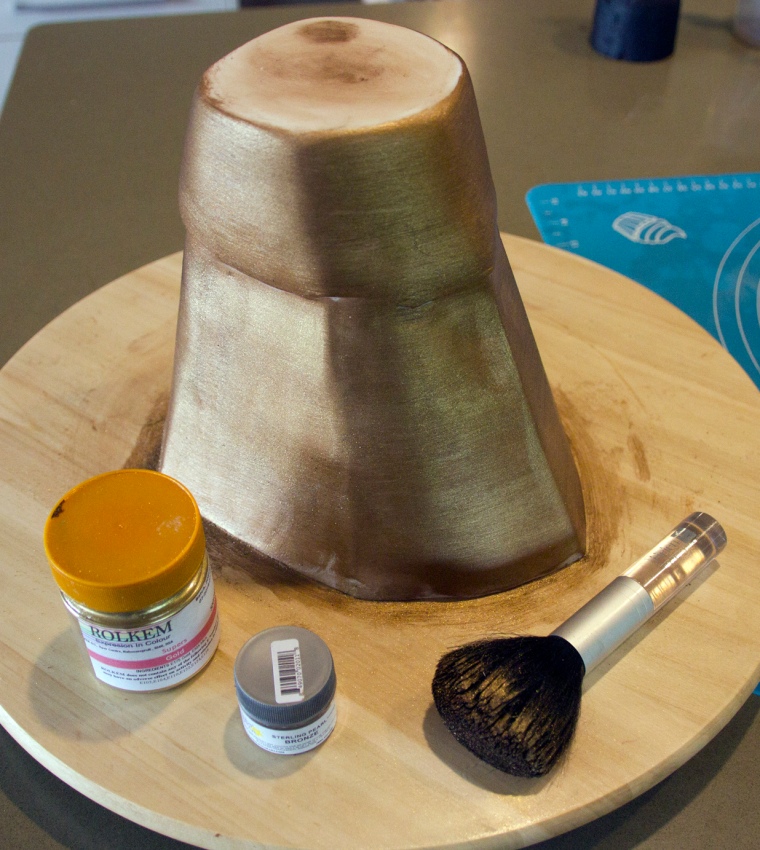
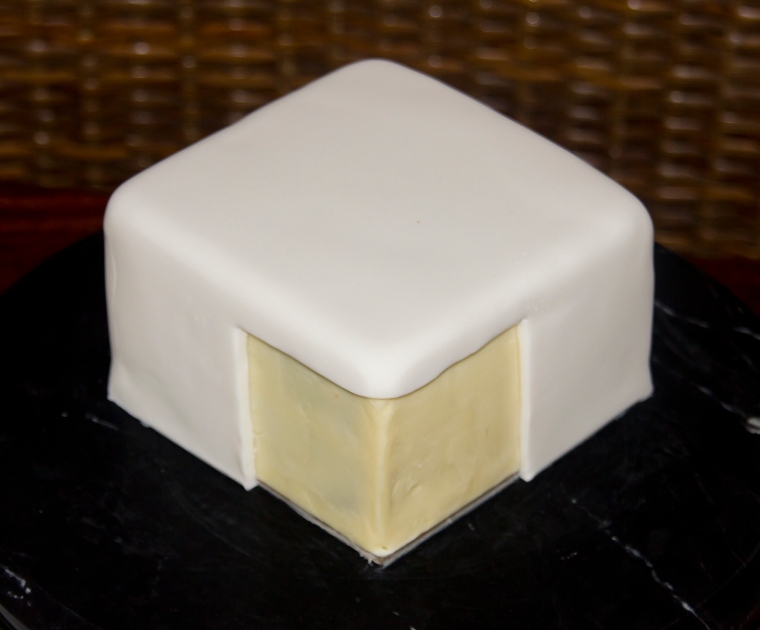
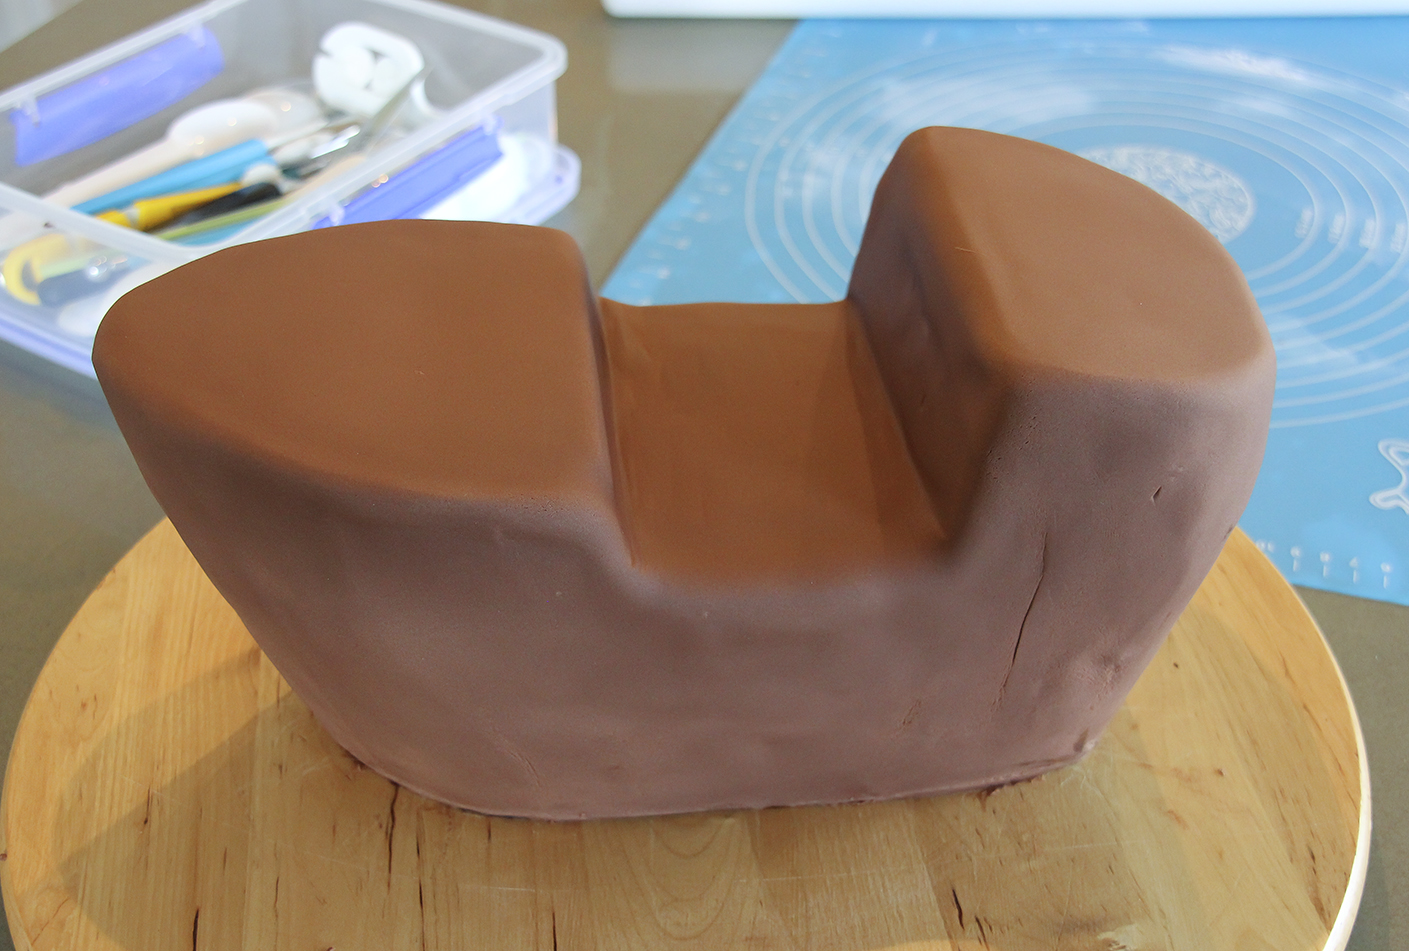
With the bottom two sections together, cover in white fondant.
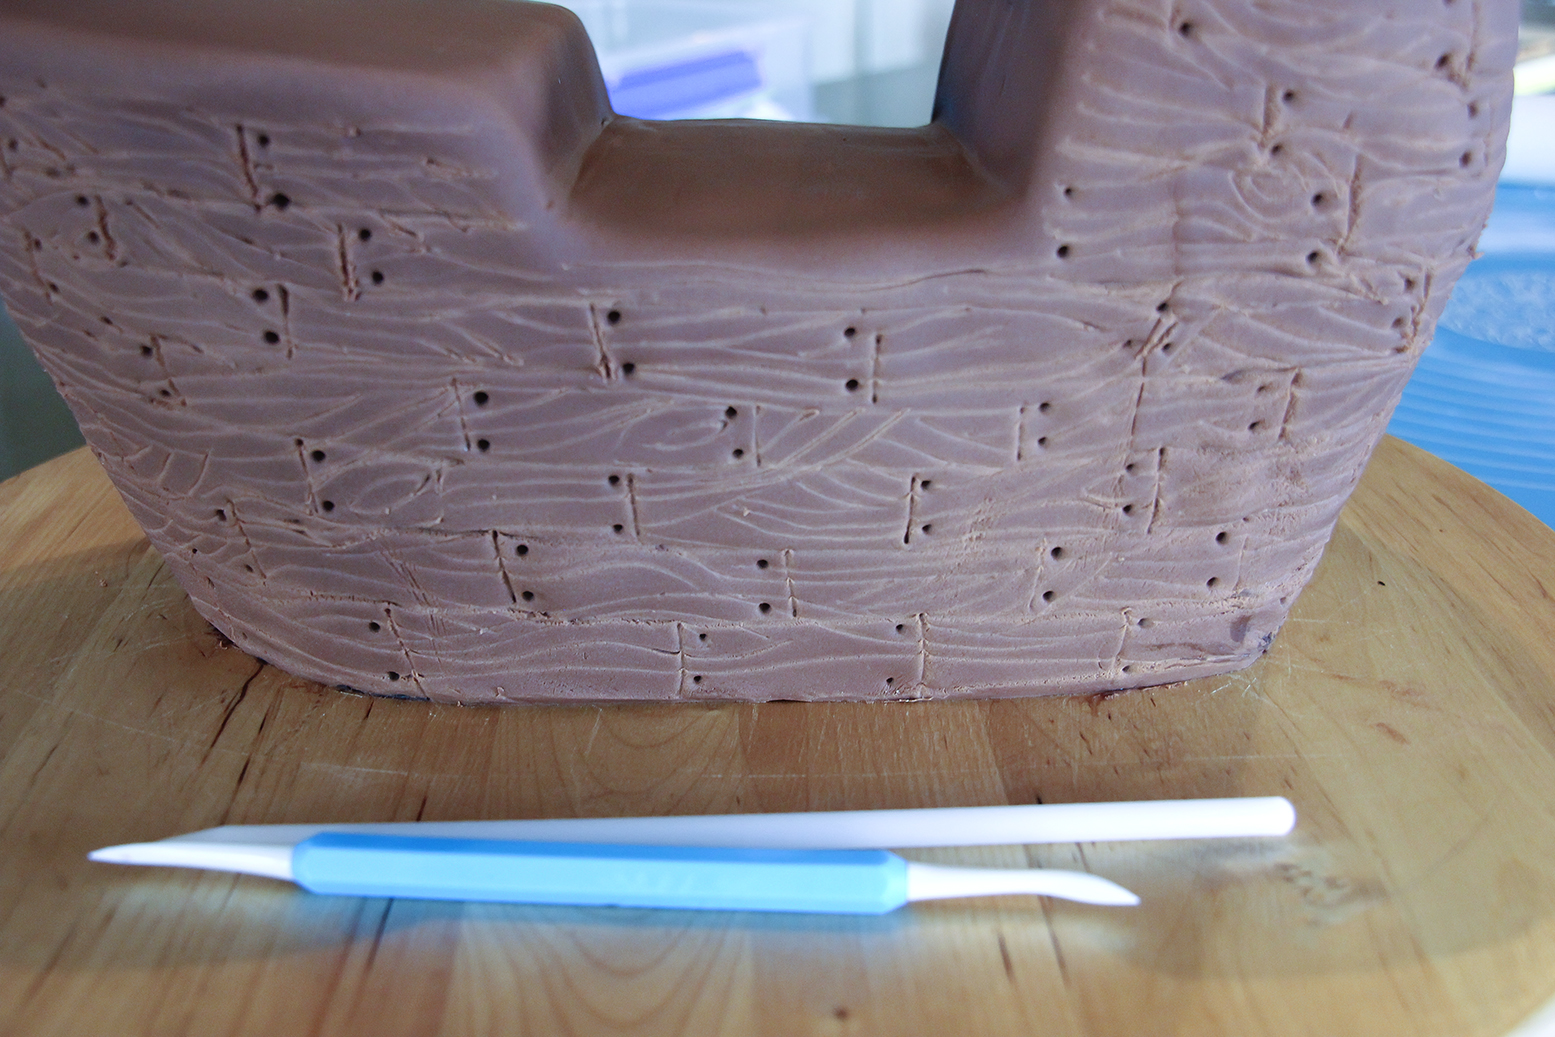
To help the lustre dust stick to the cake, cover cake in shortening using your (rubber gloved) hands. Only smear on a small amount but make sure the surface is fully covered.
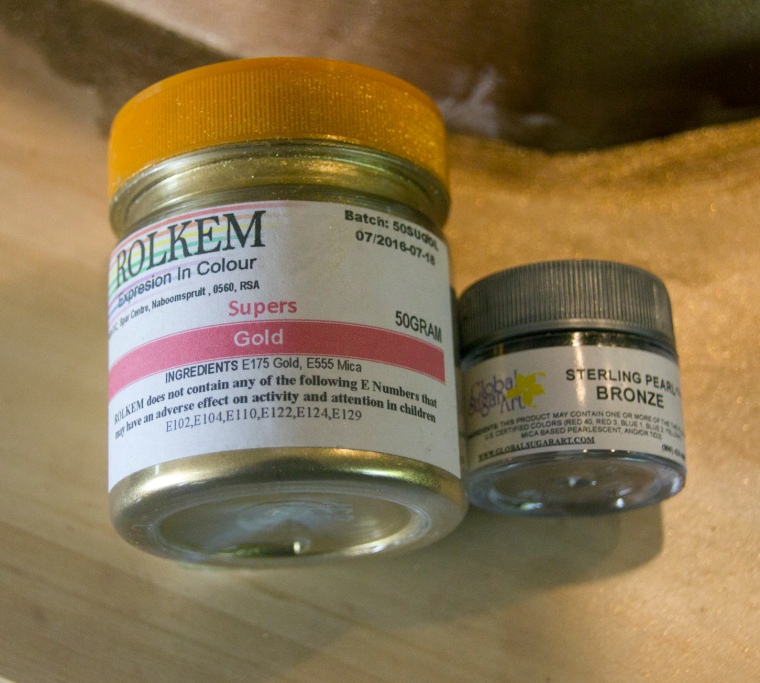 Mix together the two shades of lustre dust and load your brush with a large amount of dust. Apply using a large soft make-up brush like mine that I keep for food use only. Brush horizontally not up and down. Go back over bits you have missed till it all looks good.
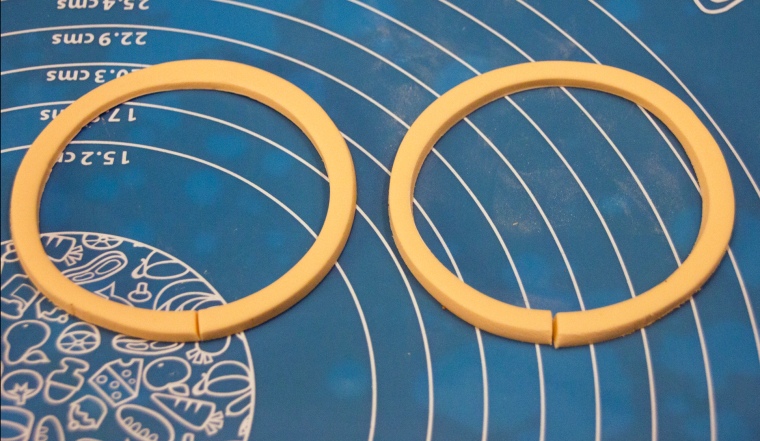
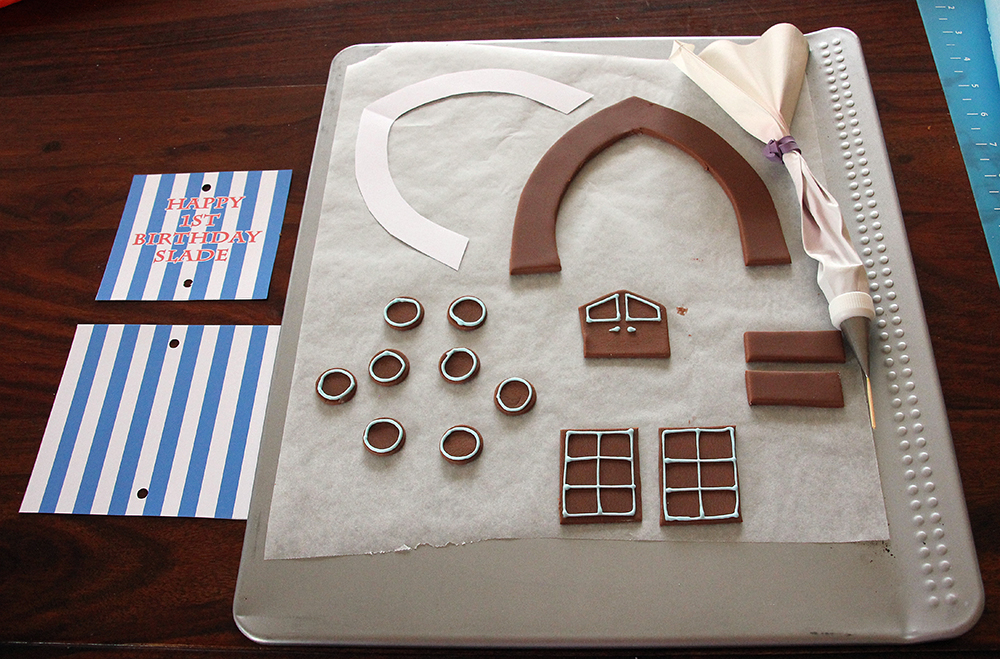
Cut out 3 circles of white fondant (I have used a light orange coloured fondant for some details but the result was just the same as using white fondant) each approx 8.5 cm diam. One will be the base for the Upper Turret Section and the other two will be the fins surrounding the cooling vents. Cut out the centres of the fins to the same diameter as the Turret approx 7.45 cm. See image.
Paint the rings ( cooling fins ) with the dust mixture.
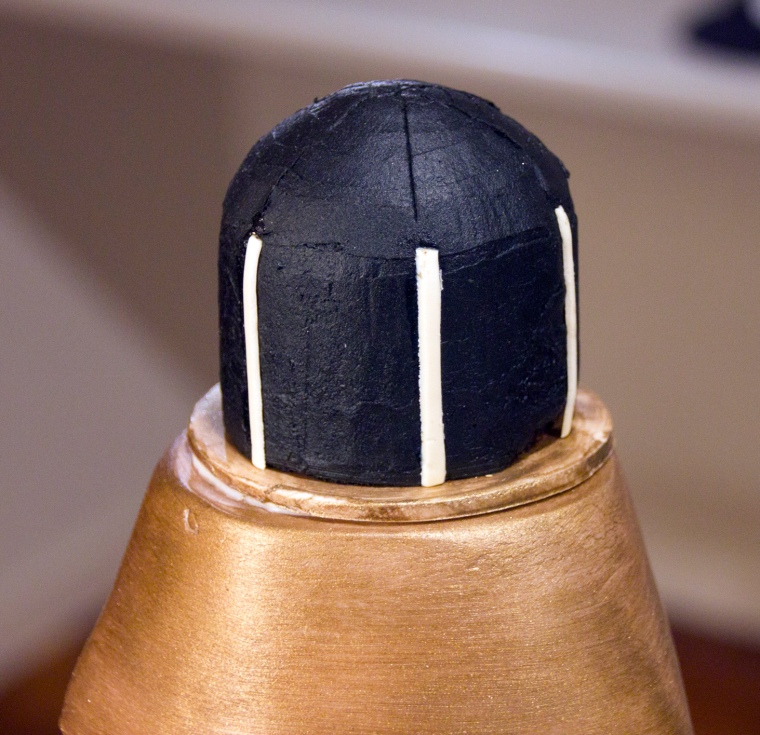
Once the fins are dry and before adding the fondant top piece, paint a ring of glue around the top section where the bottom ring is to be placed and slip the ring over the top and down into position. Glue the ring shut at the back. Repeat with second ring.
Cut a circle of fondant approx. 10.5cm in diameter as a top piece and attach. Neaten edges with a scalpel if necessary. Paint with the mixture of dusts and vodka.


Add gold balls using a small amount of Royal Icing.
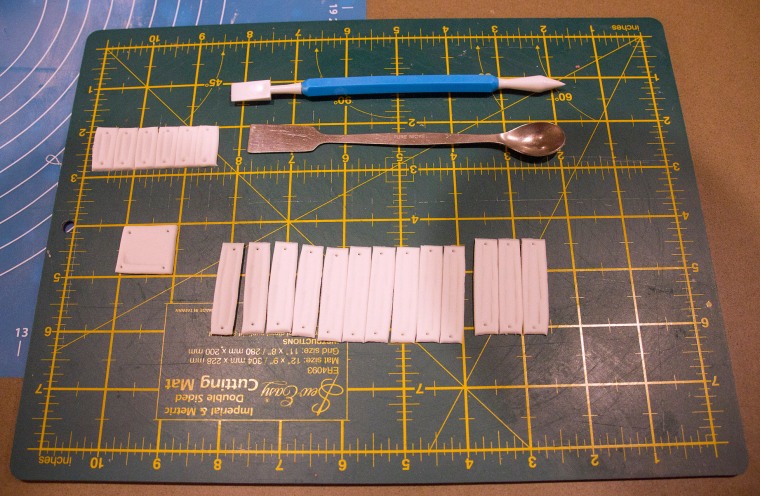
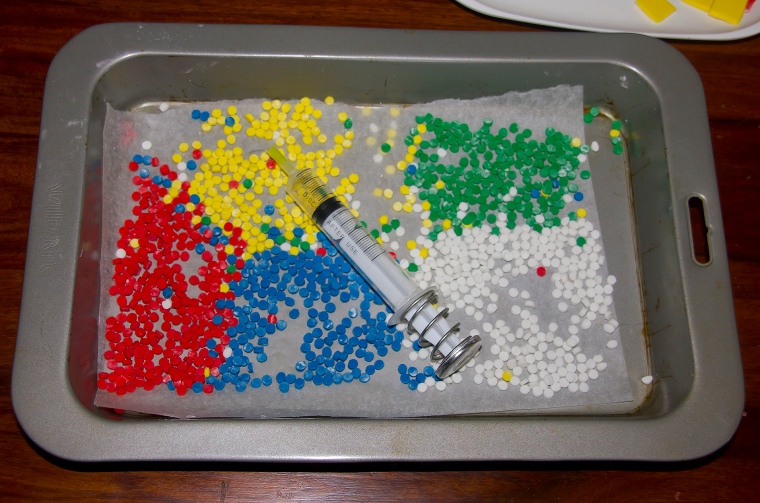
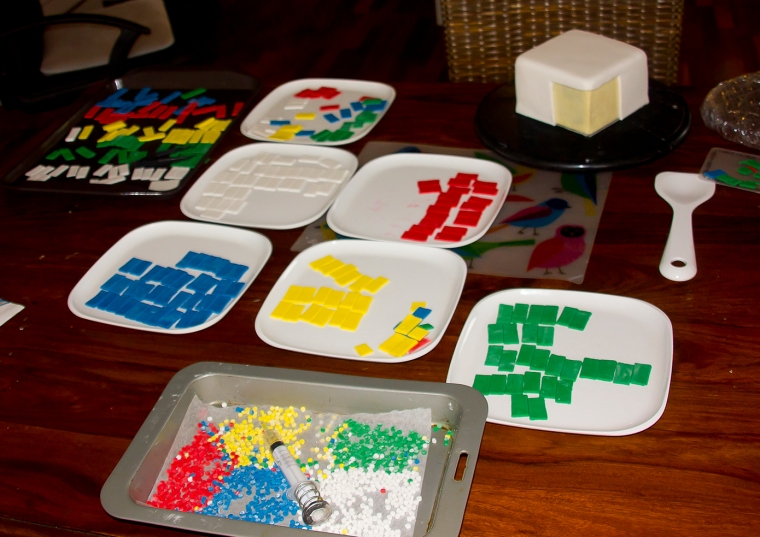
Cut out all the platelets using the printed Dalek as a guide to size and numbers. Paint gold and attach once dry.
Make the Antenna, Arm and Exterminator using the enlarged prints as your guide. Use the cocktail sticks painted with edible silver colour and add fondant as required.
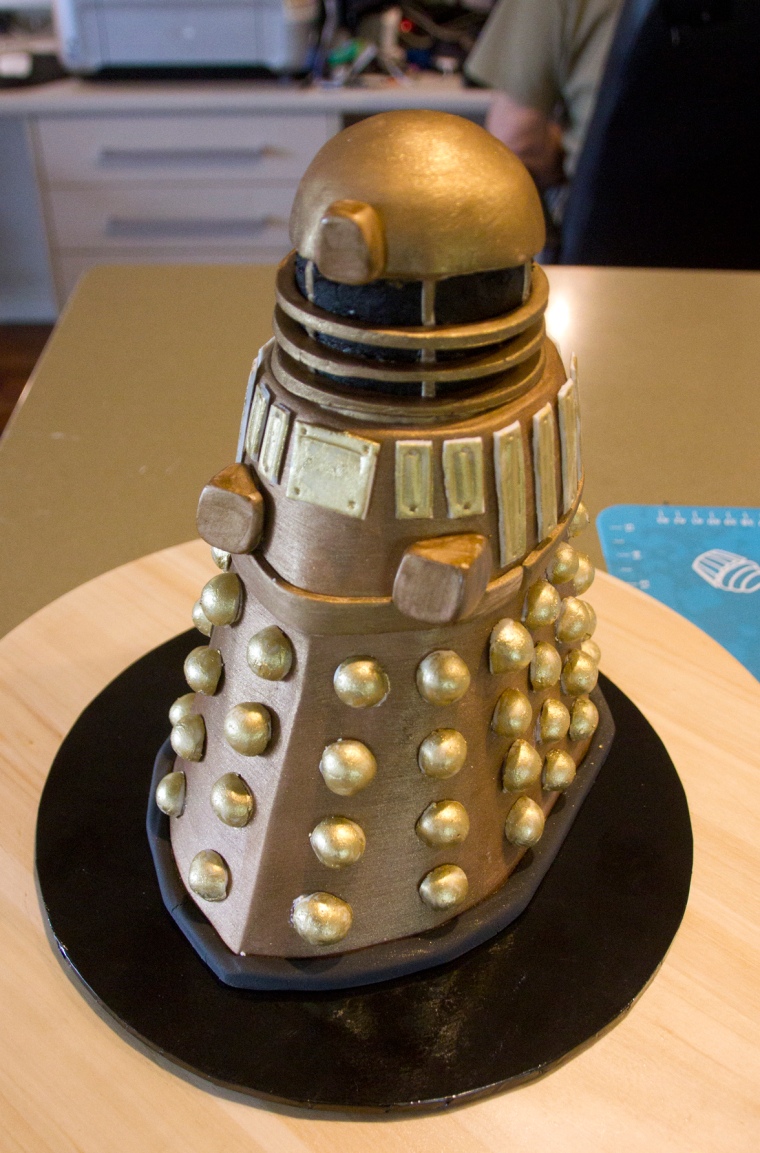
Attach the Antenna, Arm and Exterminator.
Attach Dalek to the black cake board with some Royal Icing.
Make the bumper at the base of the Dalek from black fondant. Measure around the base then roll the fondant into a long sausage of the correct length and flatten with smoothers or rulers to get a squarish shape. Stick on with a little edible glue.
To finish off I went back over all the gold with a second coat of paint.
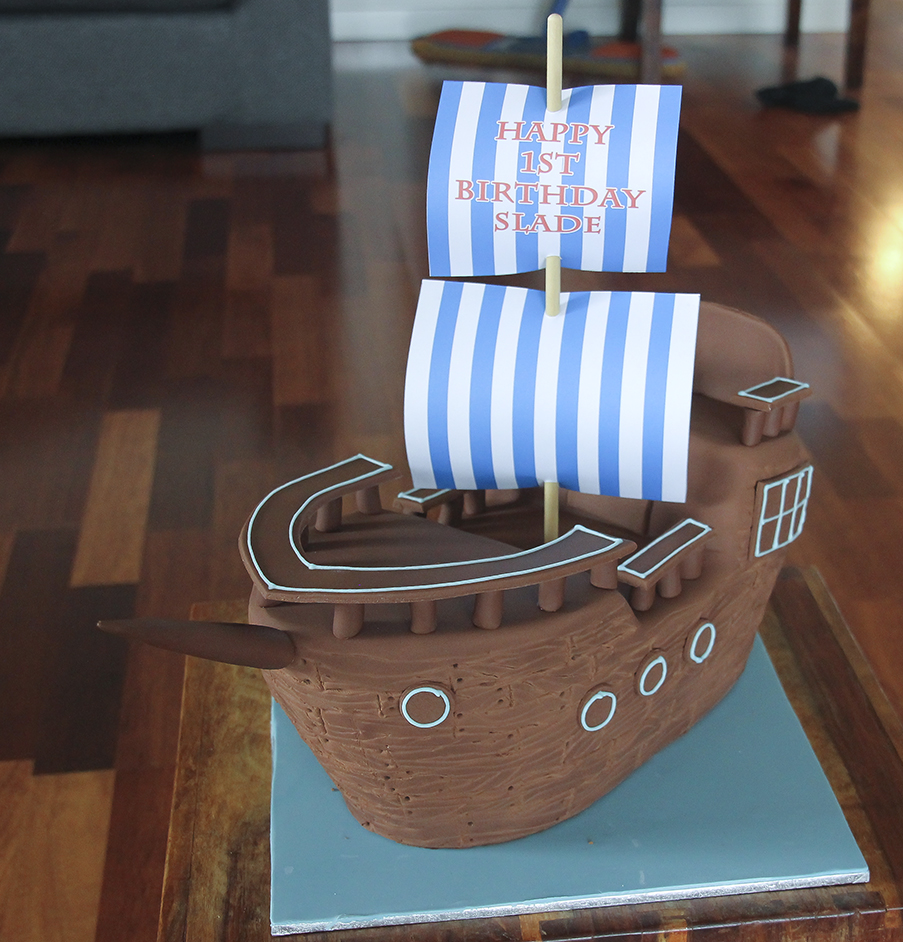
Voila!