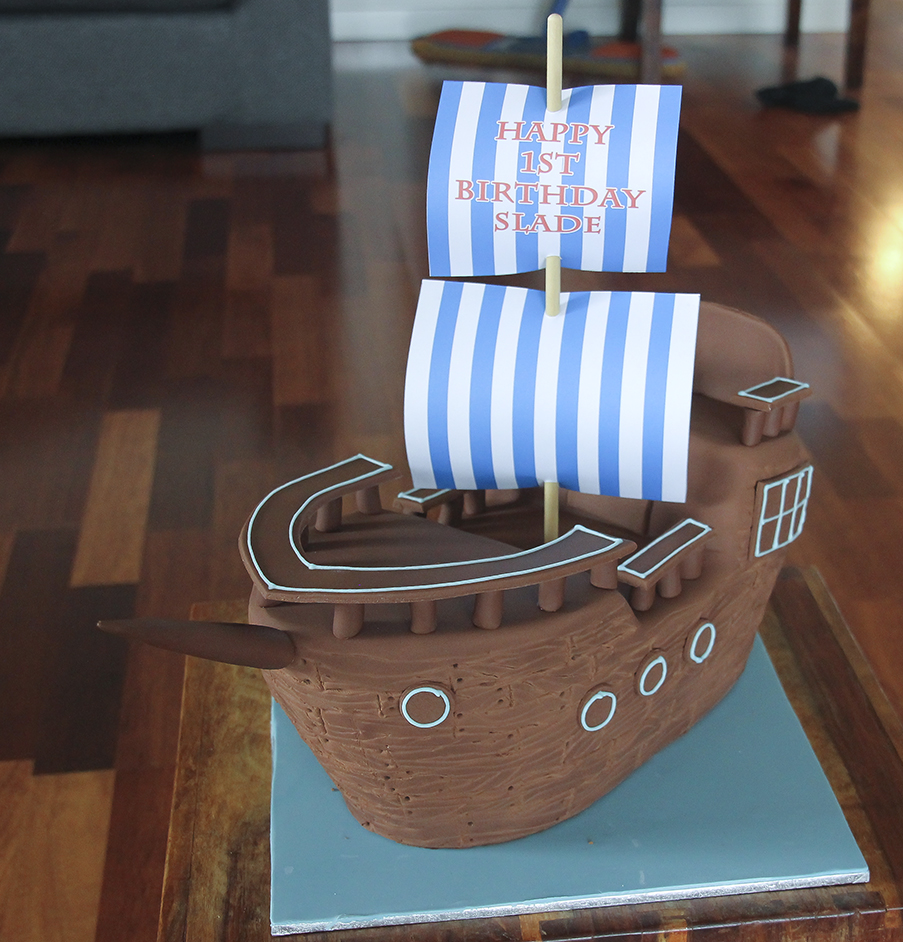
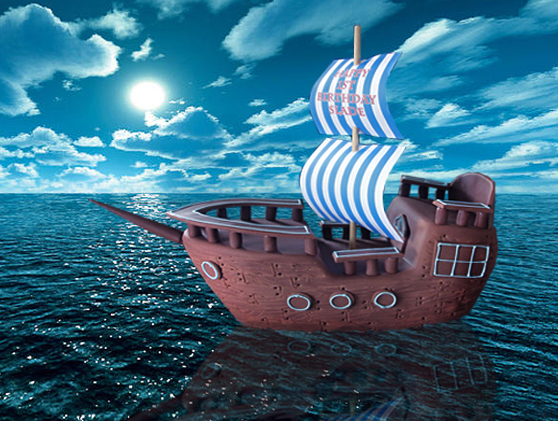
I made this cake for Slade’s 1st birthday and his Mum didn’t want anything too scary so no skull and cross bones on this cake. It was fun to make the cake and like many of my cakes I didn’t have any idea how it would turn out and just made decisions as to style and colour as I went along.
Some materials you will need
12″ of 7mm diam wooden dowelling for the mast 12″ square cake board 375g pale blue sugar paste to cover cake board 900g brown sugar paste to cover ship
Dark Chocolate Mud Cake Recipe
I used my recipe for a 9″ square cake but I actually used a 8.5″ pan so that the cake was taller than usual. 400g butter 325g dark chocolate 1.5 tblsp coffee granules 2 cups warm water 2.5 cups of Self raising flour 1.5 cups caster sugar 0.5 cups cocoa powder 3 large eggs 1.5 tsp vanilla
Method
1. Grease and line base and sides of cake pan with one thickness of baking paper, bringing paper 5cm above side of pan.
2. Combine chopped butter, chopped chocolate, coffee, and water in a saucepan.
Stir over low heat until chocolate is melted. Cool 15 minutes. Transfer mixture to bowl of mixer.
3. Add caster sugar to mixture and beat well until dissolved. Add sifted flour and cocoa, lightly beaten eggs and vanilla.
4. Pour mixture into prepared pan.
5. Bake at 150C for 1.5-2 hours . Test with skewer. Cool cake in pan.
Make the Dark Chocolate Ganache
although I am asking you to make a lot of ganache, you will need a lot to give the ship its bulging shape and any extra can be frozen till your next cake project.
1.9 kg dark chocolate, finely chopped 600ml pure cream
Method: Heat the cream until it just starts to bubble, pour over chocolate (which you have blitzed in the food processor to coffee granules size) and let it sit for about a minute to melt. Use a hand whisk to blend it all together then set aside to cool.
Your ganache at this point will be thin. You will have to let it set overnight until it thickens to a slightly thicker peanut butter consistency. Since I don’t have the patience to wait, I just let it cool to room temperature and then pop it in the fridge (don’t cover because you might get condensation). It would usually set in the fridge in about an hour or two. If it sets too hard, just microwave it in 10 second intervals (keep mixing it whenever you take it out) till it is easy to work with.
For more information on how to make ganache and cover your cake with it, please click here.
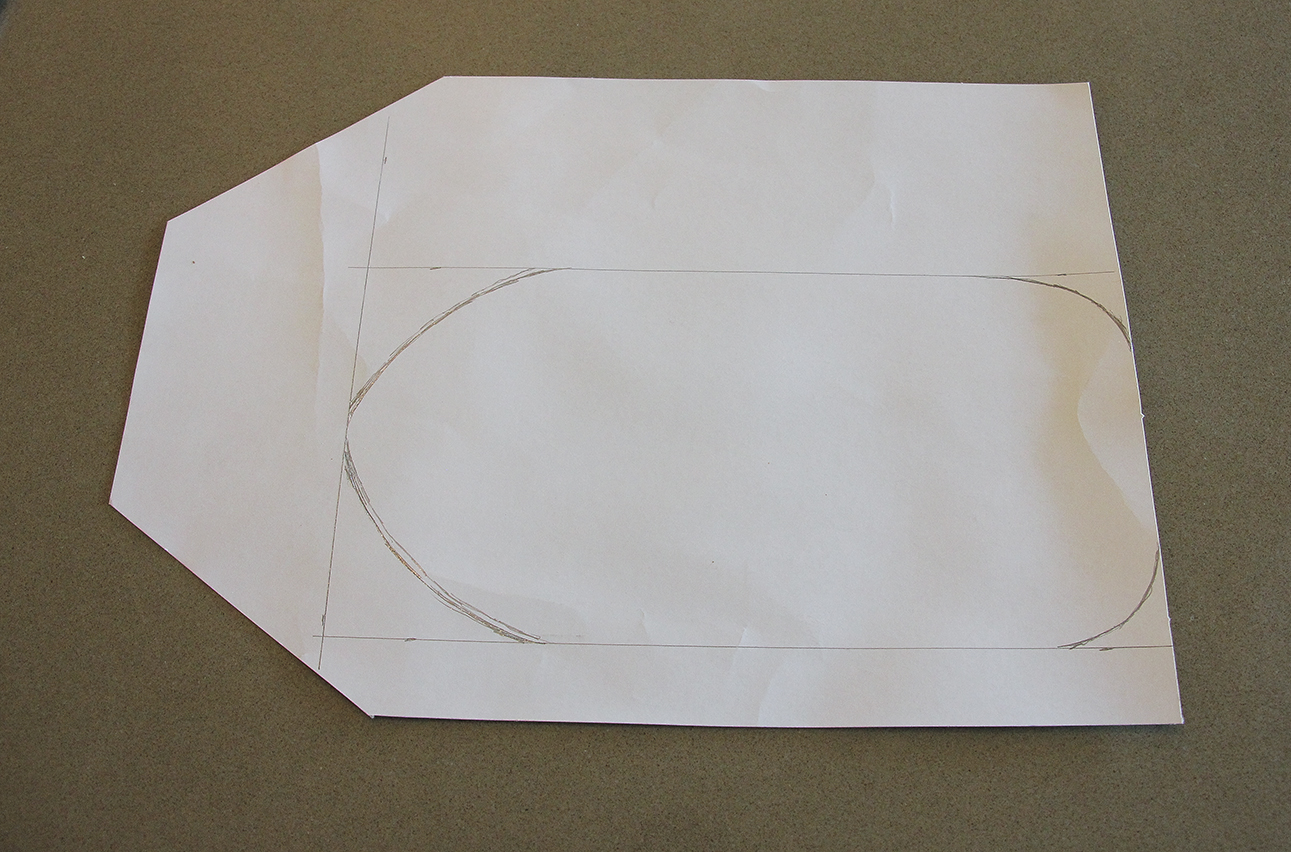
Set up Board
first of all measure out a rectangle 11 x 22 cm then round the corners off to make the ship template which will also be used as the set up board and the edge can be followed when ganaching..
Set up board
Once you are happy with the shape cut it out.
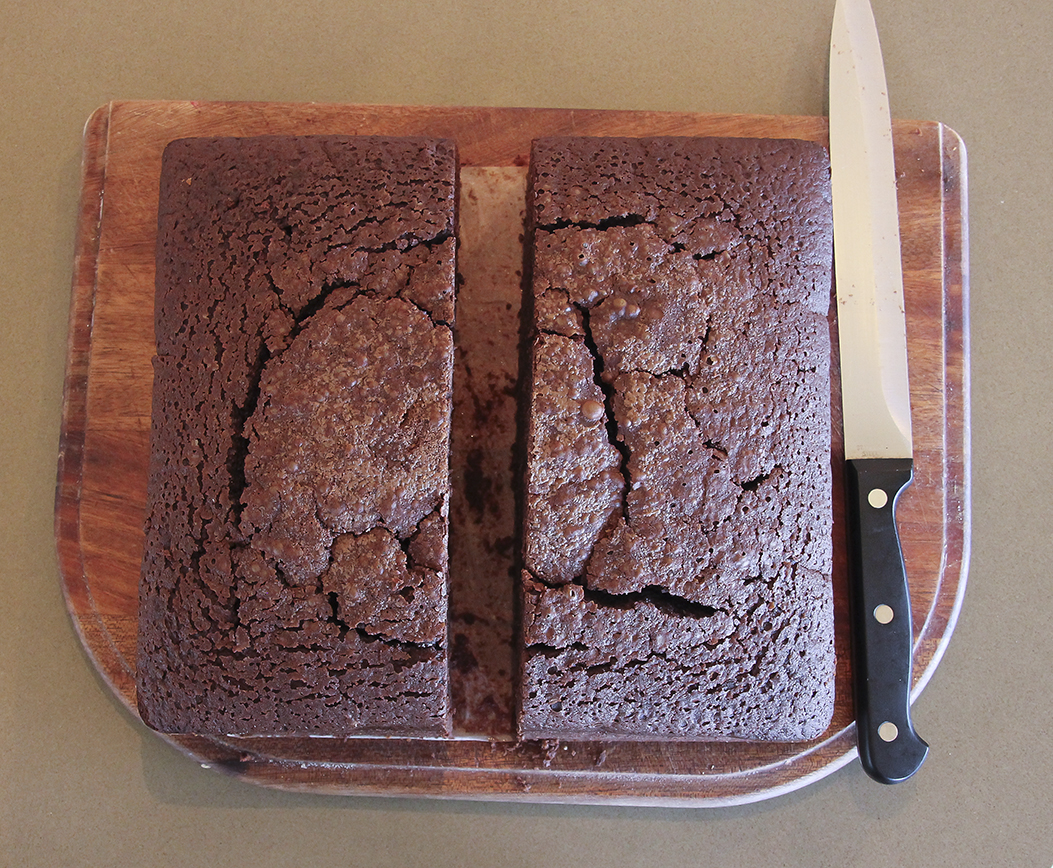
Building the ship
Cut the cake in half.
Cut cake in half
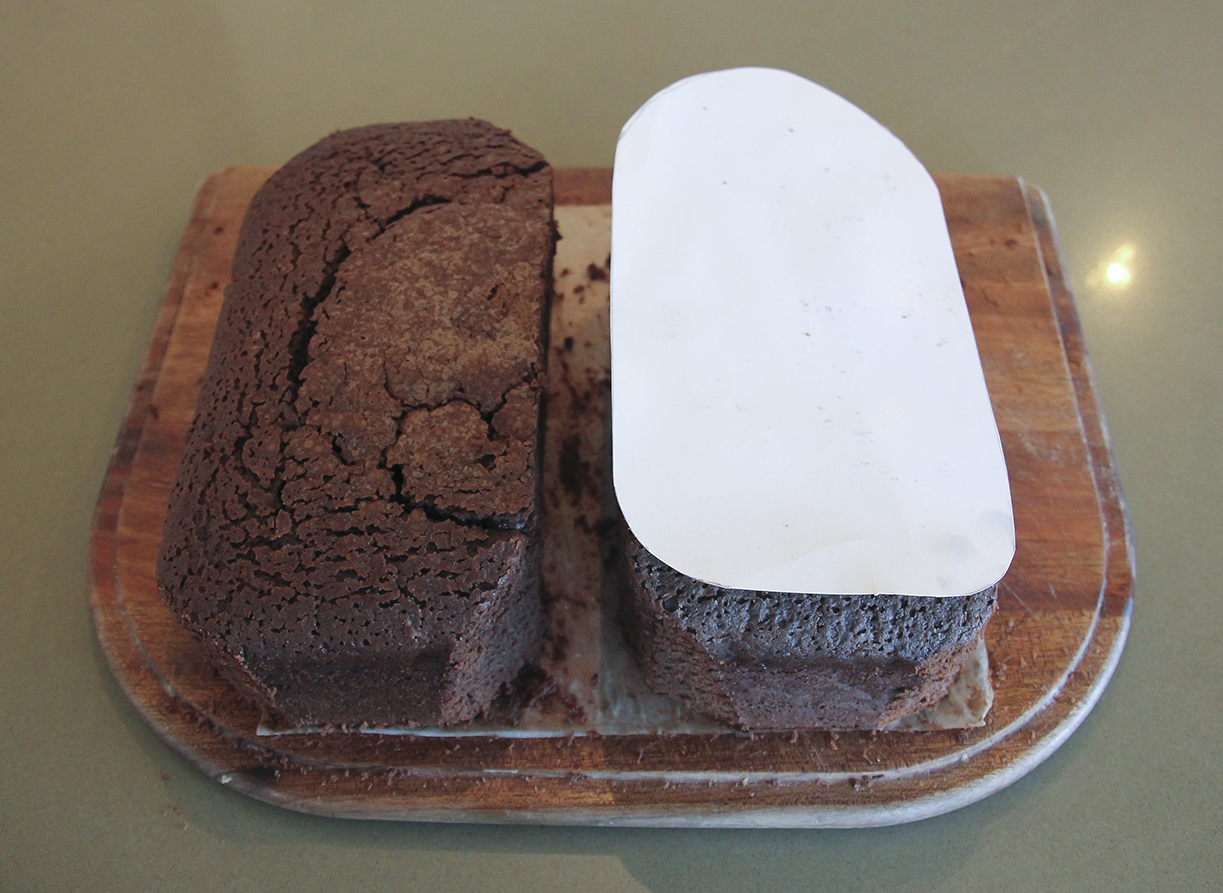
Use the template / set up board to cut out the hull shape on both halves of the cake.
Use the template to cut out the hull
Cut dome off top and turn upside down and attach to set up board with some ganache
Now cut in half horizontally and fill with ganache.
Now take the other half of the cake it horizontally into 2 pieces
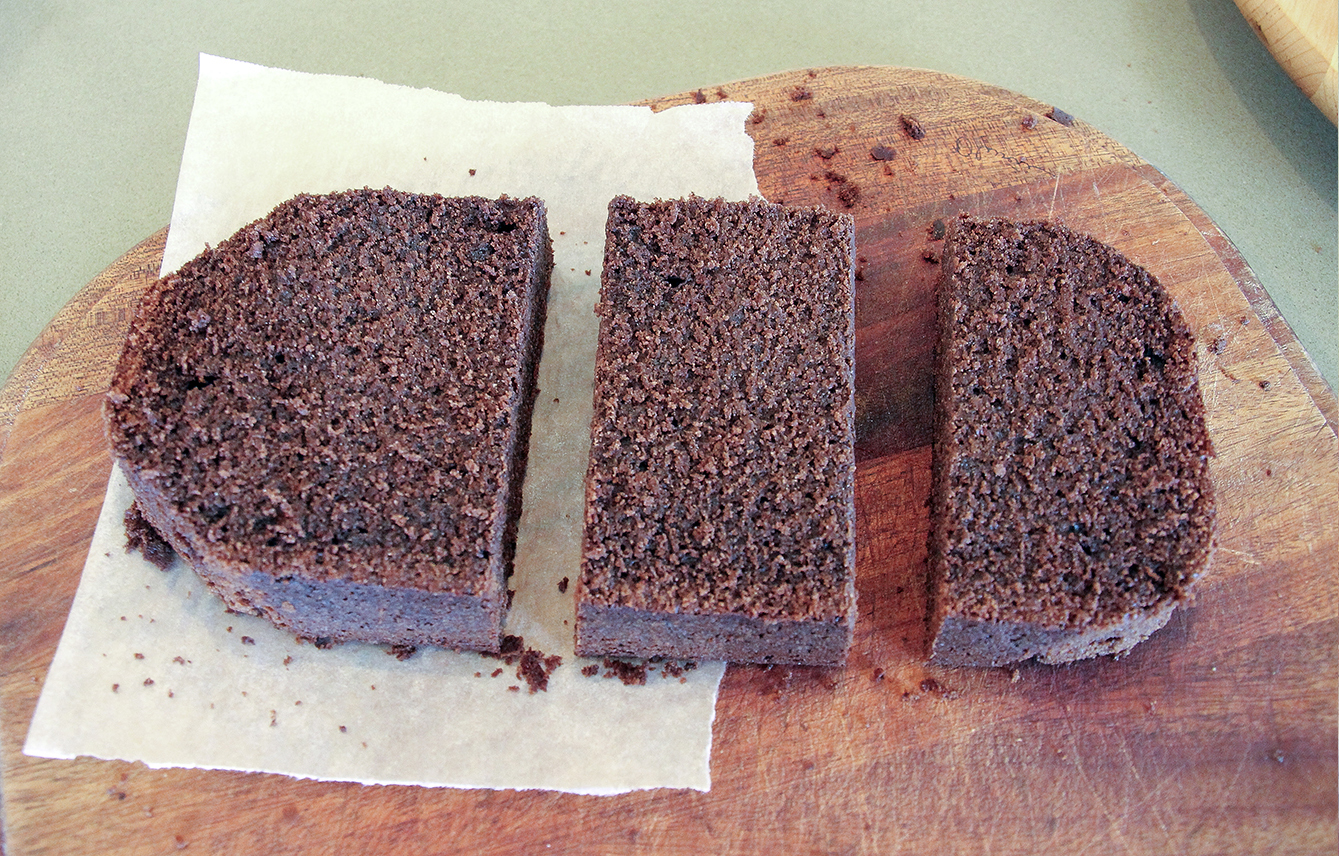
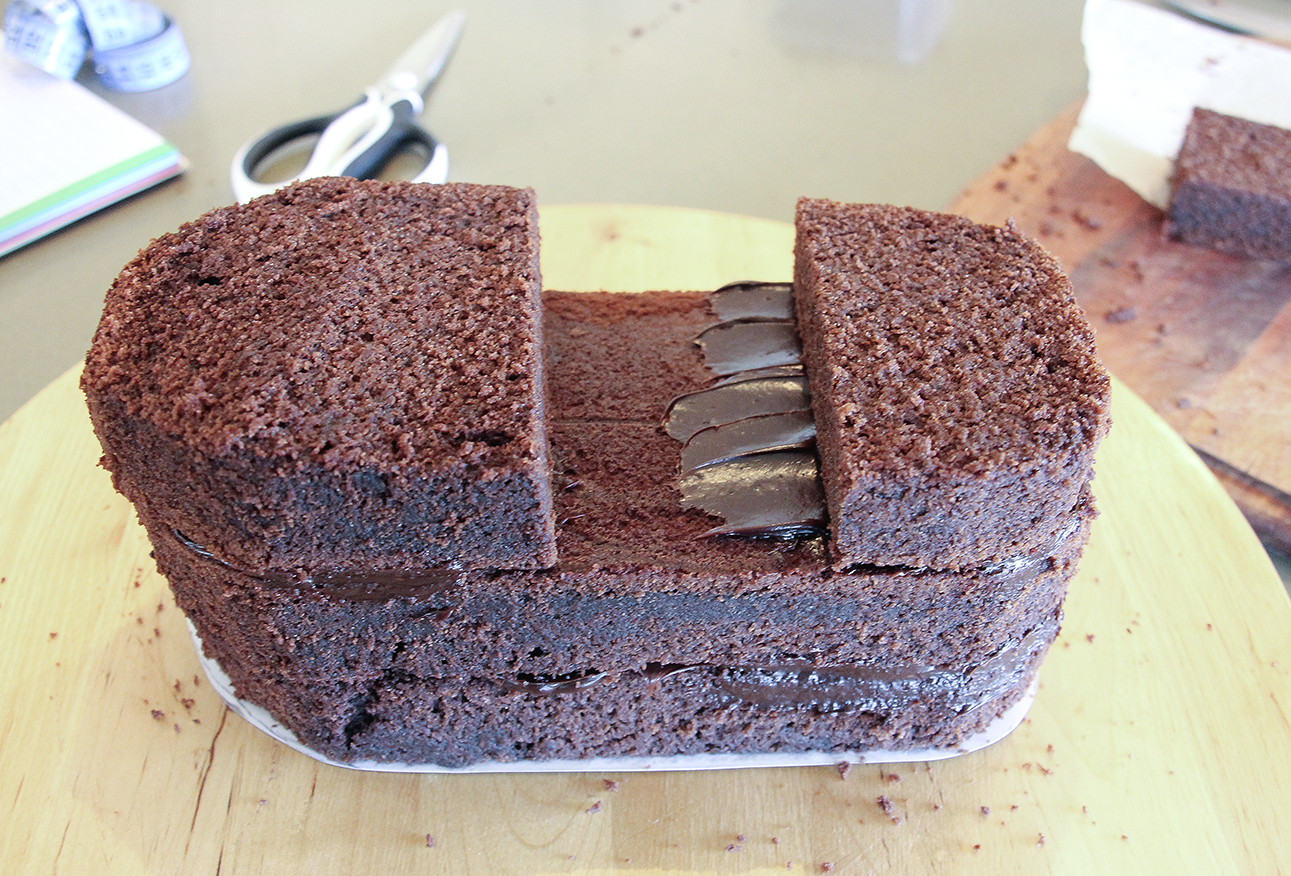
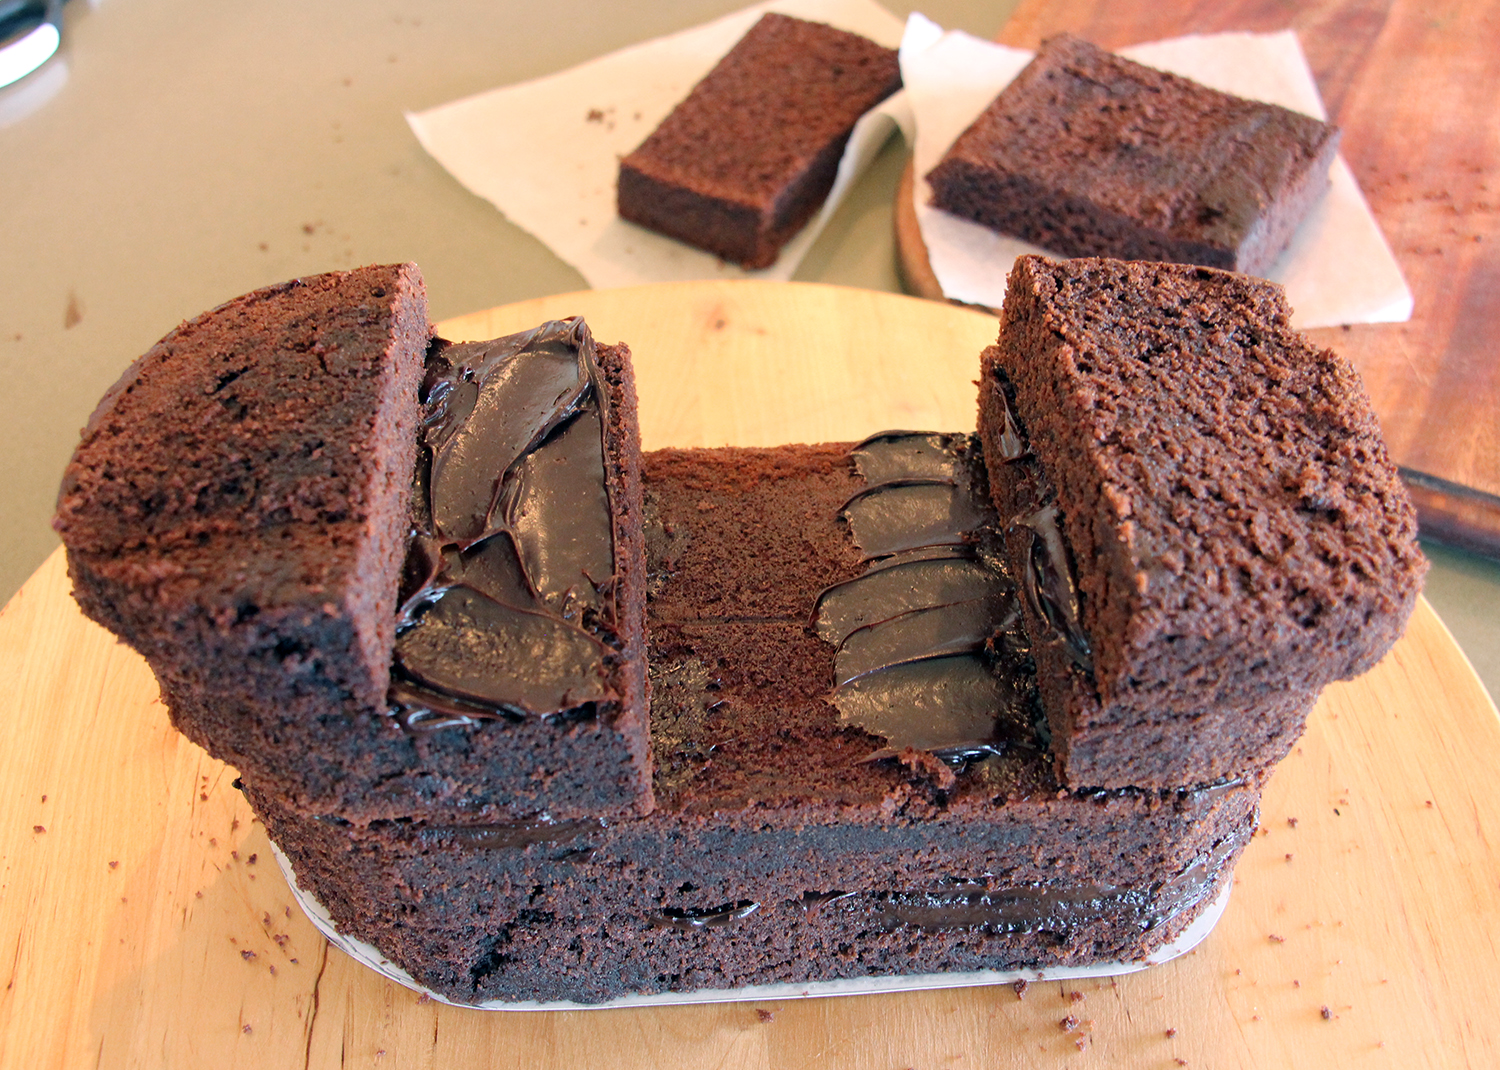
Take one piece and cut into 3 sections.
Cut into 3 pieces
Use ganache to attach 2 of these pieces to your ship.
Now take the final piece and cut into 3 pieces.
Use ganache to attach 2 of these pieces to your ship.
Use up all the leftover pieces of cake to create the Pirate Ship shape that pleases you the best.
Cover with a crumb coat of ganache (a thin layer of ganache to seal in all the crumbs).
Place in the fridge till it firms up.
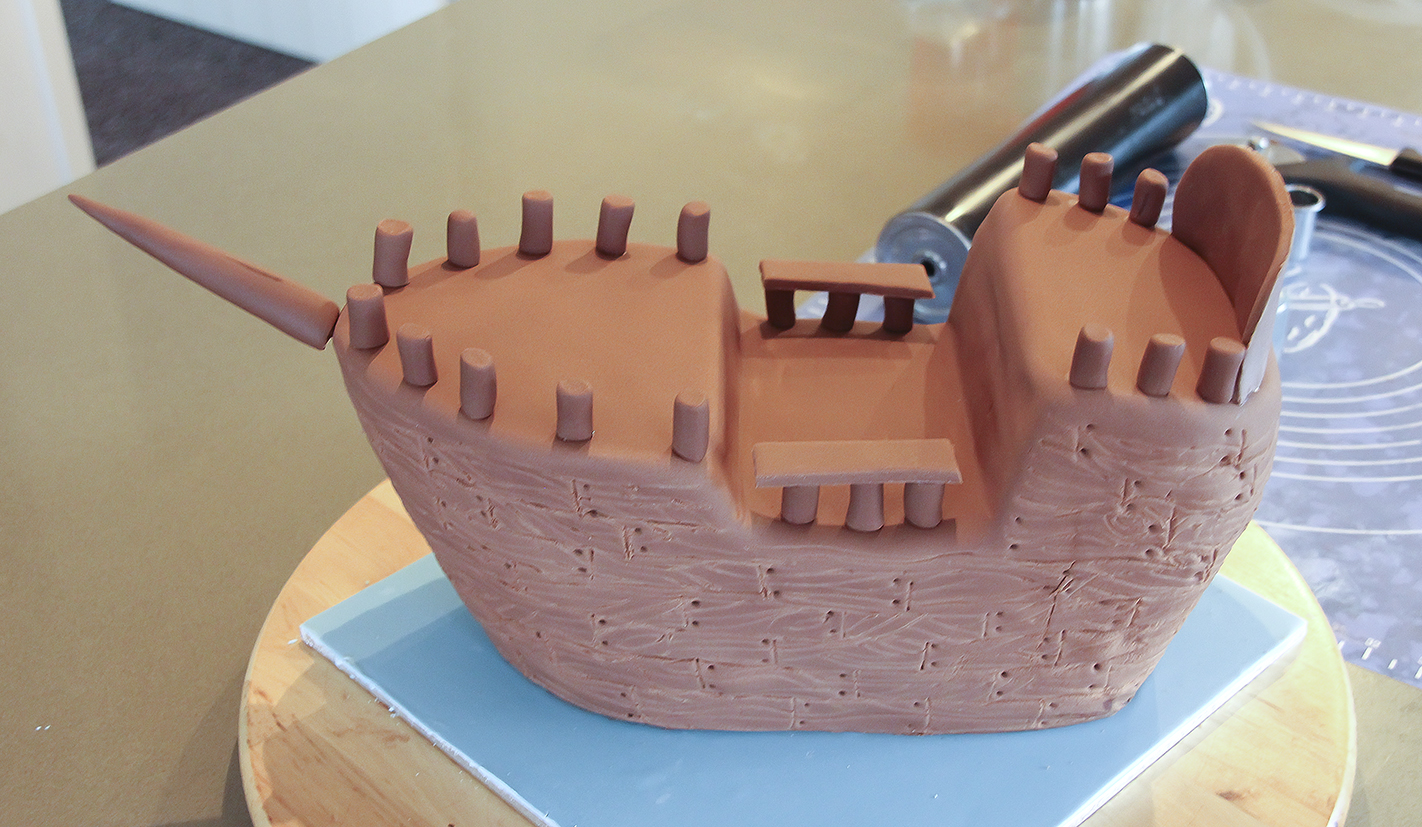
Add ganache to create final shape, making a nice rounded shape.
Leave on bench to harden (overnight if possible)
Sugar paste
Paint a thin layer of water onto your cake board and cover with pale blue sugar paste.
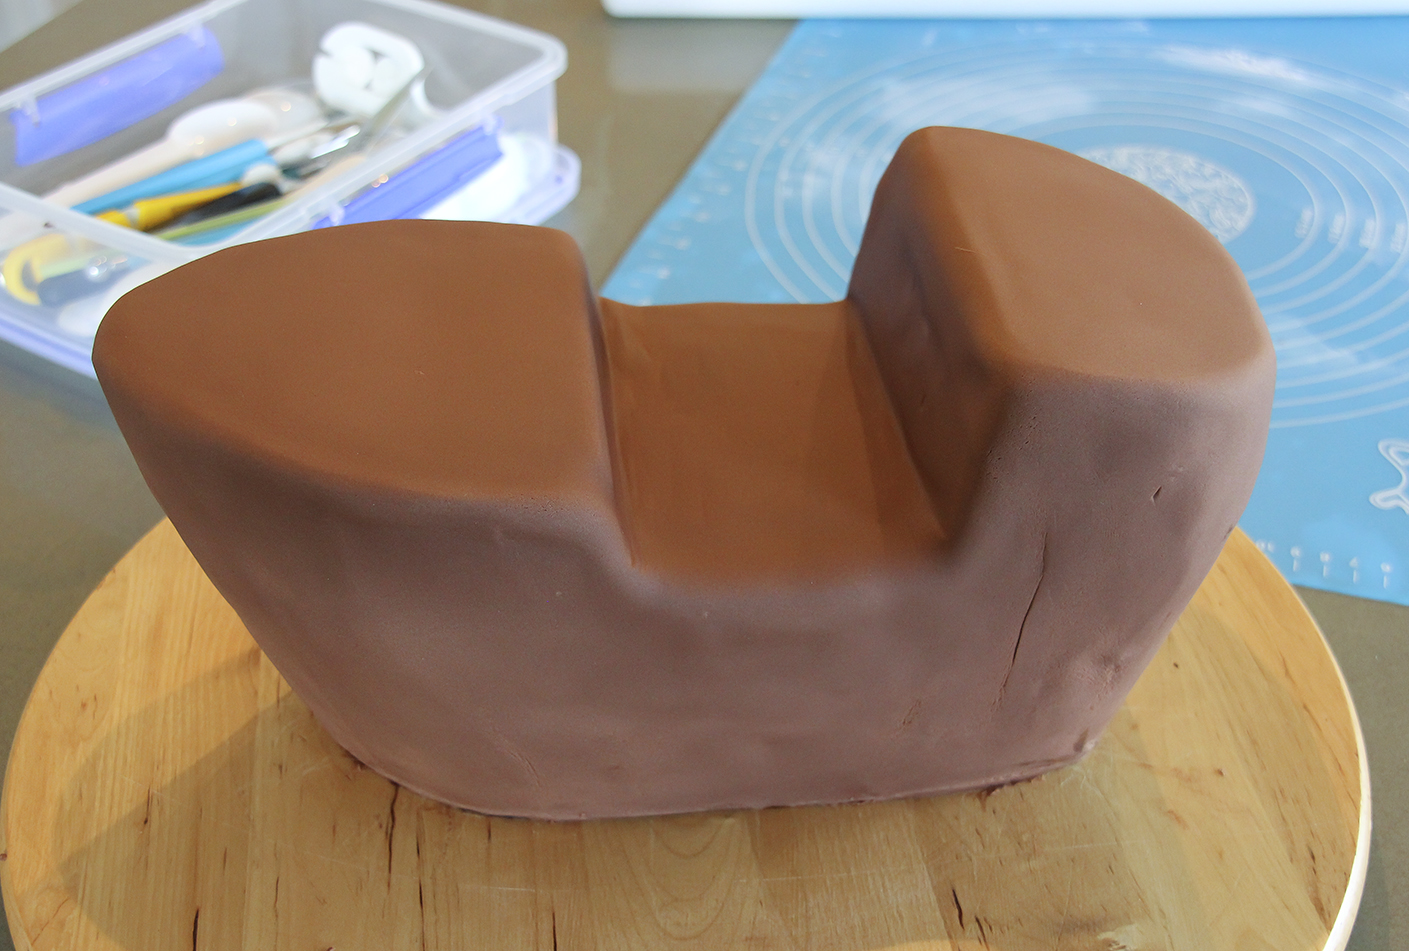
Measure the length and sides of your ship so you know the size of the oval piece of brown sugar paste you will need to cover your ship.
Paint a thin layer of water over the entire ship and cover with the one large piece of sugar paste.
Use smoothers to smooth your sugar paste.
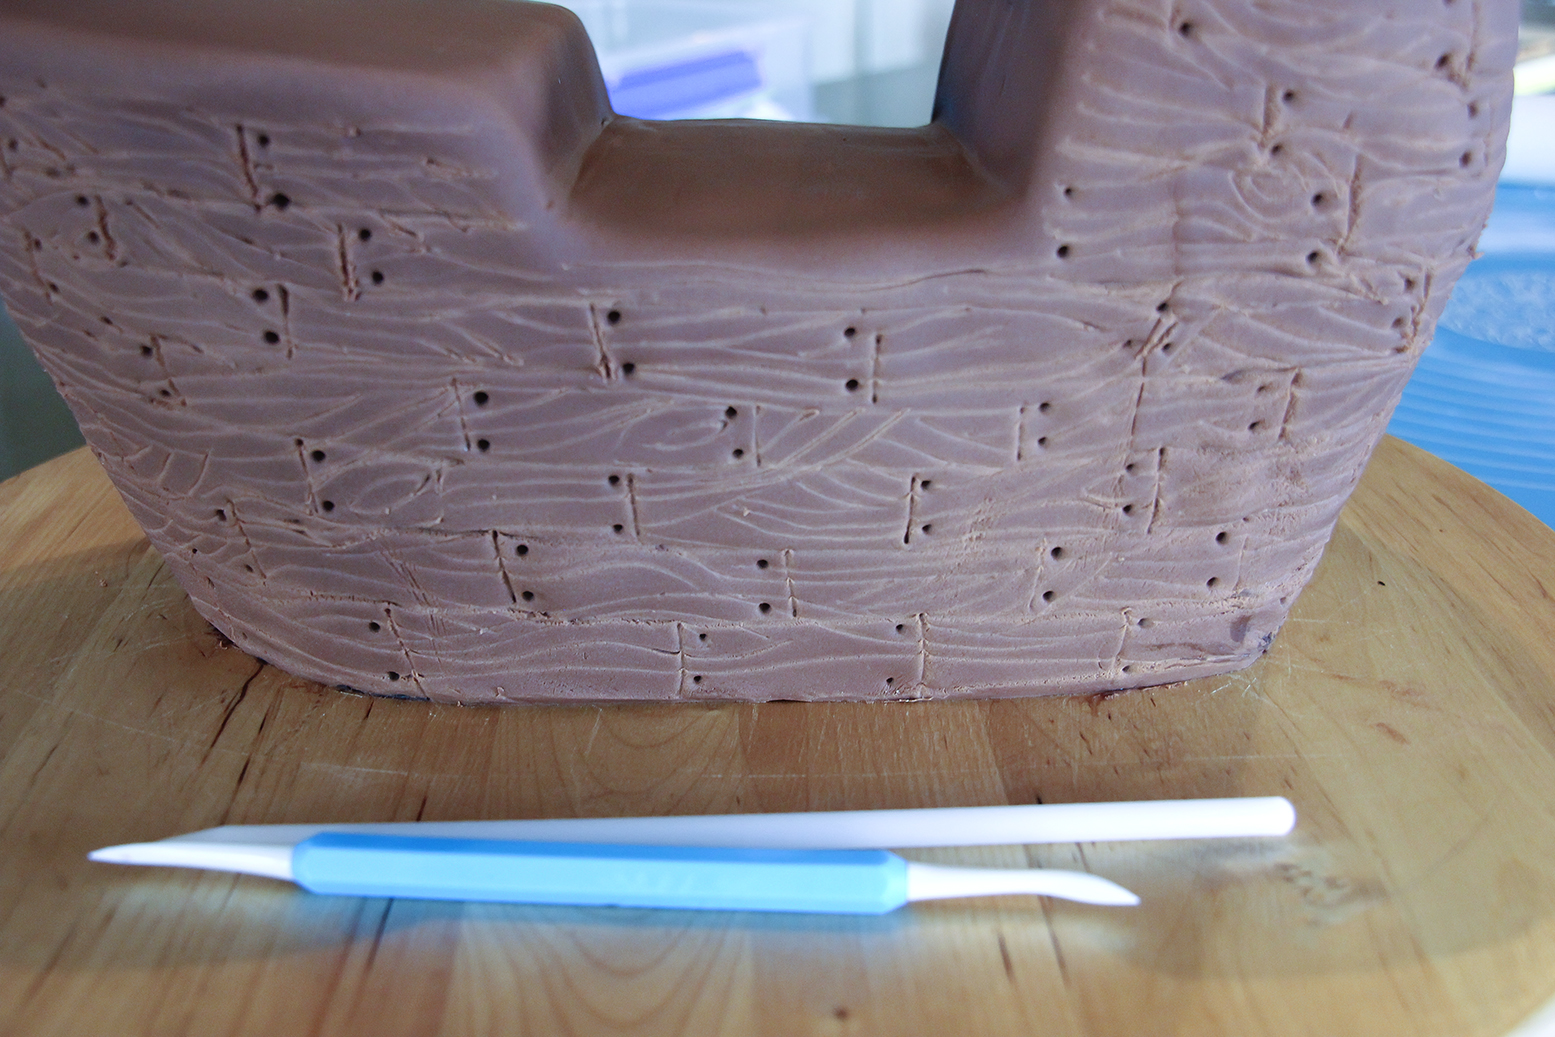
Decoration
Make marks on side of ship to resemble old wooden planks.
Create an old wooden plank effect
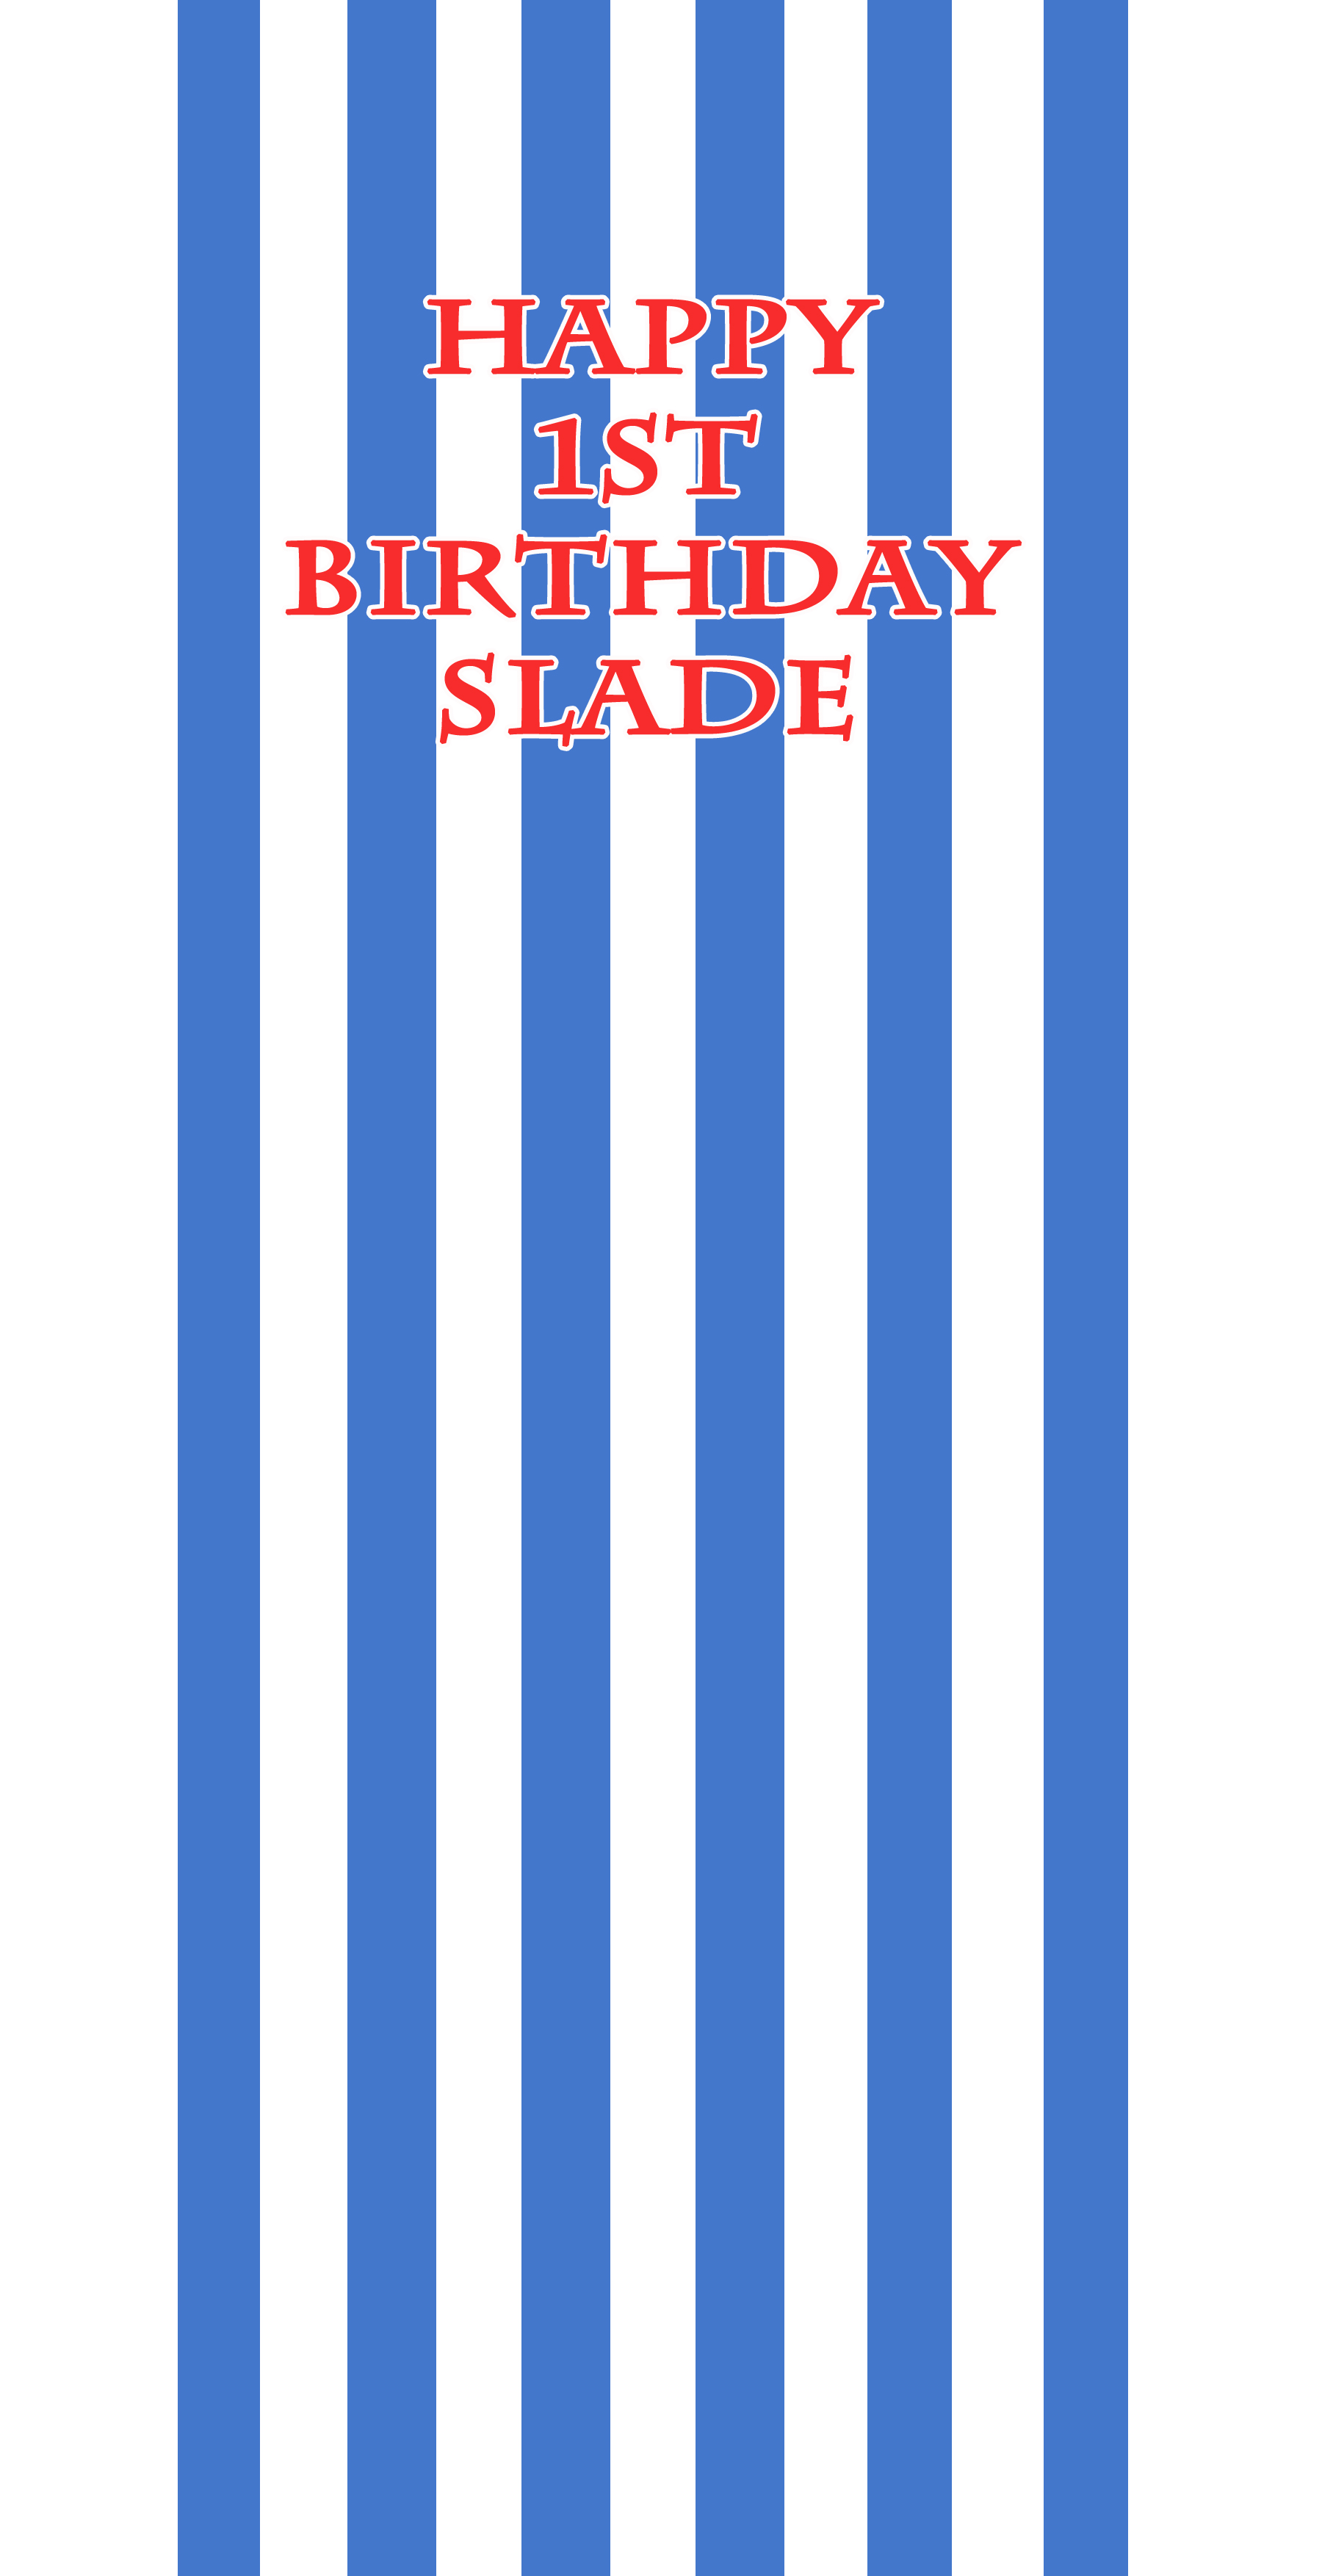
I created some stripes in Photoshop and a birthday message for Slade on lightweight card and cut out a small square with the birthday message as the top sail and a larger square as the bottom square. Use a ‘hole punch’ to make holes for the mast.
Create stripes and a birthday message in Photoshop
Roll out some of the left over brown sugar paste into a long thin sausage shape and cut 22 pillars of equal length. use fingers to make each one as cylindrical as possible and stick to ship with a little water, edible glue or egg white.
Add some tiny pillars around the decks
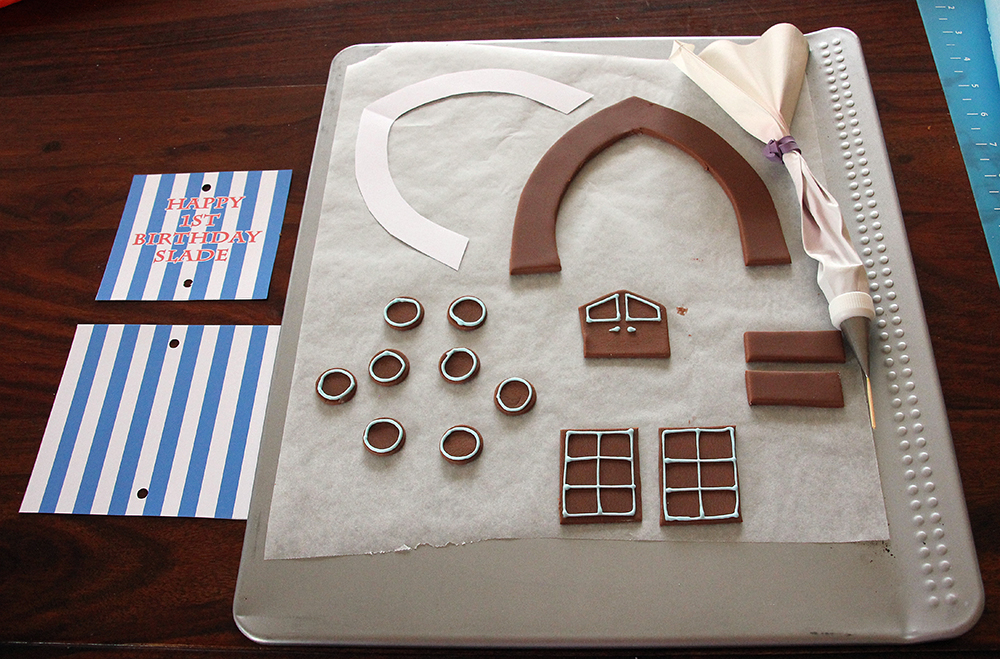
Cut out some port holes, windows, doors and handrails. Use a piping bag to pipe some pale blue Royal Icing around the windows etc. to add interest. Leave overnight to firm up.
Windows, port holes and handrails.
Stick all the remaining bits and bobs to the ship and set sail for the open seas.
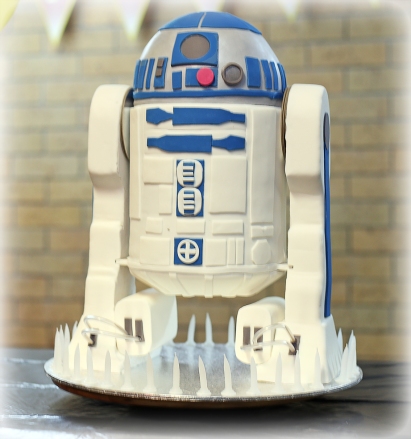
Nothing evokes nostalgia quite like Lego and Star Wars! Embrace that feeling by following the steps in this tutorial to create a dark chocolate Lego-style Millennium Falcon!
This cake is built around an 8″ round dark chocolate mud cake but you will also need a 6″ round dark chocolate mud cake to make the Cockpit and Forward Mandibles not to mention the Concussion – Missile Tubes!!!!!! I have given instructions on how to make a 10″ round cake and this will produce enough batter to fill the 6″ and 8″ pans.
Materials
white card
Mud cake
375g unsalted butter
300g dark chocolate
1.5 tablespoon instant coffee
2 cups warm water
1.5 cup caster sugar
2.25 cups self raising flour
3/8 cup cocoa
3 eggs
1.5 teaspoon vanilla
Ganache
1200g dark chocolate
600ml pure cream
2kg grey sugar-paste
a small amount of black sugar-paste
1. Making the set up board
Print out this picture of the Millennium Falcon onto an A4 sheet of paper so that the image fills the page and this will give you the actual size of your finished ship (i.e. 8″ diameter of the large round part of the ship) . You will need two prints as you will be cutting one of them up.
Cut out the shape of the ship in white card or add the extra bits to an 8″ round board as I have done in the picture. This set up board (as it is called) will help you to cut out your pieces of cake and also help when applying the ganache to the sides of your cake. More of that later.
2. Covering the cake board
Use the underside of a Lego base board to give you the brick impression.
Press down firmly and evenly to get the best results
Although some bits of my cake board are a little flat, the ship will cover them.
3. Making the Lego shapes
Use the plan view of the Millennium Falcon to plan and cut out the shapes that you need.
I decided on making mostly triangular shapes and as I cut each one out I placed it on top of the plan view to see how they would all fit together. Once each shape had been cut out, press the Lego board on top to make it look like Lego bricks then neaten up the edges if they have spread a little due to the pressure.
To make the satellite dish, cut out a circle of grey sugar-paste and leave it to harden on the back of a tablespoon to give it a beautiful spherical look. Attach a thick triangle of sugar-paste to its base with edible glue or egg white.
4. Bake the cake
1. Grease and line base and sides of cake pans with one thickness of baking paper, bringing paper 5cm above side of pan.
2. Combine chopped butter, chopped chocolate, coffee, and water in a saucepan.
Stir over low heat until chocolate is melted. Cool 15 minutes. Transfer mixture to bowl of mixer.
3. Add caster sugar to mixture and beat well until dissolved. Add sifted flour and cocoa, lightly beaten eggs and vanilla.
4. Pour mixture into prepared pans. Use a skewer to check that both pans have the same depth of batter. This will ensure that both cakes end up the same height.
5. Bake at 150C for 1 to 1-1/2 hours. Test with skewer. Cool cake in pan.
5. Making the ganache
Heat the cream until it just starts to bubble, pour over chocolate (which you have blitzed in the food processor to coffee granules size) and let it sit for about a minute to melt. Use a hand whisk to blend it all together then set aside to cool.
Your ganache at this point will be thin. You will have to let it set overnight until it thickens to a slightly thicker peanut butter consistency. Since I don’t have the patience to wait, I just let it cool to room temperature and then pop it in the fridge (don’t cover because you might get condensation). It would usually set in the fridge in about an hour or two. If it sets too hard, just microwave it in 10 second intervals (keep mixing it whenever you take it out). Click here to find out all you need to know about making and applying ganache to your cake.
6. Putting the cake together
Use the smaller cake to cut out the cockpit and Mandibles. Lay the templates on top of the cake and cut around them with a sharp knife. Now cut all your pieces in half ready for the ganache filling.
Use a non-slip mat under your set-up board then stick your pieces to the board with some ganache.
Use ganache to stick all the pieces to each other.
Now add a nice thick layer of ganache across the top as the filling for your cake.
Place the top half of the cake on top of the ganache remembering to stick the pieces together with ganache.
Cover the top and sides of the cake with remaining ganache.
7. Icing the cake
Roll out a large oval of grey sugar-paste making sure it is large enough to cover the cake plus a few centimetres more.
Getting the sugar-paste neatly in and around the Millennium Falcon shape is probably the most difficult part of making this cake. It might be simpler to make the cockpit and mandibles serarately and attach them to the body of the cake after you apply the sugar-paste. Anyway, it doesn’t have to be mega neat as most of the ship will be covered in Lego shapes!
8. Candles
Insert sparkles or candles at the back to resemble thrusters and your done!
More Star Wars Cake Tutorials
Click on the images below to go straight to the corresponding tutorial.
 I made this cake for Slade’s 1st birthday and his Mum didn’t want anything too scary so no skull and cross bones on this cake. It was fun to make the cake and like many of my cakes I didn’t have any idea how it would turn out and just made decisions as to style and colour as I went along.