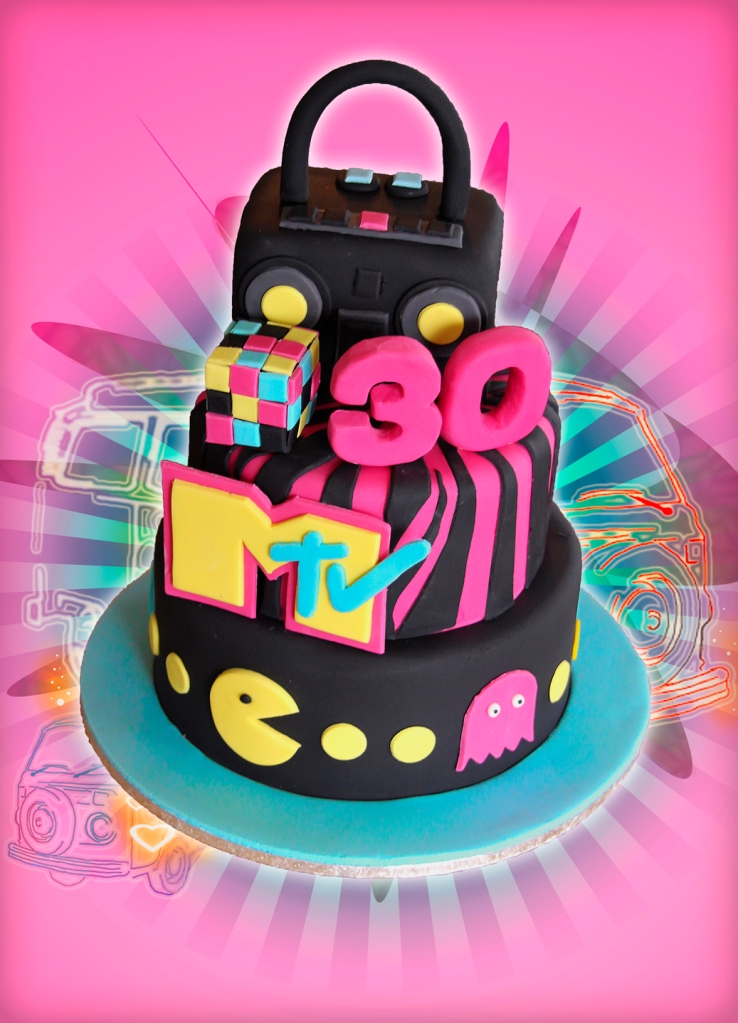
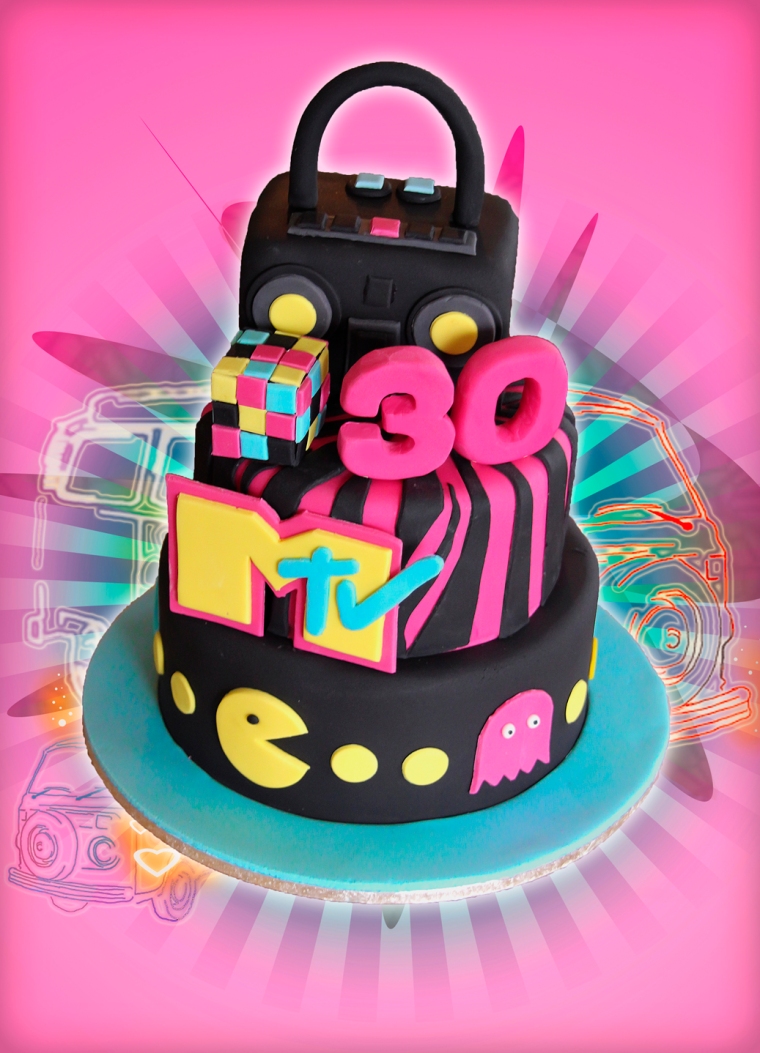
This 80s Theme Cake was made for Jessica’s 30th Birthday Bash in Brisbane. It is made from white chocolate and dark chocolate marbled mudcake, filled with dark chocolate ganache and covered with sugarpaste. The Rubik’s Cube is a really delicious truffle.
The birthday girl wanted hot pink, turquoise and yellow as her colours but you could use whatever colours you wish. To celebrate her 1980s themed birthday the cake incorporates the MTV logo, Pacman arcade game, Rubik Cube, Boogie box, fluorescent colours and animal print fondant, not to mention the giant number ’30’.
The birthday girl wanted hot pink, turquoise and yellow as her colours but you could use whatever colours you wish. To celebrate her 1980s themed birthday the cake incorporates the MTV logo, Pacman arcade game, Rubik Cube, Boogie box, fluorescent colours and animal print fondant, not to mention the giant number ’30’.
Baking Diary
DAY 1
Colour sugar-paste. Hint – You can buy ready coloured black sugarpaste which saves a big mess. Also I used Wilton’s Rose edible gel colour for the hot pink.
Wrap cakes in foil and place in fridge overnight.
Cut finger nails. There is nothing worse than making a mark with your long nails on your completed cake.
DAY 2
Take cake out of fridge first thing in the morning and allow to come to room temp.
Torte and ganache cake then leave it to set. click here for detailed ganaching info
Once set cover with sugar-paste.
DAY 3
Decorate and complete the job.
DAY 4
‘Stuff up’ day. You never know what might happen when making a cake so always pencil in a ‘stuff up’ day (I had a day with my feet up when making this cake as I had a toenail removed, ouch!)
DAY 5 The day of the party
Marbled Mudcake
The three tiers are made up of a 7″ round, a 5″ round and a 4.5″ square. The rubik cube (1.25″ / 3 cm) is made from the cut offs from the Boogie box mixed with left over ganache formed into a large truffle cube and covered on all sides with a thin layer of ganache.Make the light and dark mudcake batter in separate bowls then pour the dark in first filling your pans to half the usual height then fill each with the white choc mud batter and gently stir round a little to mix and bake for 1.5 hrs at 150C
Dark Chocolate Mud Cake (Pam’s recipe)
187g butter
150g dk choc
1 tbsp coffee, powder or granules
1 cup water
1 cup SR flour
3/4 cup caster sugar
1/4 cup cocoa
2 eggs
1 tsp vanilla essence
Dark Chocolate Mud Cake Method
- Preheat the oven to 150C.
- Grease and line base and sides of cake pans with one thickness of baking paper, bringing paper 5cm above side of pan.
- Combine chopped butter, chopped chocolate, coffee, and water in a saucepan.
- Stir over low heat until chocolate is melted. Cool 15 minutes. Transfer mixture to bowl of mixer.
- Add caster sugar to mixture and beat well until dissolved. Add sifted flour and cocoa, lightly beaten eggs and vanilla.
- Pour mixture into prepared pans stopping at half the height you normally fill to.
No need to be delicate with this one – just make sure that the chocolate mixture has cooled sufficiently so as to not create a thickening reaction when the flour is added.
White Chocolate Mud Cake (Planet Cake recipe)
185g butter
185g white chocolate
170ml water
95g SR flour
185g plain flour
250g caster sugar
2 eggs, lightly beaten
1 tsp vanilla essence
185g butter
185g white chocolate
170ml water
95g SR flour
185g plain flour
250g caster sugar
2 eggs, lightly beaten
1 tsp vanilla essence
White Chocolate Mud Cake Method
- Preheat the oven to 150C.
- Grease and line base and sides of cake pans with one thickness of baking paper, bringing paper 5cm above side of pan.
- Combine chopped butter and water in a saucepan.
- Stir over low heat until butter is melted. Turn off heat, then add the chocolate and stir until it has melted and is well combined.
- Sift flours into a bowl. Add sugar, a pinch of salt and make a well in the centre.
- Pour chocolate mixture, egg and vanilla into the well then stir with a wooden spoon until well combined.
- Add the white batter to the already half full pans and fill to their normal height.
Marbling
To create the marbling effect simply gently stir round a little to mix (Do not overdo) and bake for 1.5 hrs at 150C. Check the small cakes before their time is up.
Dark Chocolate Ganache click here for detailed ganaching info
1600g dark chocolate, finely chopped
800ml pure cream
- Grind the chocolate to fine granules in a processor.
- Put the chocolate in a large bowl
- Put the cream in a saucepan and bring to boiling point. Pour the cream over the chopped chocolate and mix with a hand whisk until the ganache is smooth. (Do not use an electric whisk, as you will create too many air bubbles in the ganache.)
- Allow to cool completely and then leave to set overnight.
Decoration
Templates can be found on my Free Stuff page click here
I used a whole lot of edible glue on this cake. I even stuck the tiers together with glue as it wasn’t a big heavy cake and the glue would survive the 200km round trip delivery.
Edible Glue
Also called Gum Glue
Add 2 tablespoons of warm water to a quarter teaspoon of Tylose Powder and allow the Tylose powder to melt. Don’t worry if at this stage the glue appears not to be blending. Put a lid on the container and leave it in the refrigerator overnight and in the morning you will have a perfectly clear and ready to use glue.
The glue should be a dripping consistency. If it is too thick, just add a little more water and stir with a toothpick .
The edible glue should be stored in the refrigerator when not in use.
To apply the glue, use a good quality paintbrush and brush on to the area where you are going to be working. Leave until it begins to dry a little so that the area is just tacky to touch.
 |
| The animal print is made up of thin strips of black sugarpaste. |
 |
| Some sugarpaste shapes for the Boogie box, Rubik’s Cube and Pacman |
 |
| Pattern pieces for the more complicated shapes can be found on my Free Stuff page. Flat pieces such as the ’30’ and the ‘MTV’ logo should be made early and left flat. Curved pieces such as Pacman should be stuck to the cake soonish so that they can mould themselves to the shape of the cake. Add Tylose powder to any parts that need to be very stiff such as the MTV logo. I added just a quarter of a tsp of Tylose to a lump of pink which I used for the ’30’ and the ‘MTV’. Knead the powder into the sugarpste till well combined. |
 |
| To make the handle for the Boogie box use some plastic tubing with cocktail sticks pushed in at the ends. Stick the sugarpaste on with edible glue. |
 |
| You will need 45 coloured squares in total (none on the bottom) and stick them on with edible glue. Each square is 1cm x 1cm. Secure to the cake using two short wooden skewers and edible glue. |
I used this image in the background of my cake picture. I made the image a couple of years ago with camper vans and surf board, typical of the Gold Coast and reminiscent of the ’80s. I changed the colours to suit the colour scheme of the cake.
