
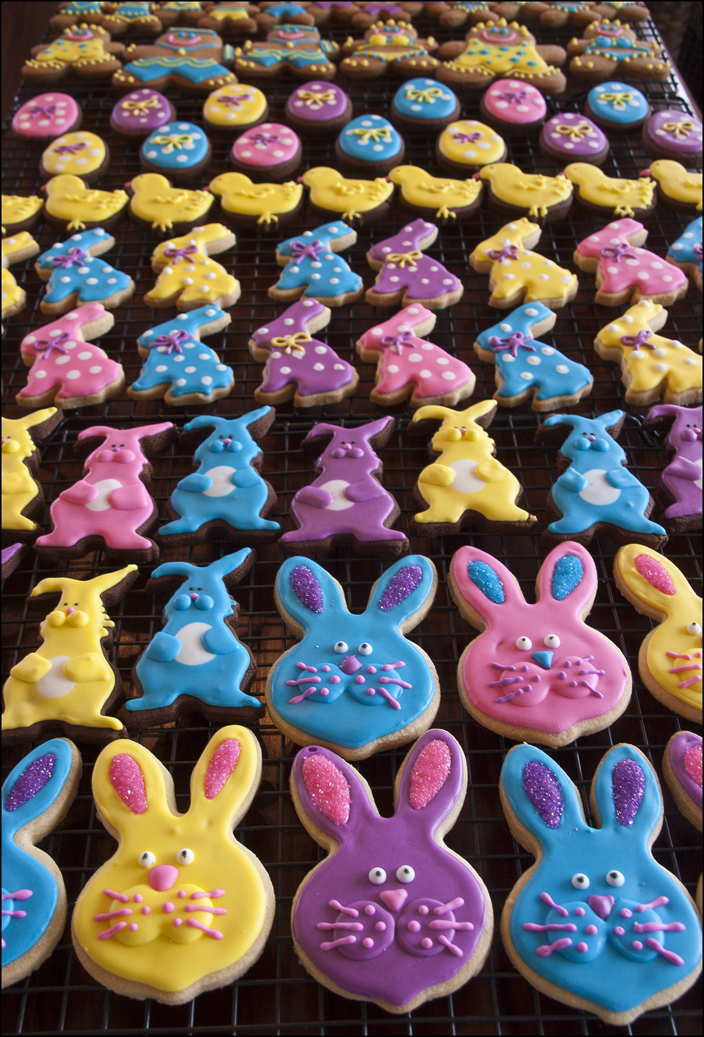
These cookies are iced using the ‘Outlining and Flooding’ technique which is simple to learn. The outline works as a dam or wall to hold the runny icing which you use to fill in the main parts of the cookie.
I made these cookies in 3 delightful flavours: chocolate, vanilla and gingerbread.
Chocolate Cookie Recipe
makes about 24 medium-sized cookies
275g plain flour
100g self raising flour
75g cocoa powder
125g granulated sugar
125g salted butter, diced
125g golden syrup
1 large egg, beaten
Sift flours and cocoa, add sugar and mix well.
Add butter and using finger tips rub till mix resembles breadcrumbs.
Make a well and add syrup and egg.
Stop as soon as a ball has formed.
Cover and chill till ready to use or roll and use immediately.
170C for 14-18 mins

Vanilla Cookie Recipe
makes about 24 medium-sized cookies
200g unsalted soft butter
200g caster sugar
seeds from one vanilla pod or 2 tsp of best vanilla essence
1 egg, lightly beaten
400g plain flour
In the mixer with paddle attachment, cream the butter, sugar and vanilla till well mixed and just creamy in texture. Do not overwork or cookies will spread during baking.
Beat in the egg till well combined.
Add the flour and mix on low speed until a dough forms.
Cover with cling and place in fridge for at least 1 hour.
Place dough on floured surface and knead briefly.
Roll out to 5mm thick.
Cut out your shapes, then, using a palette knife, lay them on a baking tray lined with greaseproof paper.
Chill again for about 30 mins.
Preheat oven to 180C/170C fan and bake for about 10 mins, depending on size, until golden brown at the edges.
Transfer cookies to a wire rack and allow to cool before decorating.
Gingerbread Cookie Recipe
makes about 24 medium-sized cookies
90g butter
150g soft brown sugar
90g golden/corn syrup
425g Plain flour
1 tsp baking powder
2tsp ground ginger
1tsp mixed spice
1 medium egg (beaten)
Gently heat butter, sugar and syrup until dissolved.
Cool slightly for five mins.
Pre-heat oven 180C and lightly grease baking trays.
Sift flour, baking powder and spices tog into mixing bowl and make a well in centre.
Add melted mixture and egg into the centre. Bind tog with knife then use hands to form soft dough.
Sprinkle work surface with flour and roll out the gingerbread to 3mm (1/8″)
Bake in centre of oven for 13 mins.
Transfer cooked gingerbread to a cooling rack.
I have been using a homemade Cookie Leveller to roll out my cookie dough. I have all the instructions if you would like to make one.
Cookie Leveller click here
Royal Icing Recipe click here
A thicker consistancy icing is used to outline the cookie shape and then a thinner one (like custard) to fill in.
Outlining
Outline your cookies first and leave at least 15 minutes before you flood the inside of the ‘dam’ (outline). If the outline is a dark colour, it is best to wait 24 hours so that the colours don’t bleed into each other.
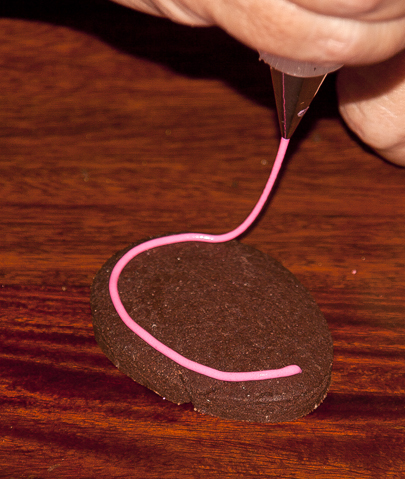 |
| Outlining the egg |
To outline the cookie hold the bag at 45 degrees and position the tip on your cookie. Put enough pressure on the bag so that the icing comes out and you can start moving in the direction that you want your icing to go. Start lifting the pipping bag till it is a few centimetres above your cookie and the icing just falls in a continuous line onto the cookie below. Come back closer to the cookie at corners and when finishing also reduce or stop pressure on the bag to go more slowly or to stop.
Flooding
Use a number 3,4 or 5 sized piping tip depending on the size of your cookie. Fill in one area at a time quickly zig zagging back and forth. Don’t worry if you haven’t filled in every spot: speed is more important at this point. To fill in these little missed bits just use your piping tip, toothpick or small paintbrush (used only for food), to push the icing into your missed bits.
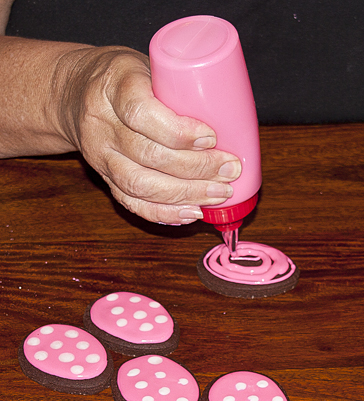 |
| Using a squeezy bottle to fill in with icing |
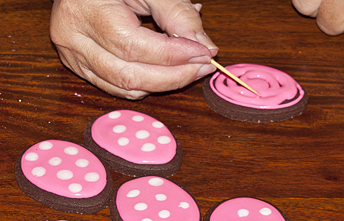 |
| Using a toothpick to fill in the missing bits |
Decorating
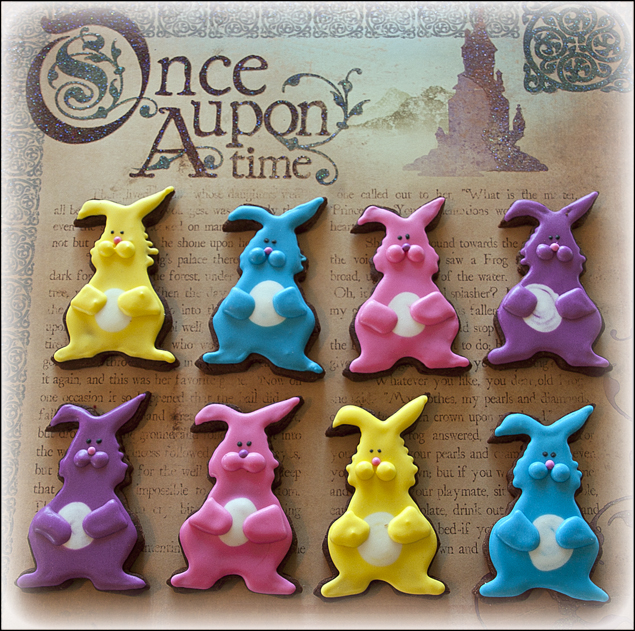 |
| Bunnies with White Tummies Outline and flood your bunny with your chosen colour and immediately add a circle of white icing for the tummy. The icing will quickly sink down till a smooth or slightly domed tummy area remains. Once completely dry add cheeks and front paws. Add nose and eyes once cheeks are dry or almost dry.  |
Bunnies with Spots
Outline and flood your bunny with your chosen colour and immediately add little blobs of white icing to make the dots.
Once completely dry add the bow using a No.00 piping nozzle. 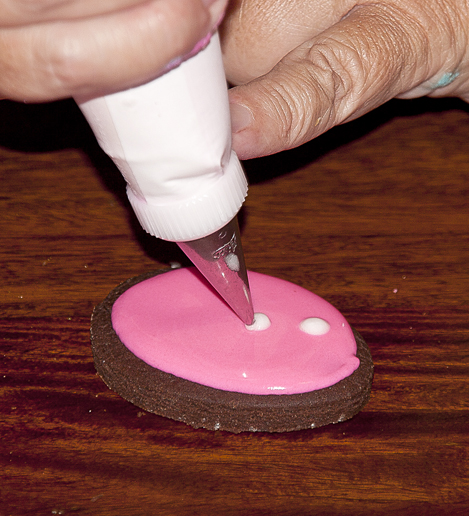


Pretty Little Easter Eggs
Outline and flood your eggs with your chosen colour and immediately add little blobs of white icing to make the dots.
Once completely dry add the bow using a No.00 piping nozzle.

Yellow Chicks
Outline and flood your chicks with yellow and when completely dry add little feather details, a pink beak and an eye.
|
| Bunny Faces Outline and flood each face with your chosen colour leaving the centre of the ears icing free. Once dry add the cheeks in the same colour. Once completely dry use a contrasting colour to make the nose, whiskers and middle ear. While still wet sprinkle the ears with coloured sugar sand or similar. If you are worried about the sprinkles sticking to the nose and whiskers you can add the nose and whiskers after the sprinkles have been added. Finnish by making the eyes. |
Storing
Let the cookies dry for 24 hours before you package them.
Store in an airtight container in a cool dry place out of the sun (sunlight can fade the colours). The cookies can keep for up to 2 months but I prefer to use them up within a month.